Leaderboard

Popular Content
Showing content with the highest reputation on 10/31/2019 in all areas
-
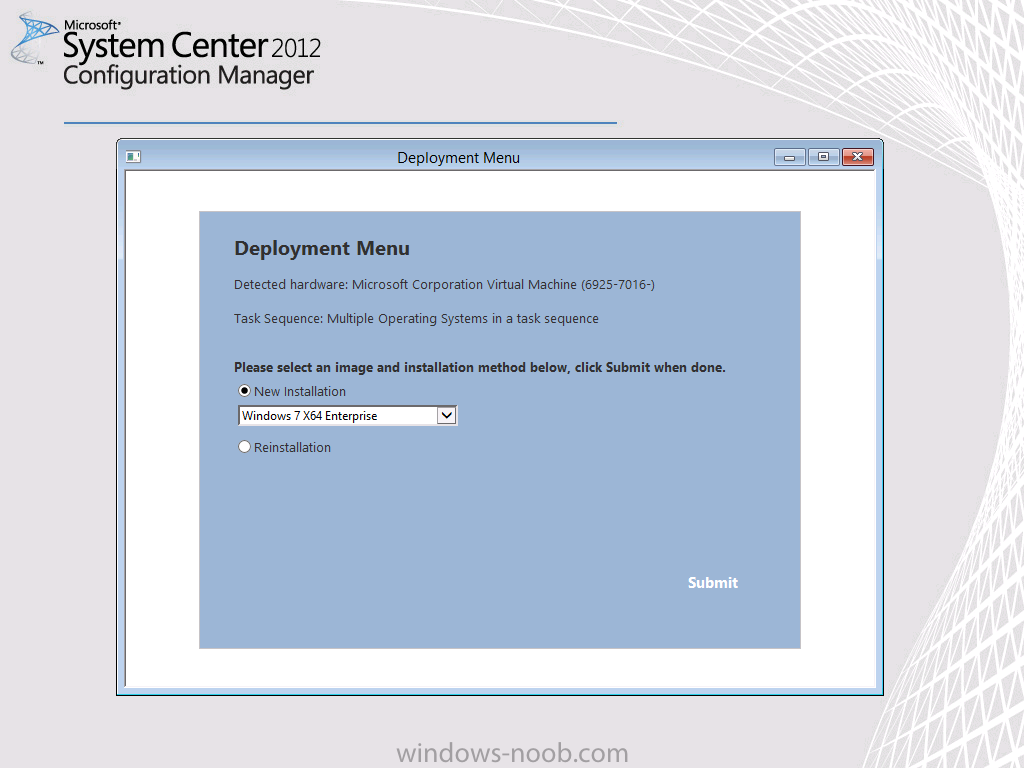
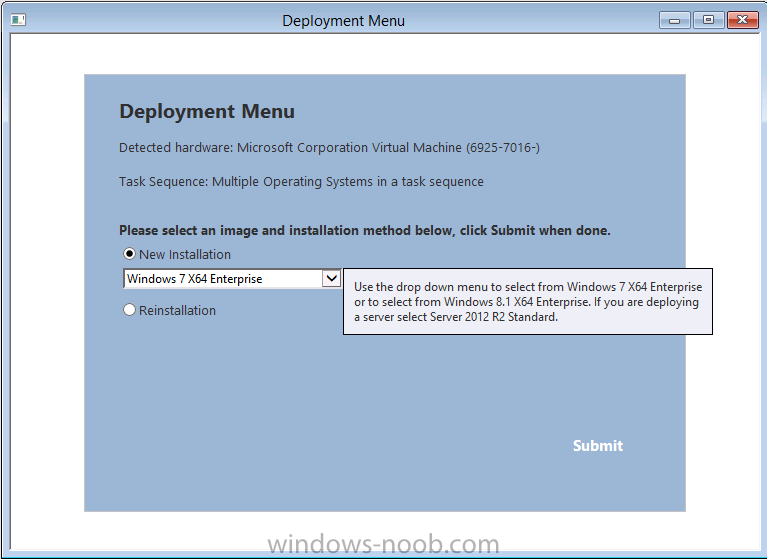
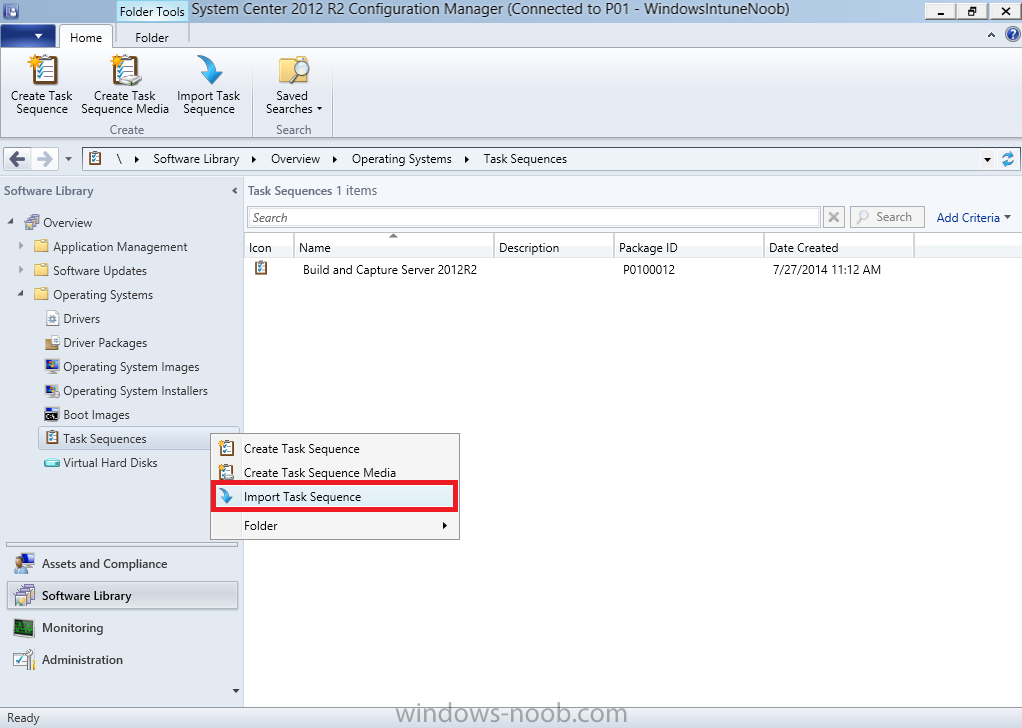
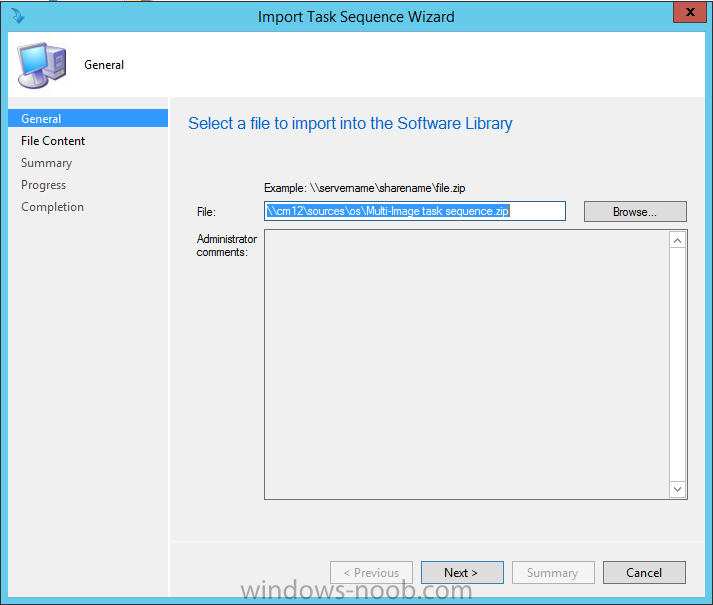
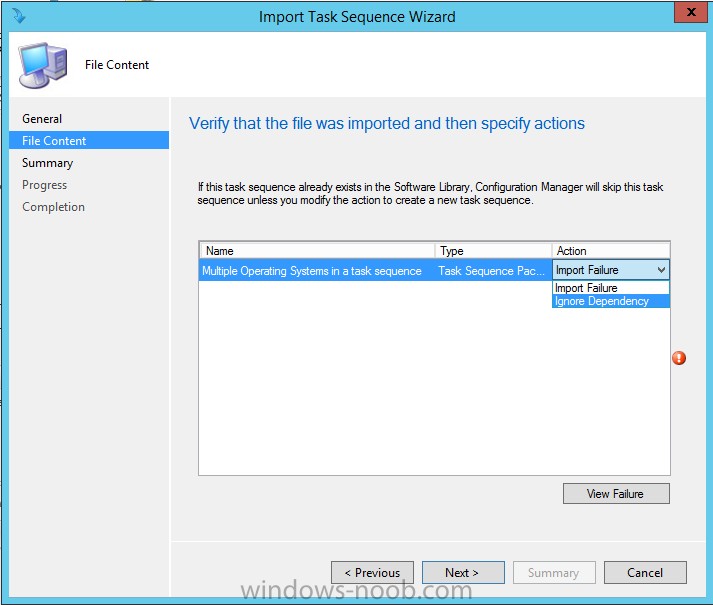
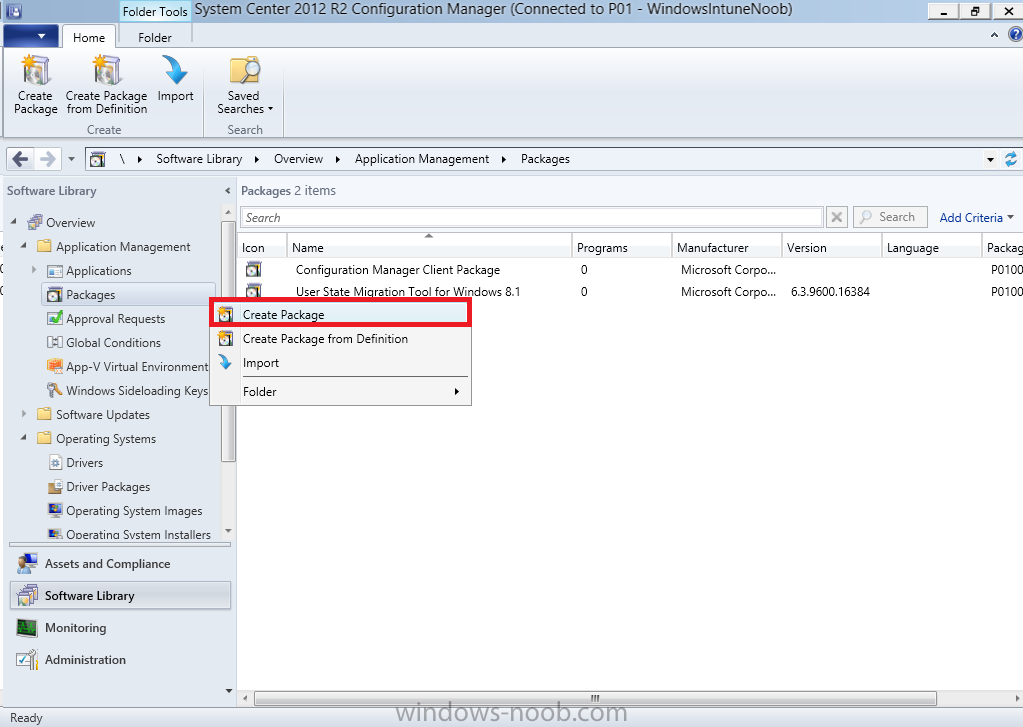
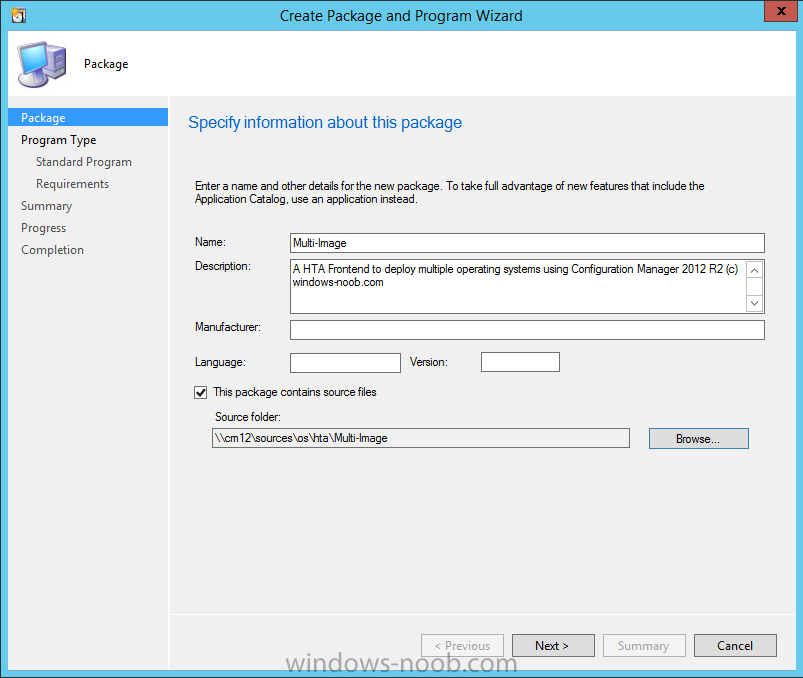
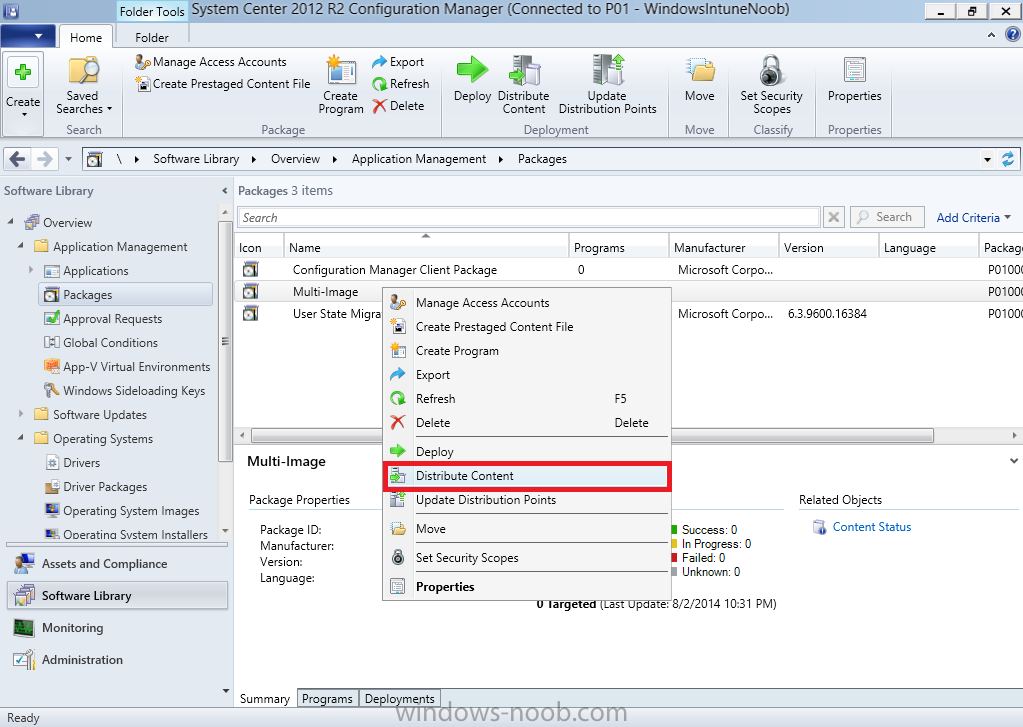
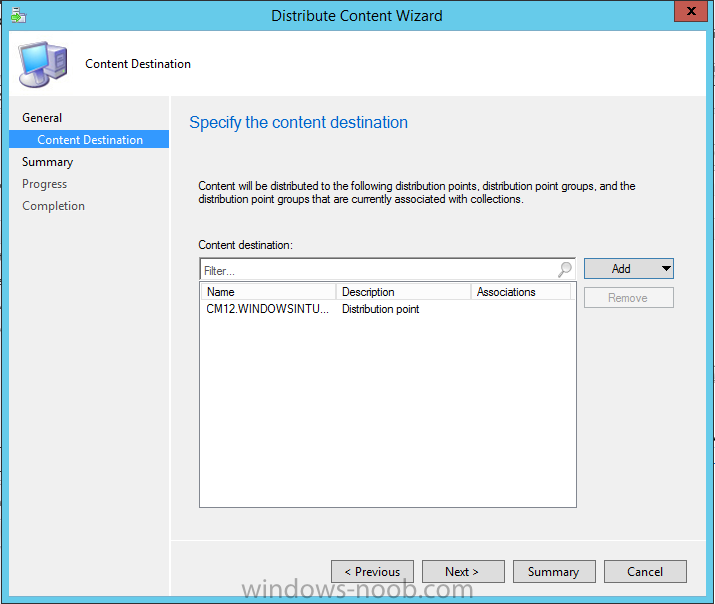
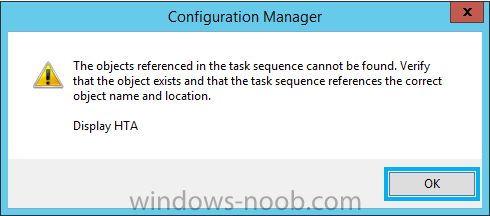
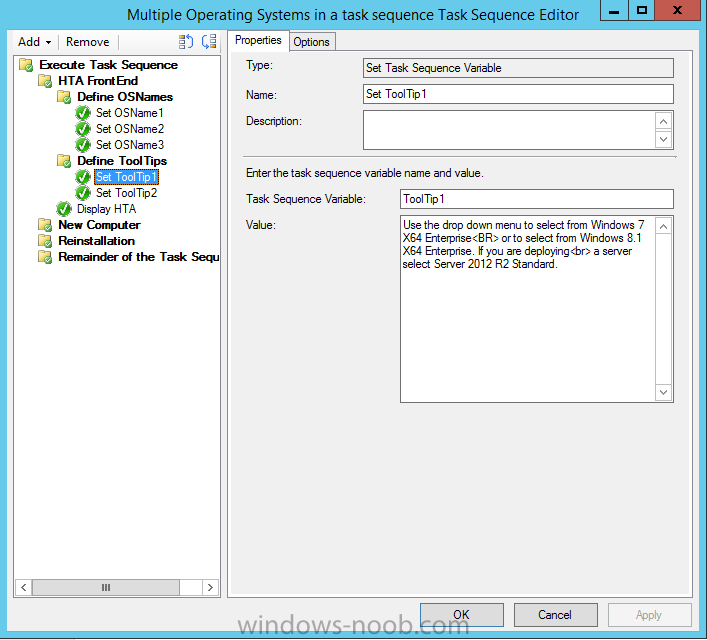
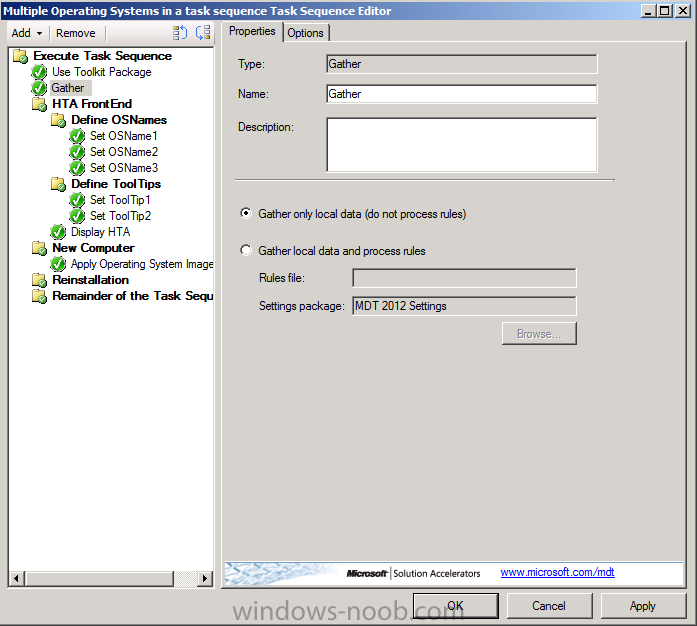
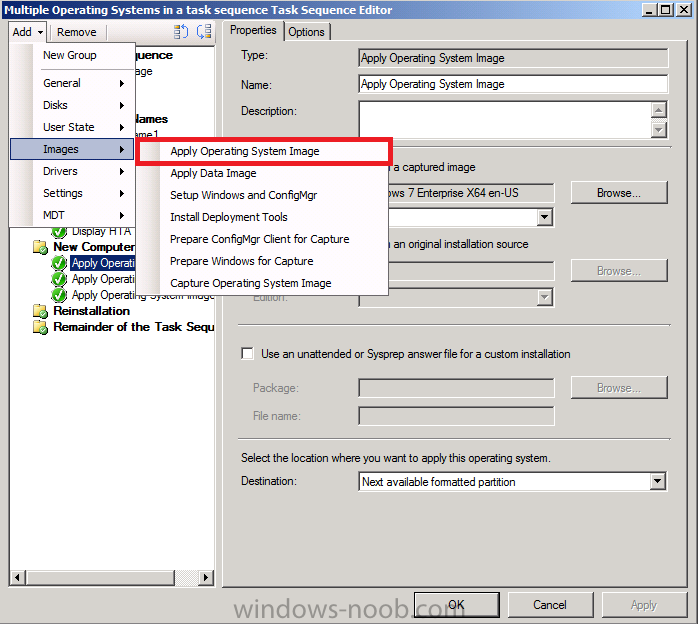
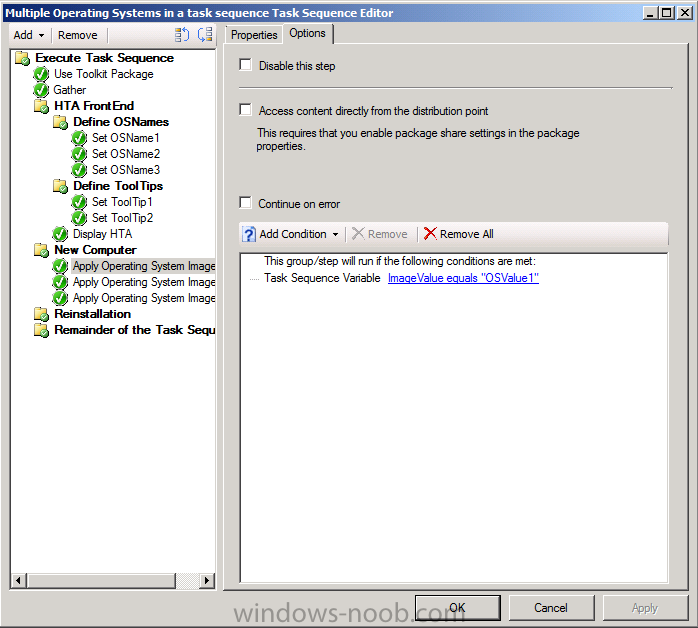
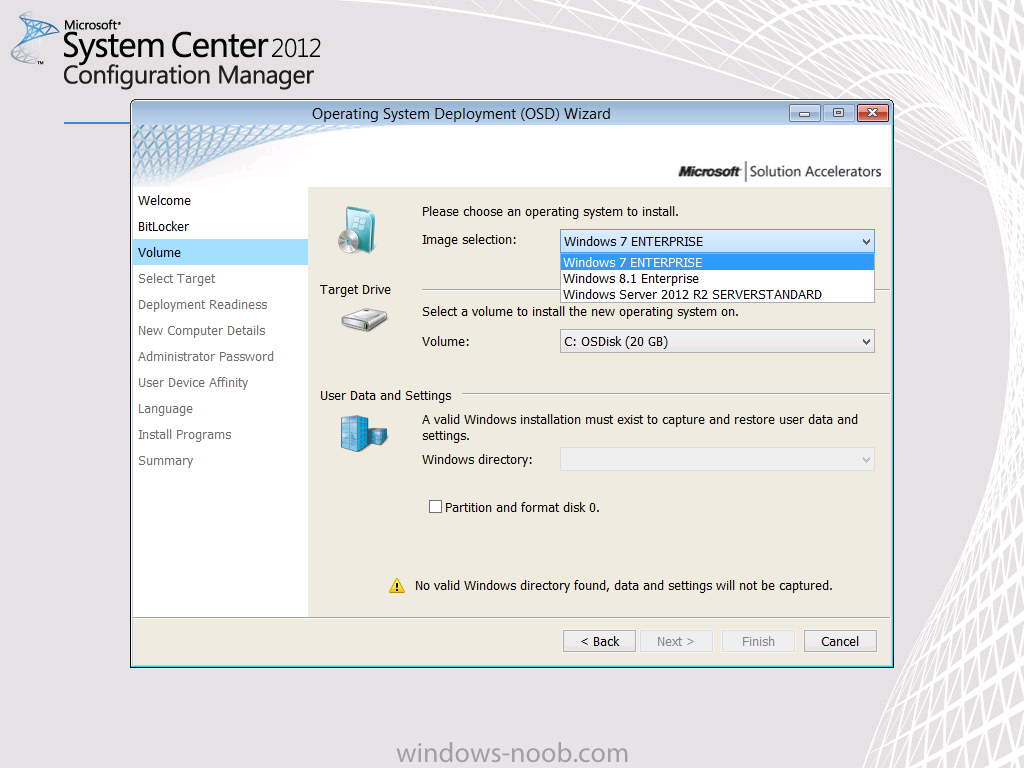
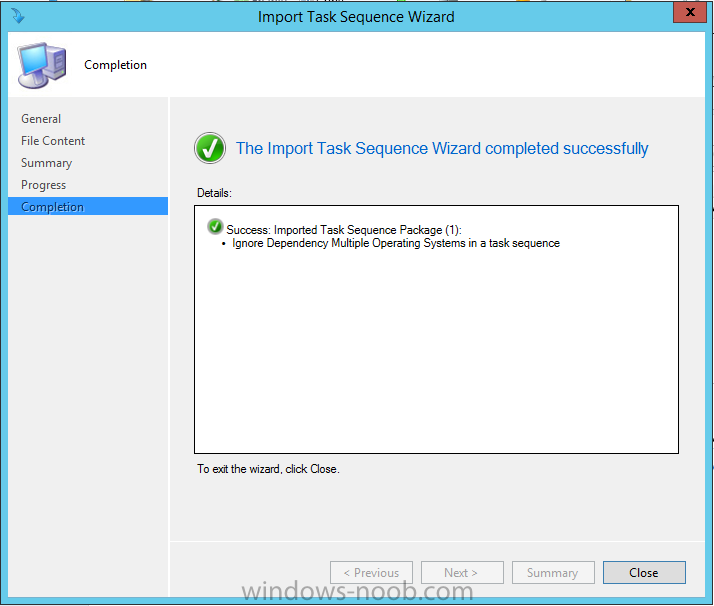
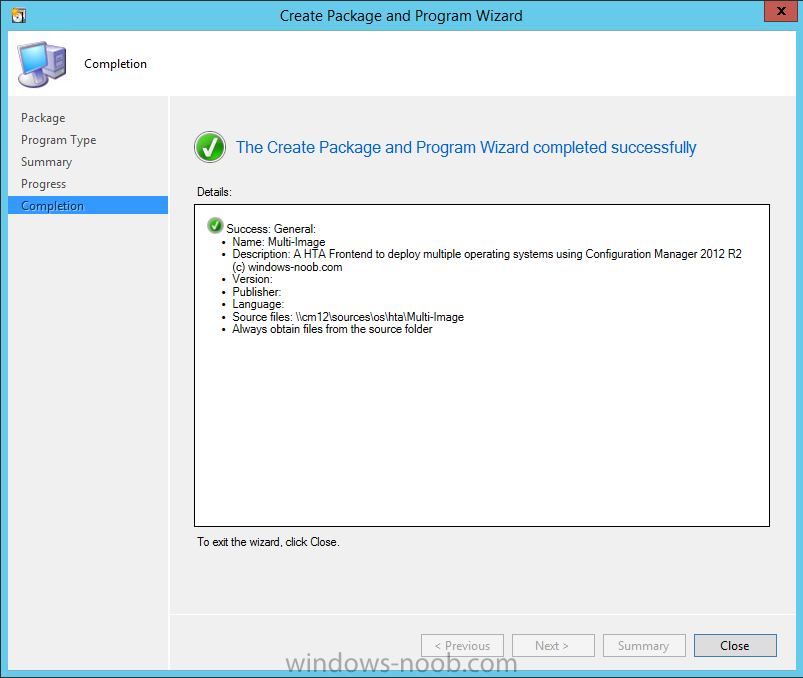
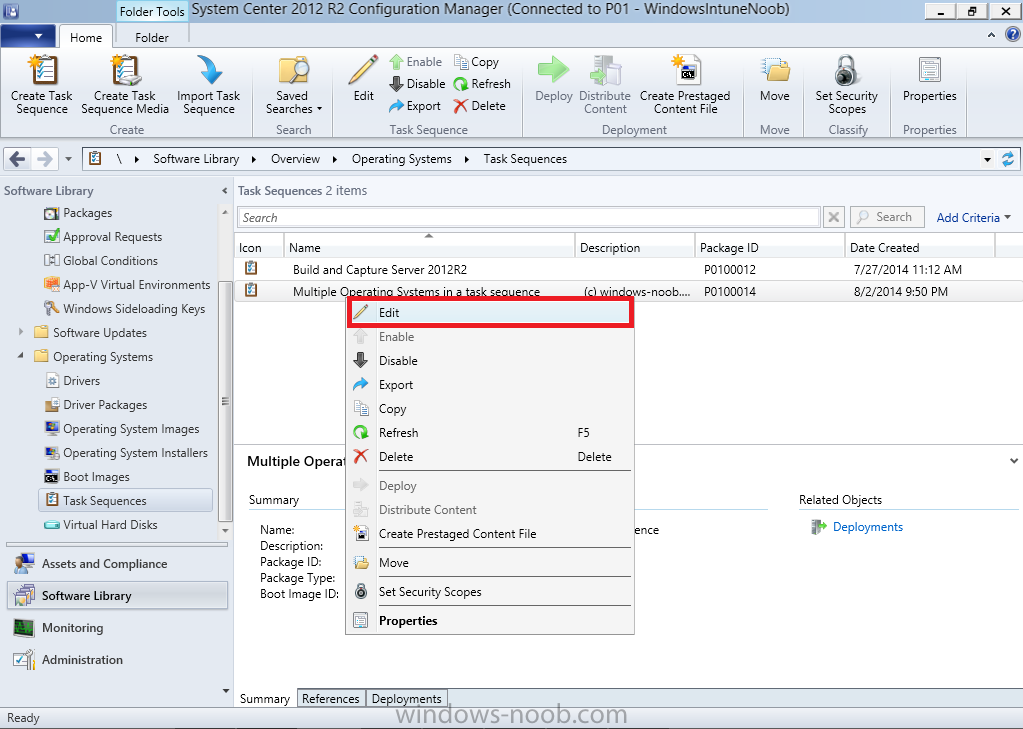
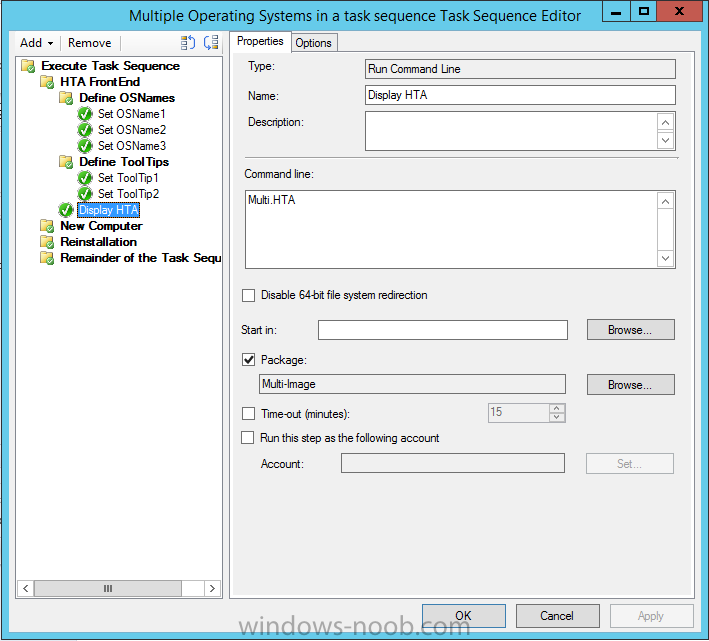
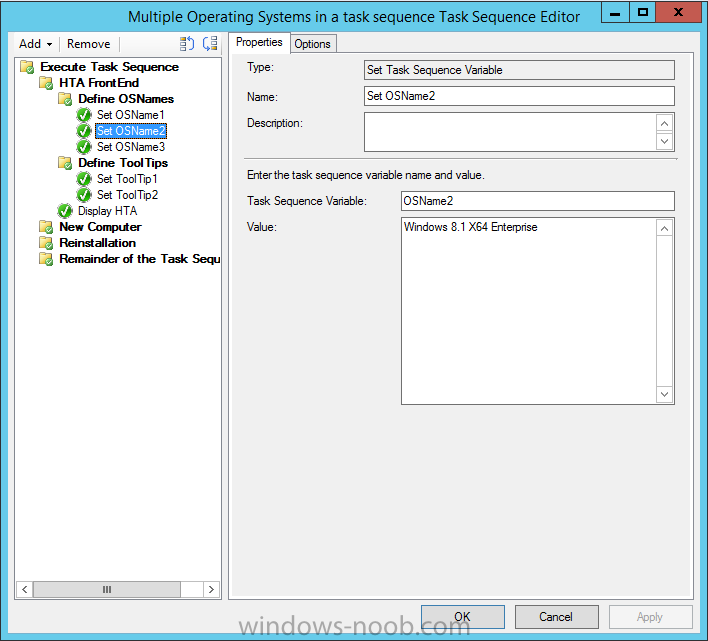
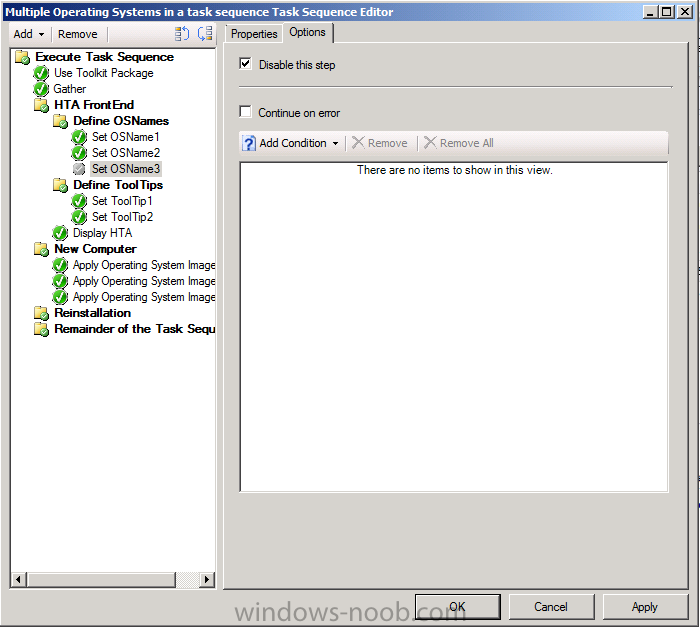
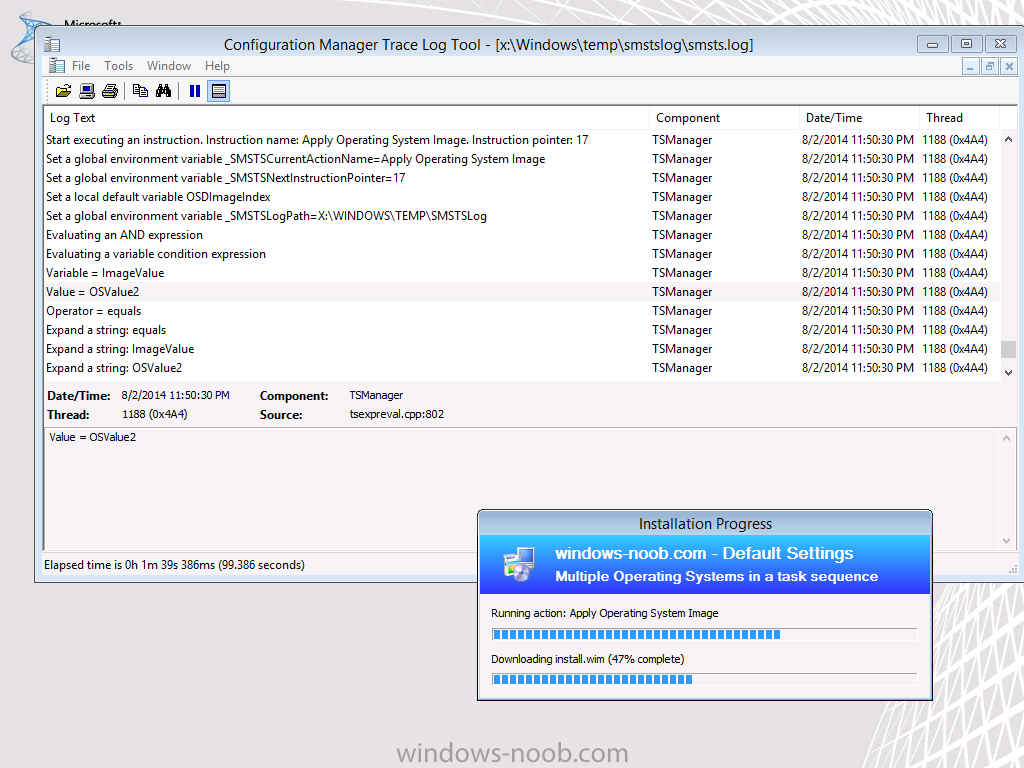
Introduction Traditionally you deploy one operating system per task sequence but there are times when you might want to deploy more than operating system in the same task sequence. There are a variety of ways of doing this, for example you could use a MDT based User Driven Installation (UDI) task sequence which in turn requires you to use the UDI Wizard Designer to edit the Volume page and add, remove or re-order Operating System wim images which can then be displayed to the end user (shown below). This works well as long as you are willing to use UDI based task sequences and the associated UDI Designer Wizard and don't mind updating the MDT Toolkit Files package after doing so. Alternatively you could use a dynamic task sequence which uses a HTA FrontEnd (hypertext application or web page..) that is based on variables set in the task sequence itself. The HTA method is more dynamic as you do not need to update the MDT Toolkit files package every time you make a change to one of the operating systems included in the task sequence and you don't need to use a User Driven Installation based task sequence either. Here is what the FrontEnd looks like you can click on the drop down menus to select from the Operating Systems that you make available In addition you can use tooltips (by hovering over a drop down menu) in this task sequence to display helpful info to the end user about what each operating system is for. So how is it done ? I'll show you. Step 1. Get the Task Sequence Download the Multiple Operating Systems in a Task Sequence below. Multi-Image task sequence.zip You need to import it into your Configuration Manager server. To Import it, in the Configuration Manager console navigate to the Software Library and find the Operating Systems section, right click on Task Sequences and choose Import Task Sequence as shown below. browse to the UNC path where you downloaded the ZIP file above click next, you will get an import failure for the boot wim, select Ignore Dependency as shown below The task sequence is imported successfully. Step 2. Get the HTA Download the Multi Image HTA below Multi-Image.zip Unzip these files and copy them to a folder on your Configuration Manager server. Next, create a package by doing as follows, select Application Management in software Library, and choose Packages, right click and choose Create Package fill in some info about the package, call it Multi-Image Select do not create a program continue through the wizard until done Step 3. Distribute the package Right click on the Multi-Image package and choose Distribute Content, distribute it to all your distribution points as shown below continue until the wizard is complete. Step 4. Edit the Task sequence Right click on the Multiple Operating Systems in a Task Sequence task sequence and choose edit, you'll probably see the error below, it's ok we are going to add that package next... On the Display HTA step, click on the Browse button beside Package, and select the Multi-Image so it looks like below Once done, take a look at the three OSName variables, they are what is shown to the end user in the Multi-Image HTA. You can set these variables to match whatever three (or two or more) operating systems you are deploying in this task seqence. in addition you can define the two tooltips used in the HTA If you want the HTA to display make/model and serial number info then add a MDT Toolkit Files step, immediately followed by a MDT Gather step as shown below (this is optional, and requires MDT Integration with Configuration Manager 2012.) Now you need to add your operating system images, under the New Computer Group,click add,choose images and then apply operating system image as shown below click on browse and browse to your selected operating system image Next, select the Options tab, and add a condition (Task Sequence Variable) and enter the following info, ImageValue = OSValue1 as shown below repeat the above for each Operating System Image you want to deploy, however set the options value for the variable ImageValue to OSValue2 or OSValue3 as appropriate. You don't need to make all three available, you can simply disable one or two in the task sequence if you want and they won't appear in the HTA. Dynamic ! for the purpose of this task sequence, you can go ahead and add a boot wim and then deploy it for testing, obviously you'll want to customize the task sequence to do all the actions you normally do, below you can see that the second Operating System image was selected (OSValue2) and is being deployed as logged in SMSTS.log That's it, job done ! Summary Deploying multiple operating systems with Configuration Manager 2012 R2 is easy enough and there are many ways of doing it, this method is dynamic and I hope you try it out !. Related Reading CM12 in a lab - Part 16. Integrating MDT 2012 with Configuration Manager 2012 CM12 in a lab - Part 17. Using MDT 2012 with Configuration Manager 2012 CM12 in a lab - Part 18. Deploying a UDI Client Task Sequence Downloads You can download a Microsoft Word copy of this guide here. Multiple Wim Images in One Task Sequence.zip


 1 point