


Introduction
Configuration Manager 2309 was just released to the early update ring, you can read about that here.
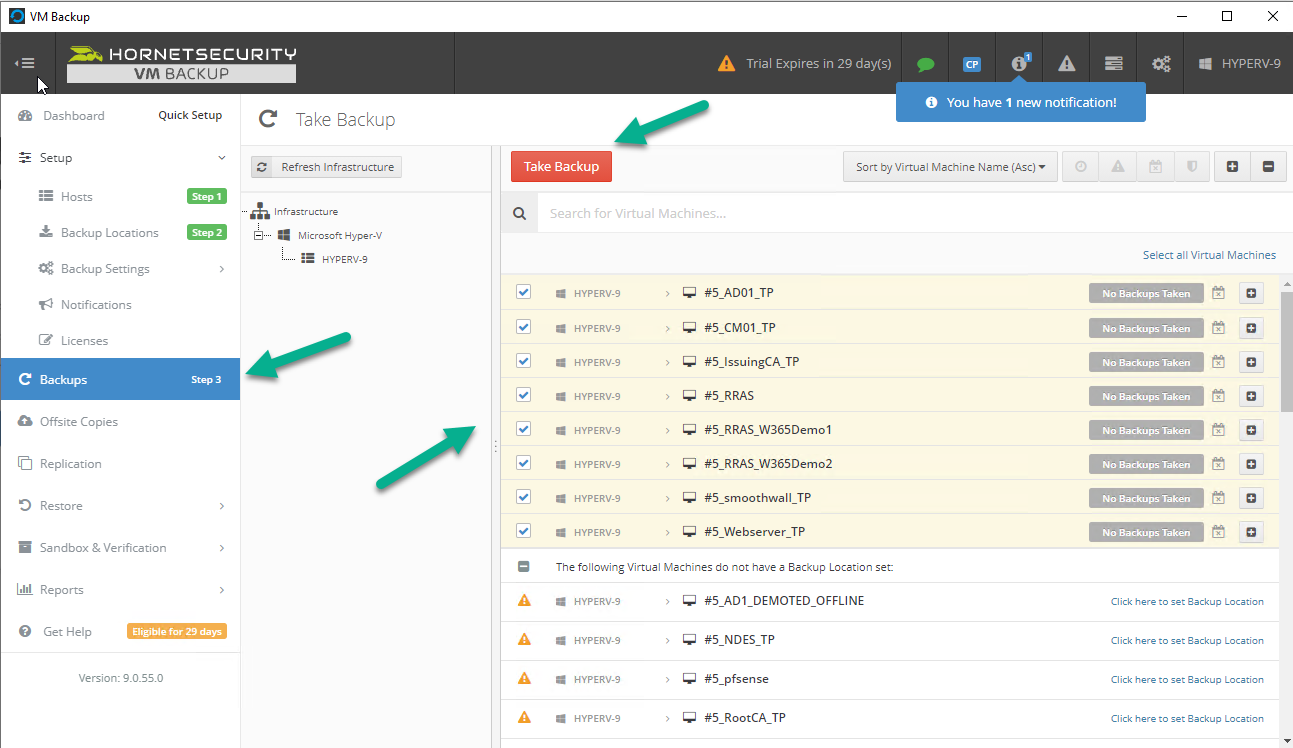
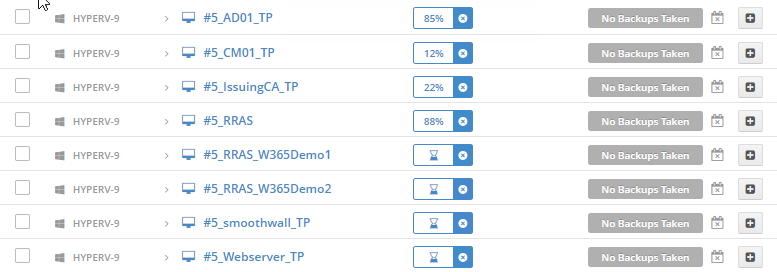
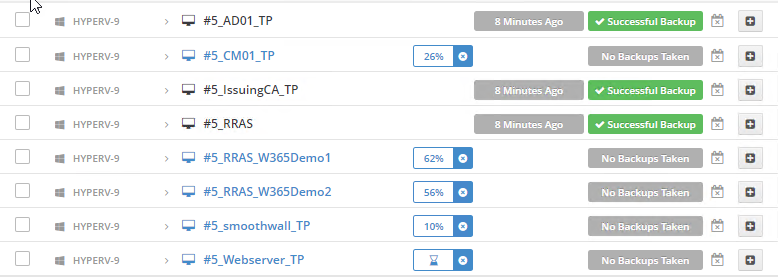
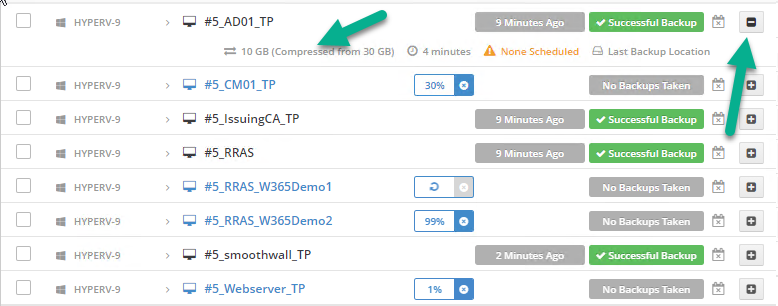
In this video I show you how I upgraded my PKI enabled (HTTPS) ConfigMgr 2303 site to 2309, take a brief look at some of the features, show that you need to upgrade the SQL ODBC driver before starting the upgrade and more.
Related reading
- Early ring opt in script – https://go.microsoft.com/fwlink/?linkid=2099733
- Update 2309 now available – https://techcommunity.microsoft.com/t5/configuration-manager-blog/update-2309-for-microsoft-configuration-manager-current-branch/ba-p/3928963
- Whats new in 2309 – https://learn.microsoft.com/en-us/mem/configmgr/core/plan-design/changes/whats-new-in-version-2309
- SQL ODBC driver download – https://learn.microsoft.com/en-us/sql/connect/odbc/download-odbc-driver-for-sql-server?view=sql-server-ver16
- Johan Arwidmarks VBS FOD fix – https://www.deploymentresearch.com/fixing-vbscript-support-in-windows-adk-sep-2023-update-build-25398/
- Technical Preview 2305 – https://www.niallbrady.com/2023/05/27/technical-preview-2305-is-out-should-you-upgrade-yes/
- Technical Preview 2307 – https://www.niallbrady.com/2023/07/29/a-quick-look-at-configuration-manager-2307-technical-preview/


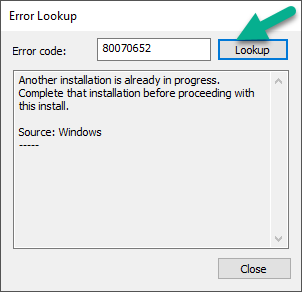
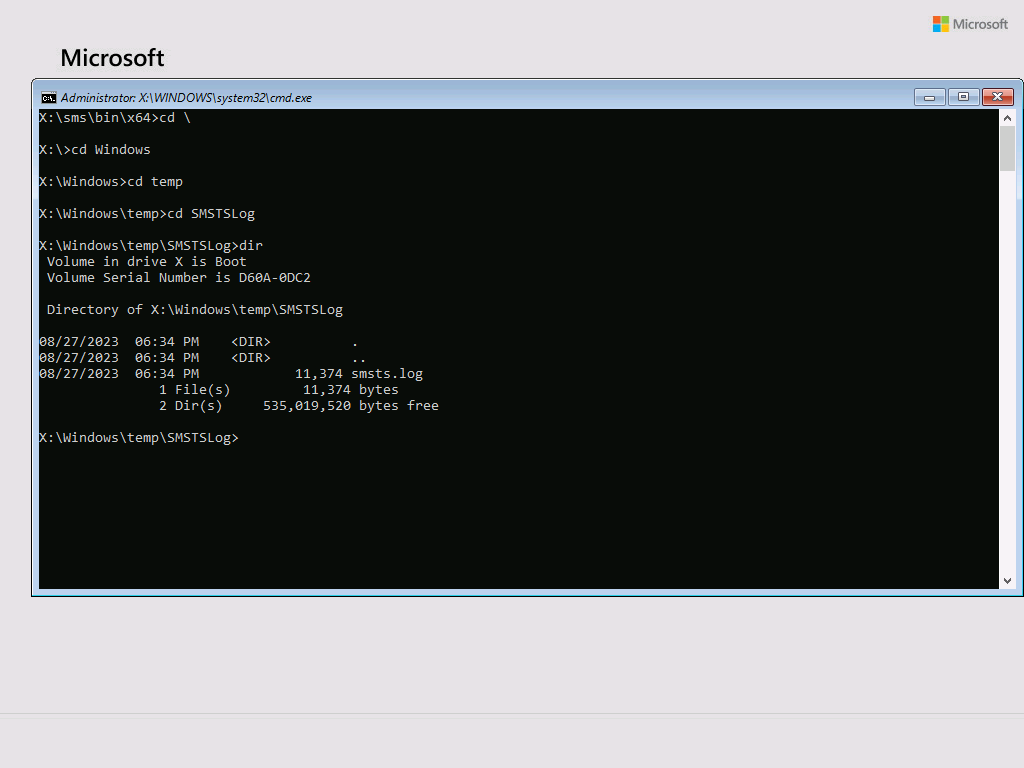


Error 0x80070026: Reached the end of the file
in Windows 10
Posted
interesting! thanks for updating the thread