Search the Community
Showing results for tags 'DataMarts'.
Found 1 result
-
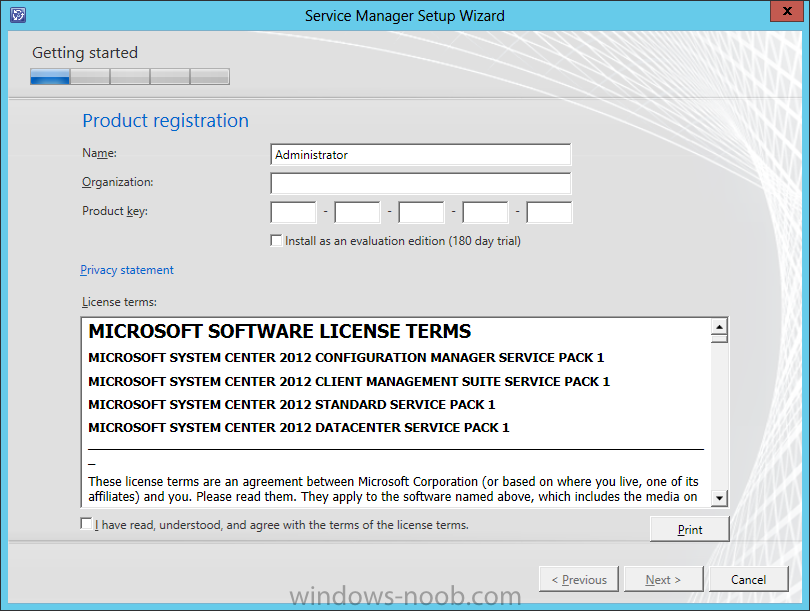
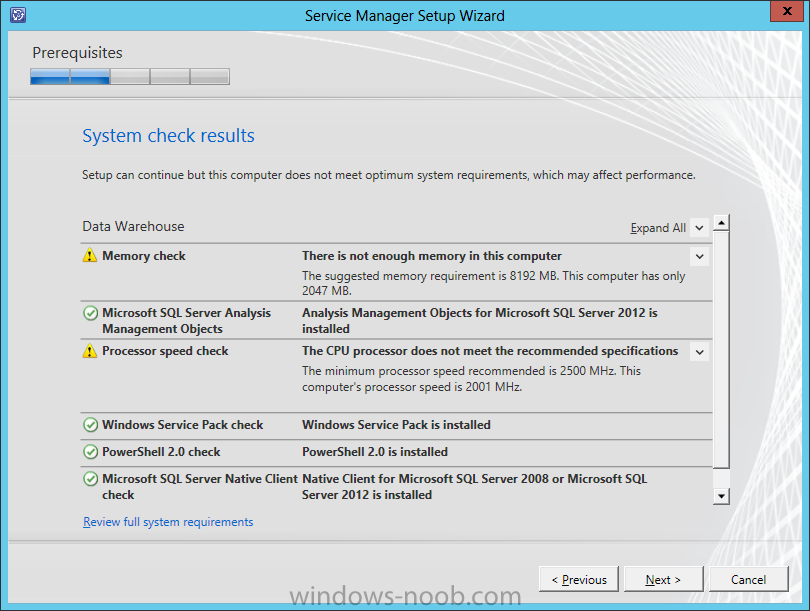
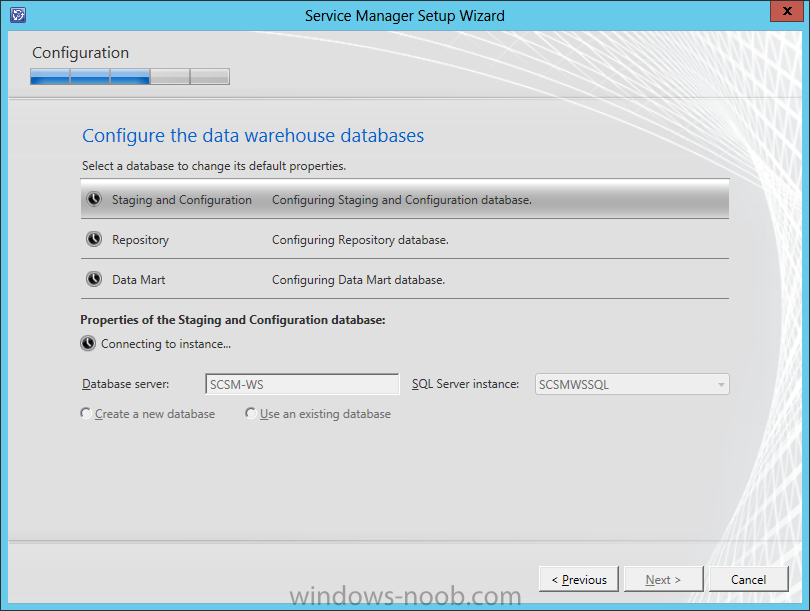
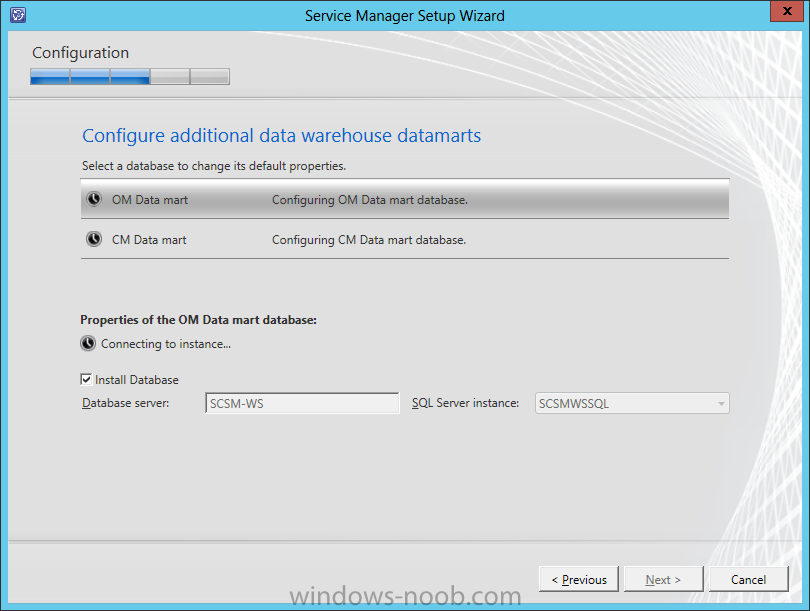
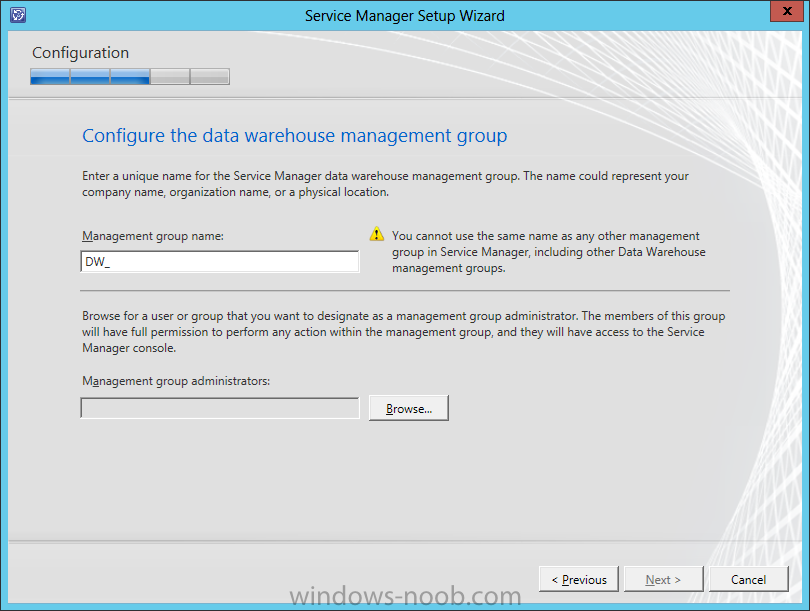
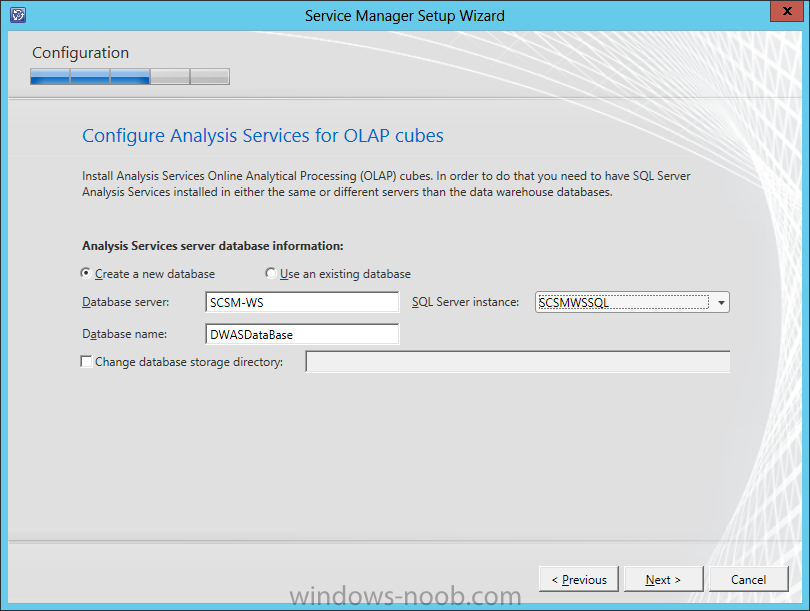
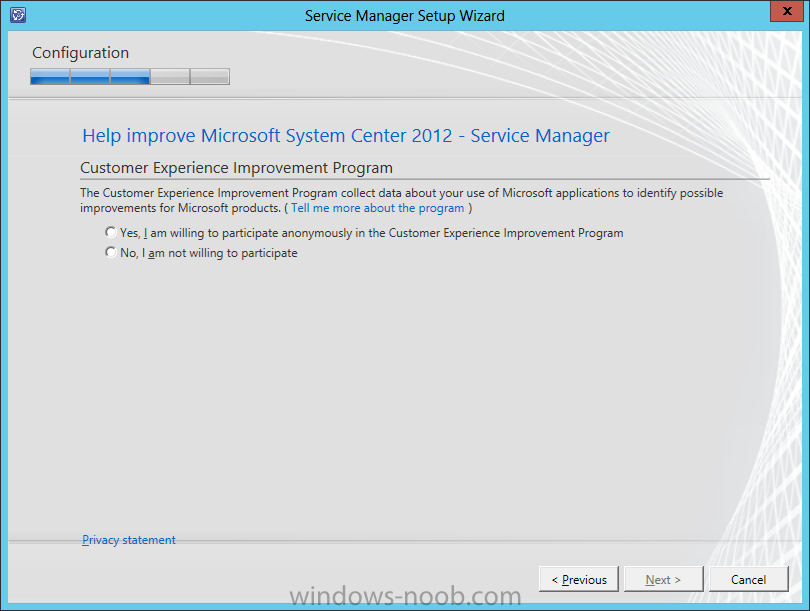
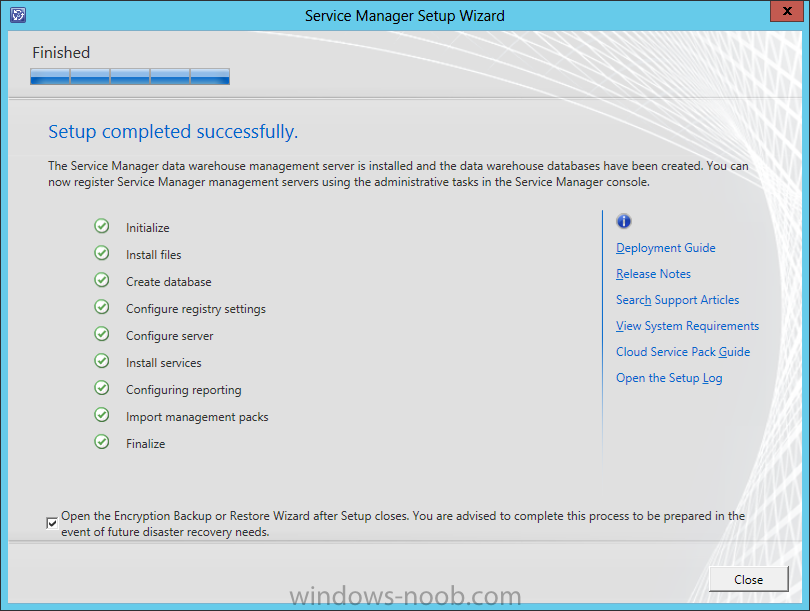
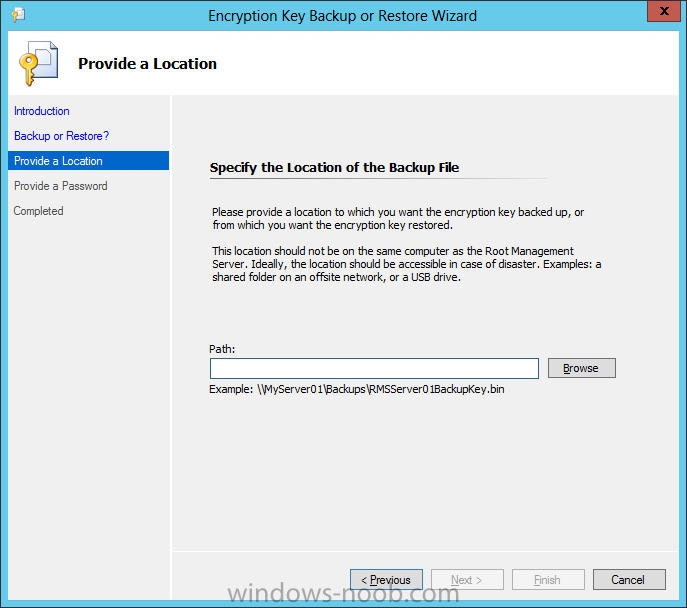
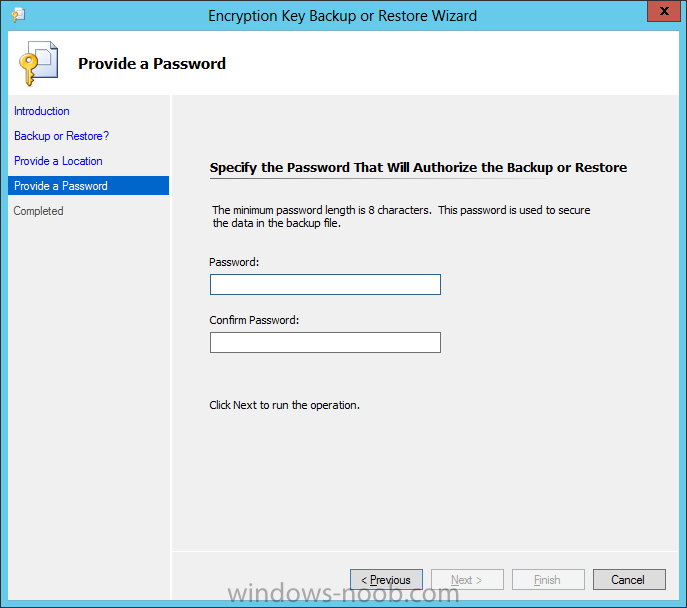
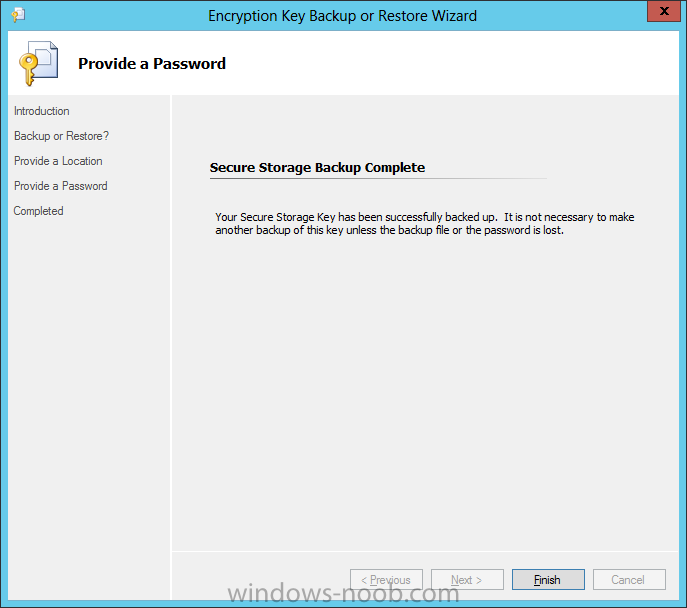
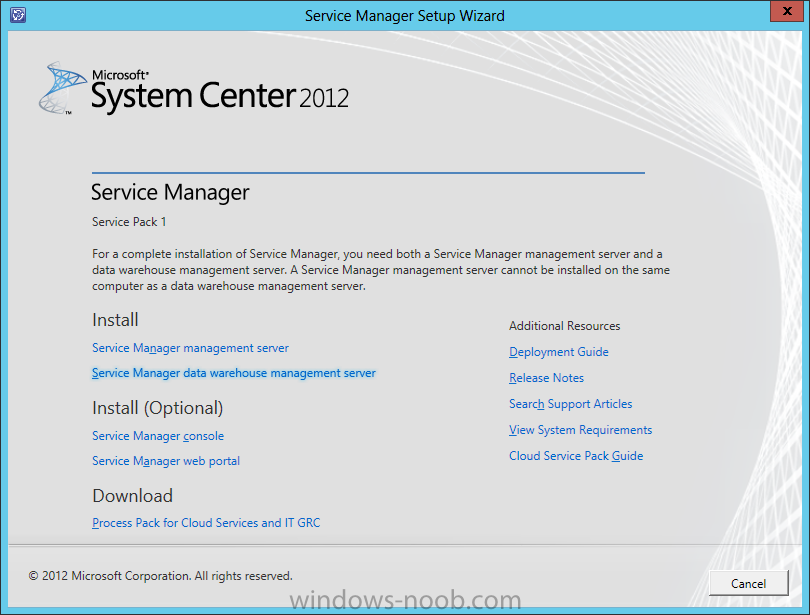
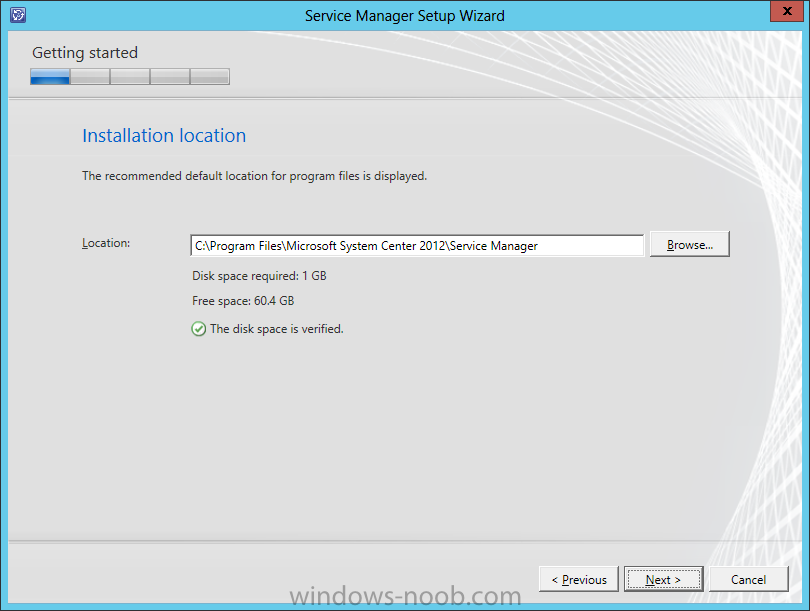
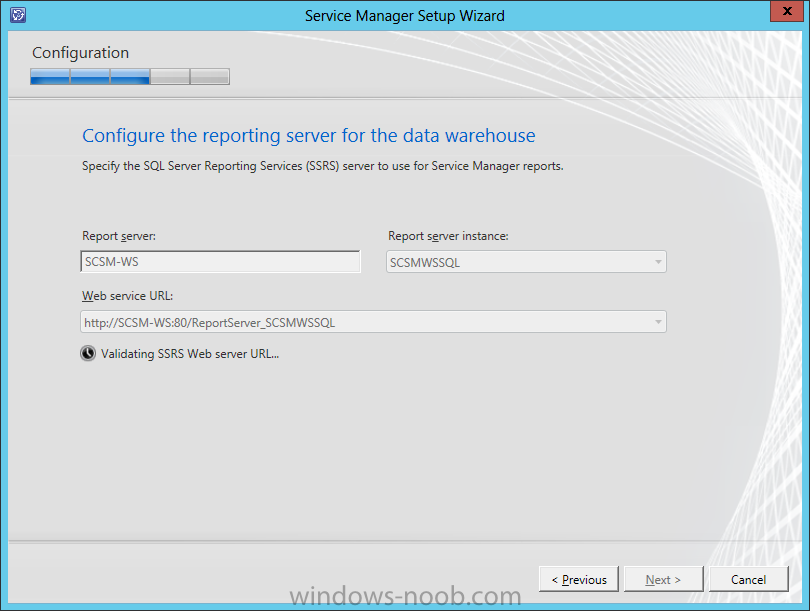
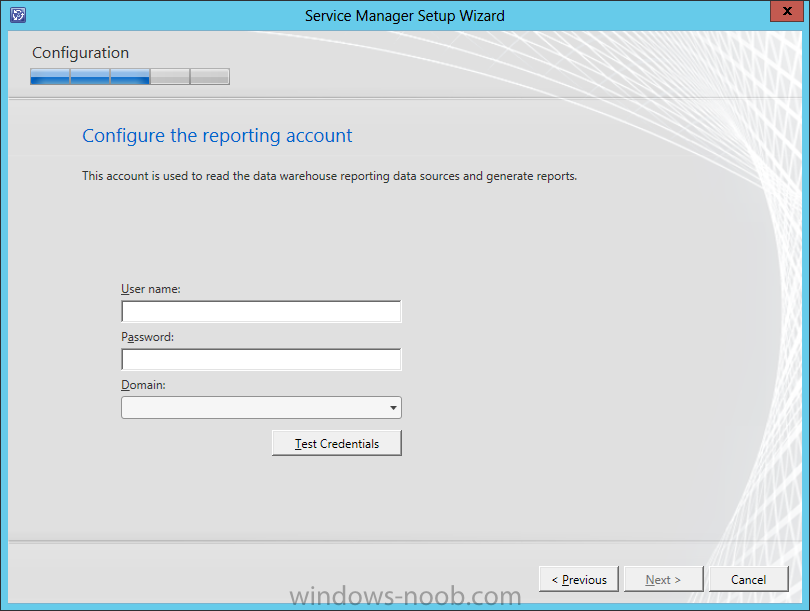
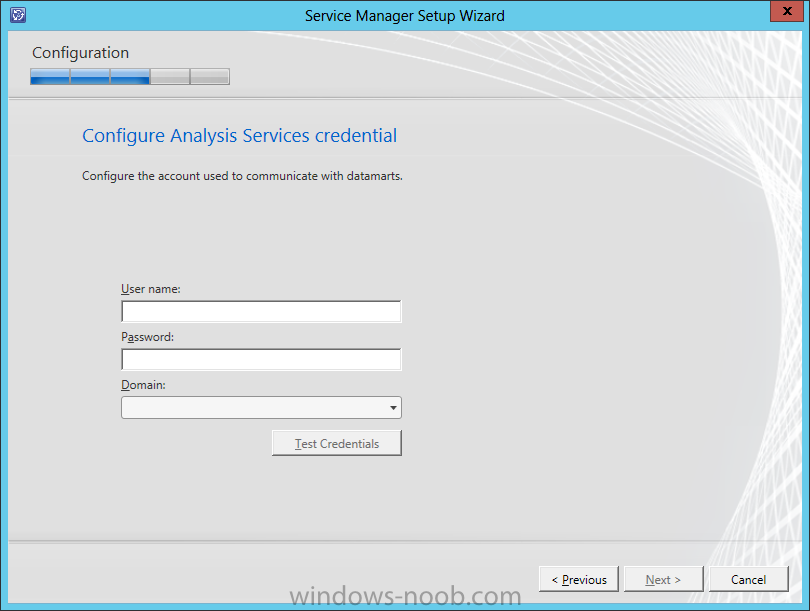
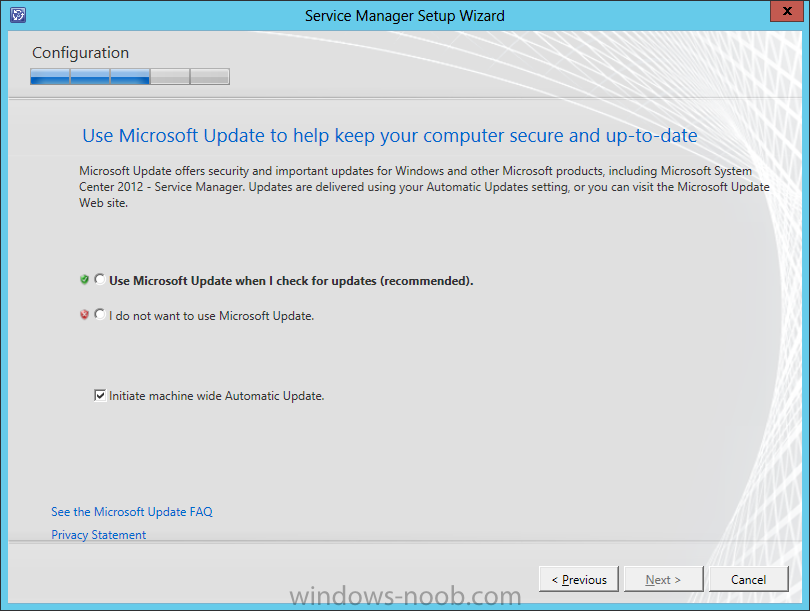
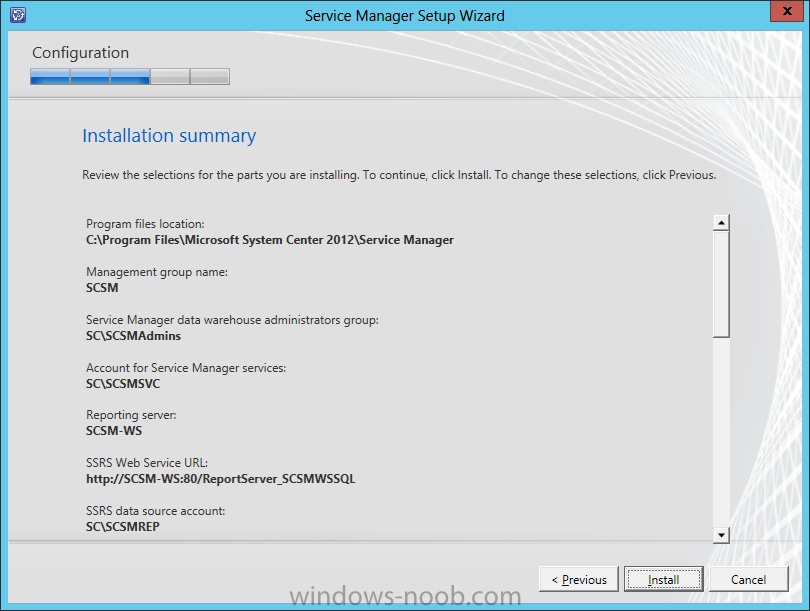
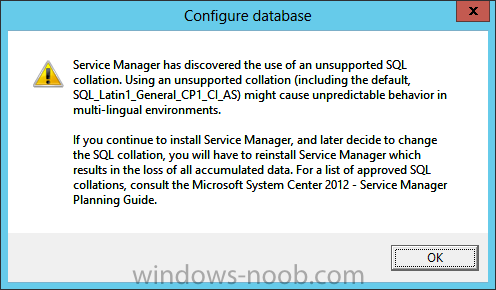
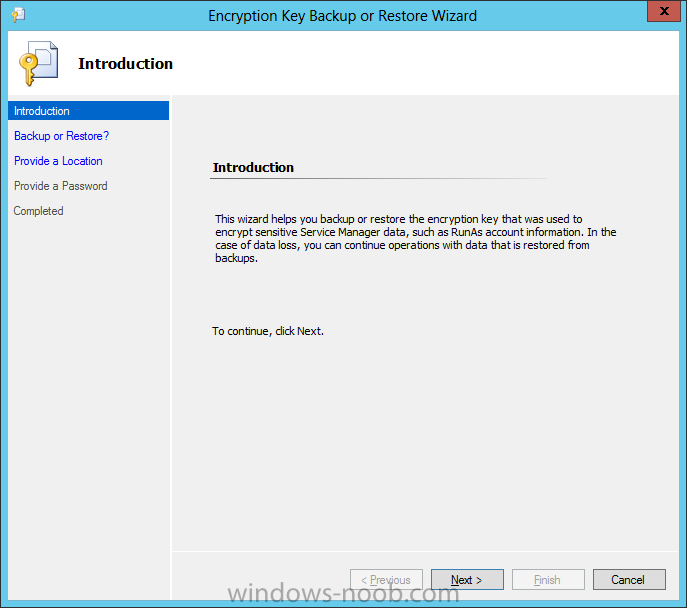
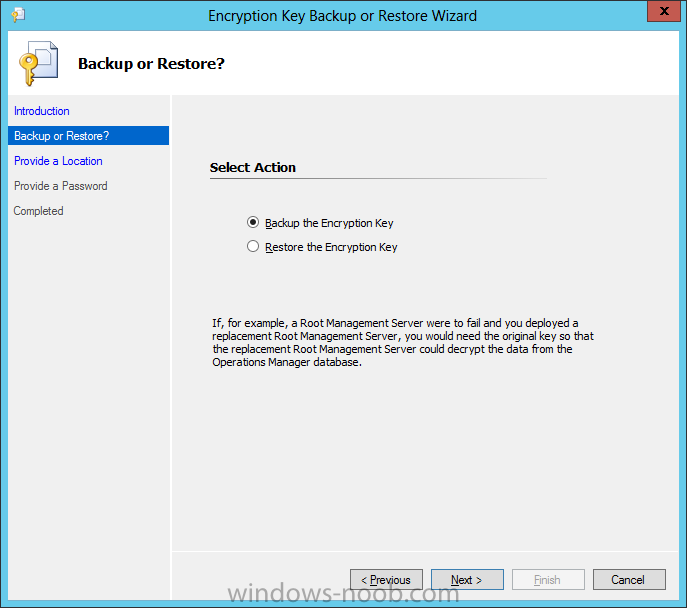
 Now that we have the Service Manager Management Server installed, we can move onto the Data Warehouse. Install PrerequisitesTo start, before we will actually be able to install Service Manager Management Server, we have to install a few prerequisites. § .NET Framework 3.5 SP1 § Microsoft SQL Server Analysis Management Objects § Microsoft SQL Server Native Client Install SCSM-WS (Warehouse Server)Start by either extracting the DVD contents, or mounting the ISO (the TechNet ISO is currently labelled as mu_system_center_2012_service_manager_with_sp1_x64_dvd_1348926). Start by opening your DVD drive, navigating to the corresponding architecture (i.e. x86 or amd64), and run the Setup.exe. On the splash screen click the Service Manager Data Warehouse Management Server install link. On the Product Registration screen, enter a Name, Organization, and Product Key. Also read the License Terms and check the ‘I agree’ checkbox, then click Next. On the Installation Location screen, you can either accept the default location, or change it according to your needs. Then click Next. The Prerequisite checker will run and indicate if there are any issues preventing the installation from continuing. If there are any identified issues, resolve the issue(s) until all checks are green and/or if there are only Warnings left. Then click Next. The next screen is to configure the Data Warehouse databases. You may encounter this Warning message. This is the same message from when we installed the Management Server for Service Manager. Click OK. This will return you to the Data Warehouse database screen. It may take some time but once it has connected to the instance successfully, click Next. When you click Next on the Data Warehouse database screen, you will be presented with the Data Warehouse Datamarts screen. This is where Service Manager collects the data from Operations Manager (OM), and Configuration Manager (CM). You will encounter this Warning message again, just click OK. This will return you to the Data Warehouse Datamarts screen. It may take some time but once it has connected to the instance successfully, click Next. On the Data Warehouse Management Group screen, provide a group name. Note that this should be different from other Management Groups (i.e. SCCM, SCOM). Also add a user or group as the Administrator. In a Production environment, it is best to use an Active Directory Security Group as it is easier to add/remove individuals. On the Reporting Server screen, you will have to wait for the validation to complete, then click Next. Next you need to either specify to use a Local Account, or specify a Domain Account for the Service Manager services. This can be the same domain account used for the services on the Management Server. You will not be able to click Next until the credentials are tested successfully. Once it is, then click Next. On the Reporting Account screen, provide an account and click the Test Credentials button. Then click Next. On the Analysis Services screen, we will accept the defaults in our lab example, and click Next. You next need to provide an Analysis Services service account. Provide the credentials and click the Test Credentials button. You will not be able to click Next until you do. Once tested, then click Next. On the CEIP screen, choose whether you will join the program, and then click Next. New to System Center 2012, you can choose to include the System Center product in Microsoft Updates. Make your applicable choice and then click Next. On the Summary screen, review the selections made, and then click Install. Once the installation is complete, ensure that the ‘Open the Encryption Backup or Restore Wizard’ checkbox is selected. Then click Close. Encryption Key BackupWhen the Encryption Key Backup wizard launches, read the Introduction information and then click Next. On the Backup or Restore screen, select ‘Backup the Encryption Key’ and click Next. On the Provide A Location screen, it is recommended to store the Encryption Key backup in a secure location (i.e. a file server that is regularly backed up). Enter an applicable UNC path, along with a filename, and then click Next. On the Provide A Password screen, provide a password for security purposes (and keep it in a secure location), and click Next. Once the backup is complete, click Finish. That completes the installation of Service Manager’s Warehouse Server. We now need to install the SharePoint / Self-Service Portal.