Search the Community
Showing results for tags 'Active Directory Connector'.
Found 1 result
-
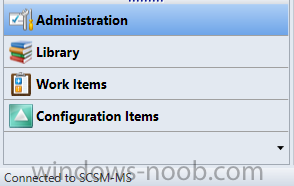
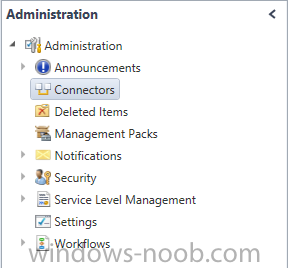
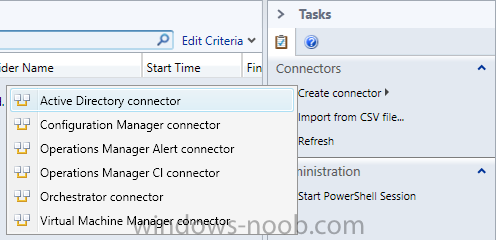
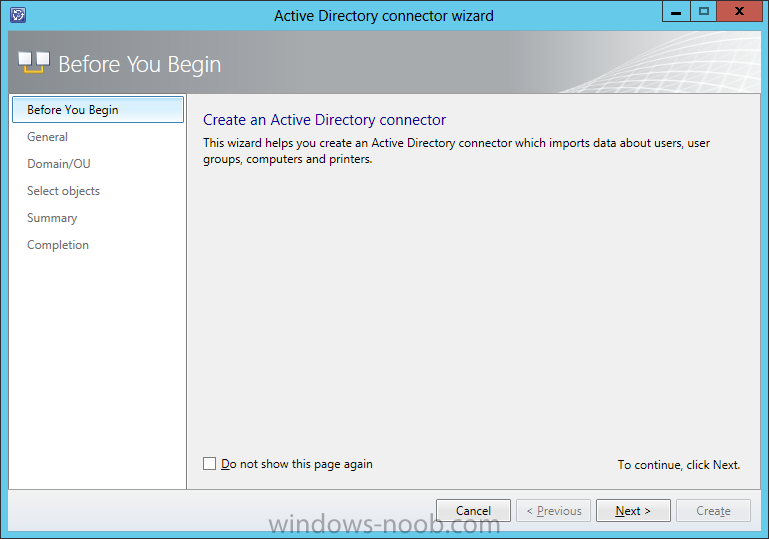
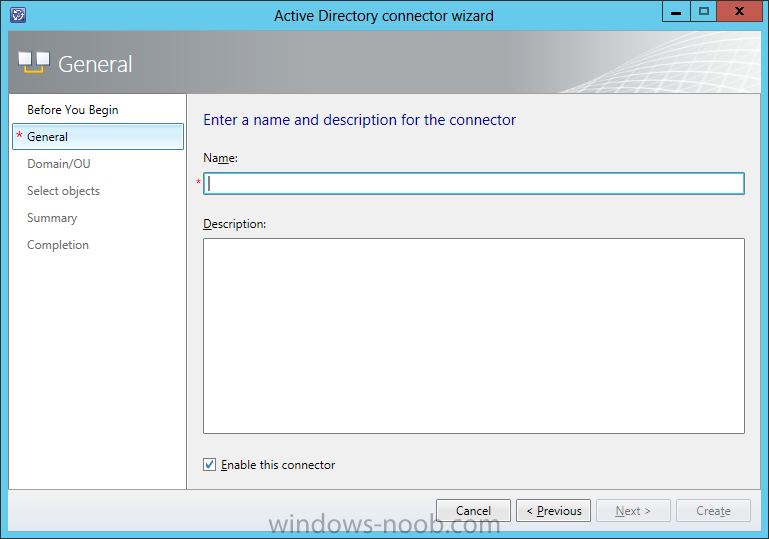
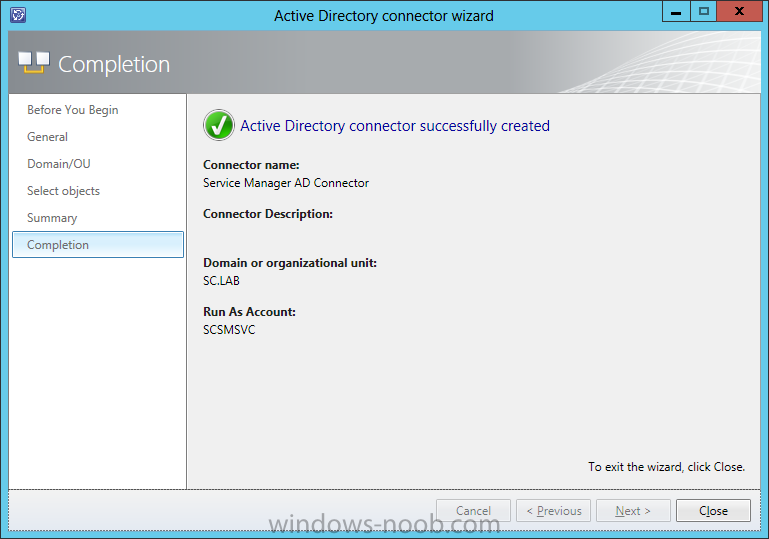
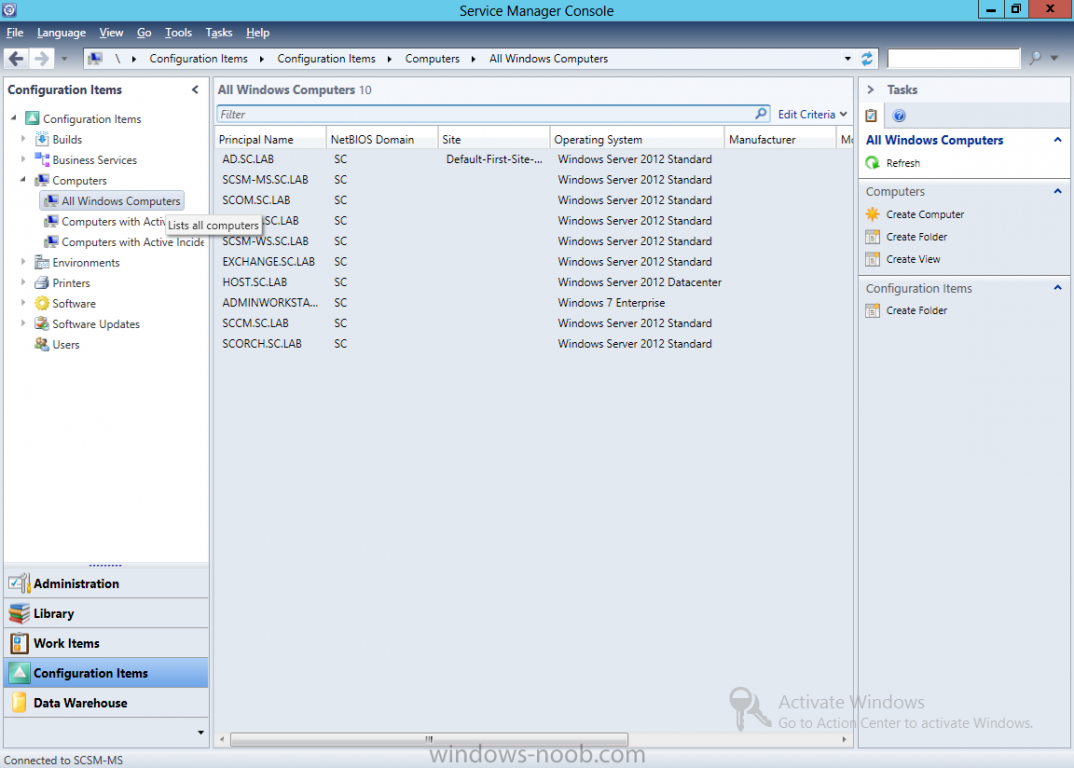
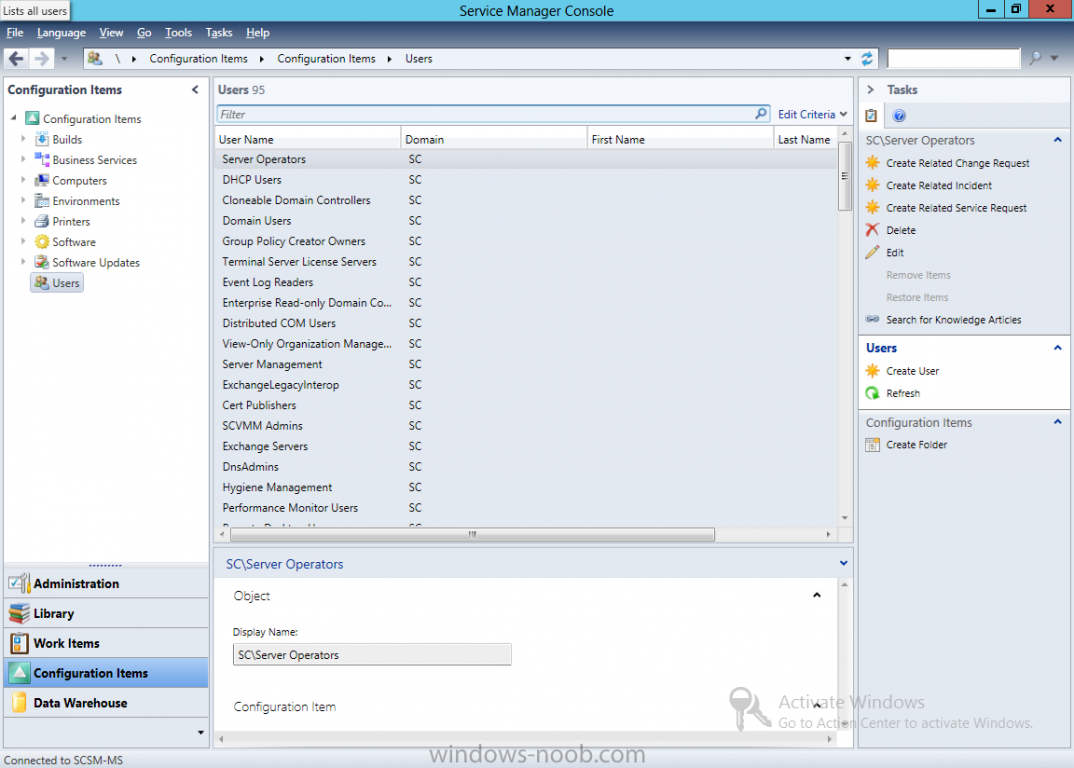
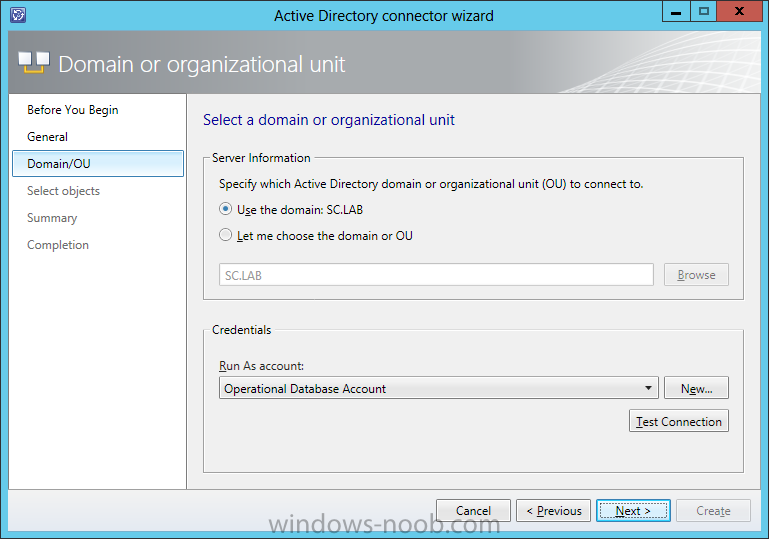
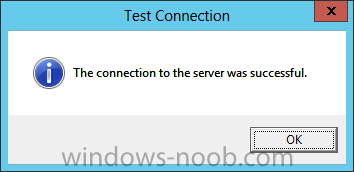
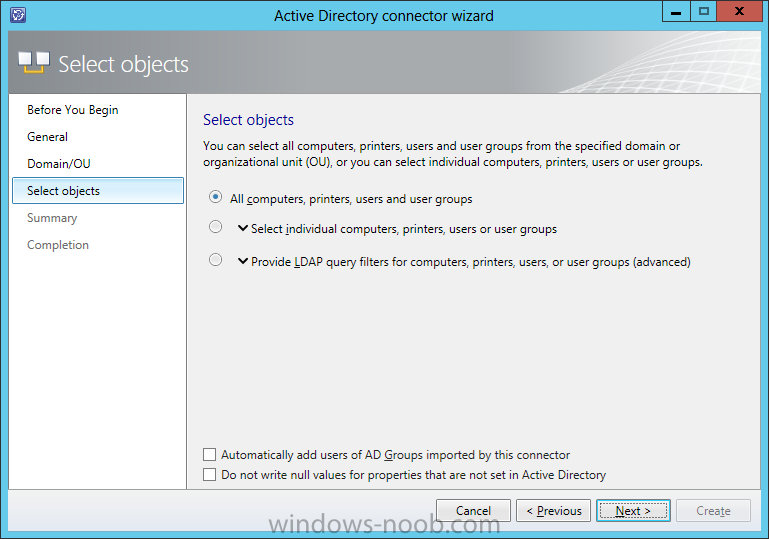
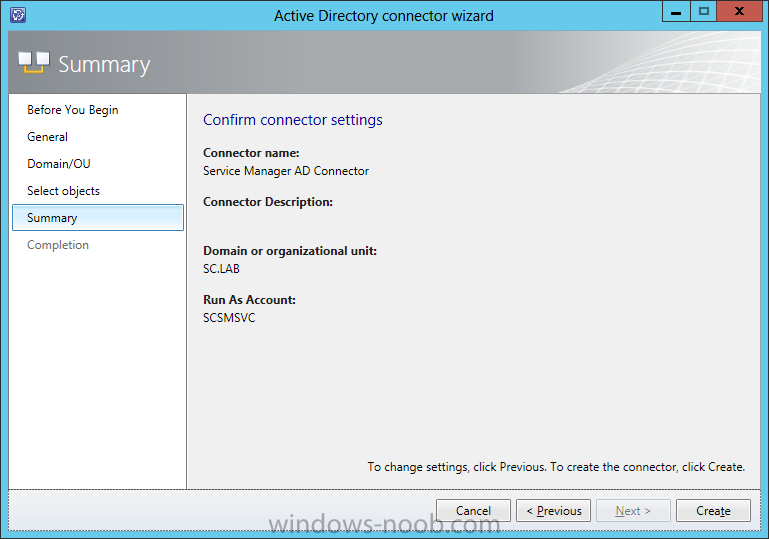
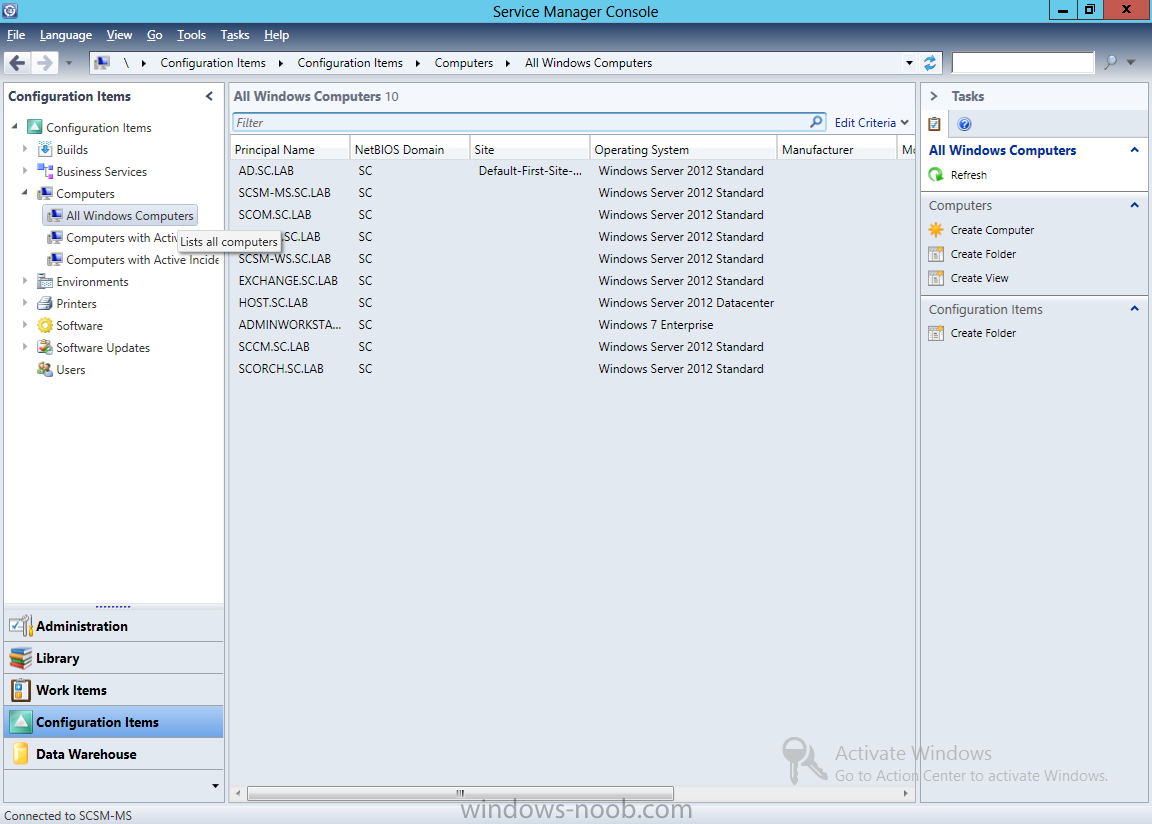
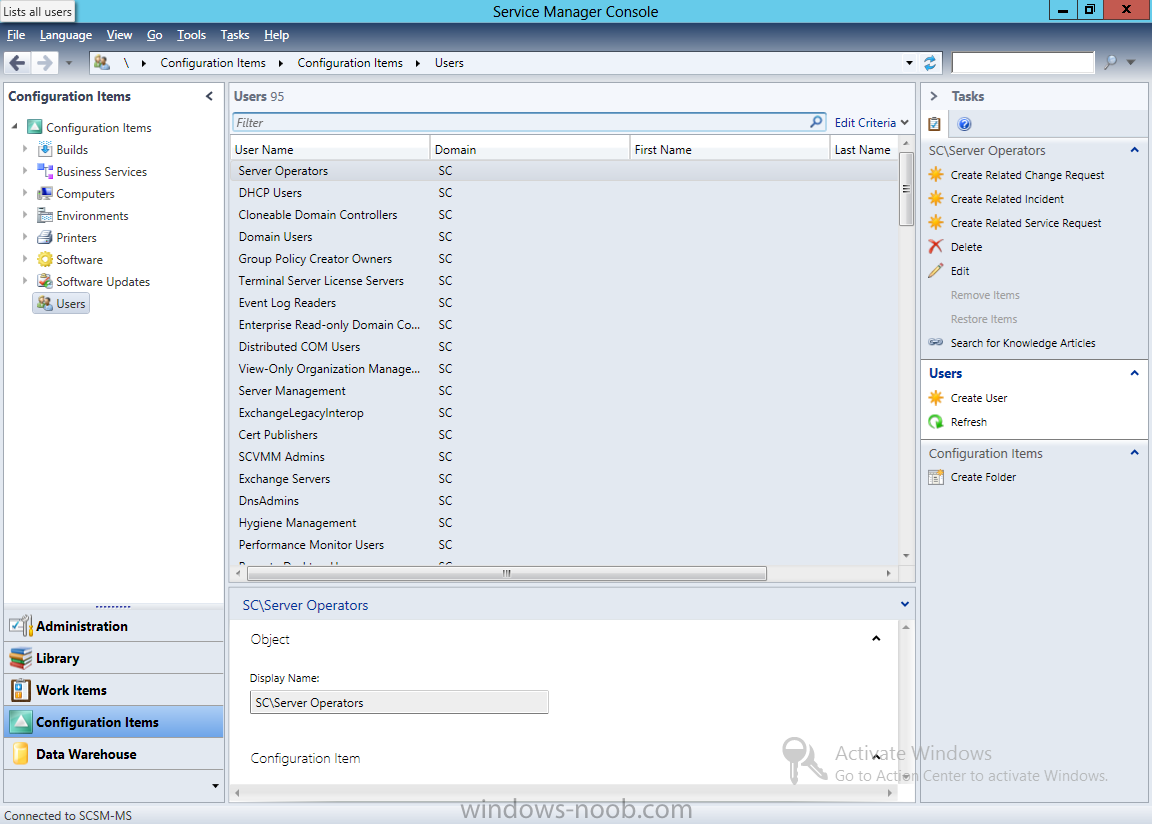
 Now we are going to configure the Active Directory (AD) connector to Service Manager. In the Service Manager console, click Administration. In the Administration pane, expand Administration, and then click Connectors. In the Tasks pane, under Connectors, click Create Connector, and then click Active Directory Connector. Complete these steps in the Active Directory Connector Wizard: On the Before You Begin page, click Next. On the General page, in the Name box, type a name for the new connector. Make sure that the Enable this connector check box is selected, and then click Next. On the Domain or organizational unit page, select Use the domain: <domain name>. Or, select Let me choose the domain or OU, and then click Browse to choose a domain or an organizational unit (OU) in your environment. In the Credentials area, click New. In the Run As Account dialog box, in the Display name box, enter a name for the Run As account. In the Account list, select Windows Account. Enter the credentials for an account that has rights to read from AD DS, and then click OK. On the Domain or organizational unit page, click Test Connection. In the Test Connection dialog box, make sure that The connection to the server was successful is displayed, and then click OK. On the Domain or organizational unit page, click Next. On the Select objects, do the following: Select All computers, printers, users, and user groups to import all items or, Select Select individual computers, printers, users or user groups to import only the selected items or, Select Provide LDAP query filters for computers, printers, users, or user groups if you want to create your own Lightweight Directory Access Protocol (LDAP) query. If you want new users that are added to any groups you import to be added automatically to Service Manager, select Automatically add users of AD Groups imported by this connector, and then click Next. On the Summary page, make sure that the settings are correct, and then click Create. On the Completion page, make sure that you receive the following confirmation message: “Active Directory connector successfully created.” Then, click Close. To validate the creation of an Active Directory connectorIn the Connectors pane, locate the Active Directory connector that you created. You might have to wait for a minute before the connector appears. In the Connectors pane, review the Status column for a status of Finished Success. In the Configuration Items pane, expand Configuration Items. Expand Computers and All Windows Computers, and verify that the intended computers from AD DS appear in the All Windows Computers pane. Expand Printers, expand All Printers, and then verify that the intended printers from AD DS appear in the All Printers pane. In the Service Manager console, click Configuration Items. In the Configuration Items pane, click Users, and then verify that the intended users and user groups from AD DS appear in the Users pane. To confirm the status of an Active Directory connectorView the columns in the Connector pane; the columns contain information about the start time, the finish time, the status, and the percentage of imported configuration items.