KV-Tools
-
Posts
2 -
Joined
-
Last visited
-
Days Won
1
KV-Tools's Achievements
")
Newbie (1/14)
1
Reputation
-
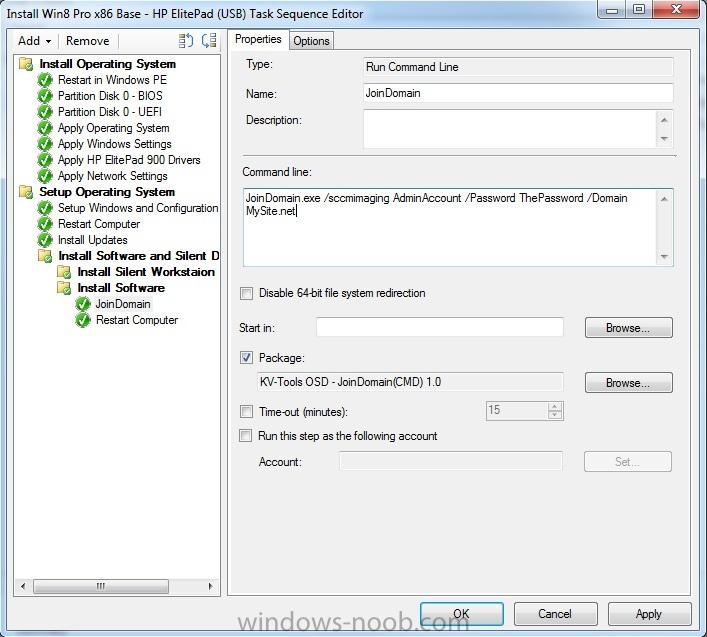
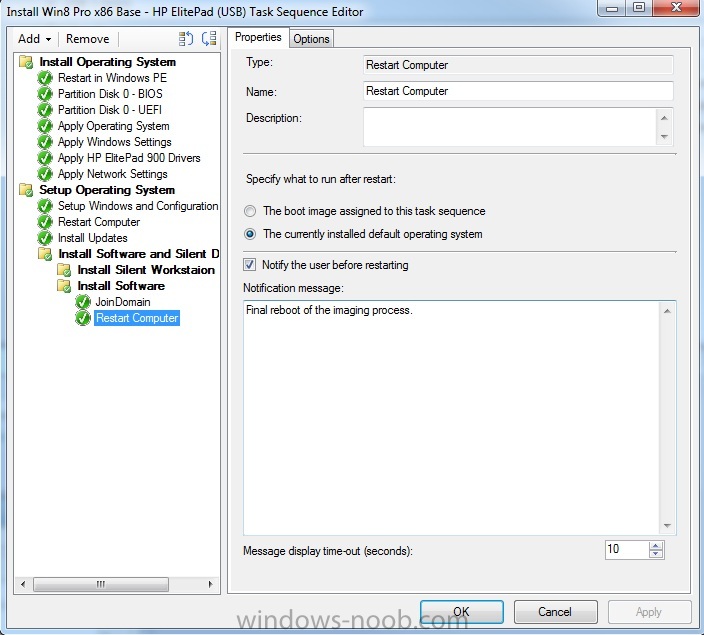
"Microsoft currently does not support the ability to connect to wireless during the pre-installation environment and windows has to configure before any connections can be made." This means that no wireless connections can be made until “Setup Windows and Configuration Manager” has started. Once part of "Setup Windows and Configuration Manager" completes you will be prompted to connect to a wireless connection automatically. If you are not connected to your LAN the “Configure Network” step will not join a domain. That is the reason for step 4 saying setup your machines connection on a Workgroup. Your machine has to be able to communicate with your domain controller in order to join a domain. This guide is geared towards explaining how to imaging tablets with a USB drive & wireless, so no network cable will be connected into the machine. The example link you posted above has a network cable attached to the tablet. In a enterprise environment using USB network cable adapters can cost more money and cause issues with duplicate MACs, but that explanation is outside the scope of this post. The JoinDomain.exe does exactly what the name says. It joins the machine to the domain at the end of the OSD. Since the user connects to a wireless connection during the “Setup Windows and Configuration Manager” step, the machine will be able to communicate with the DC and join the user’s domain.
-
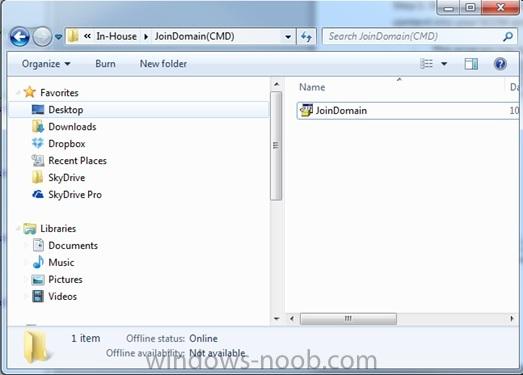
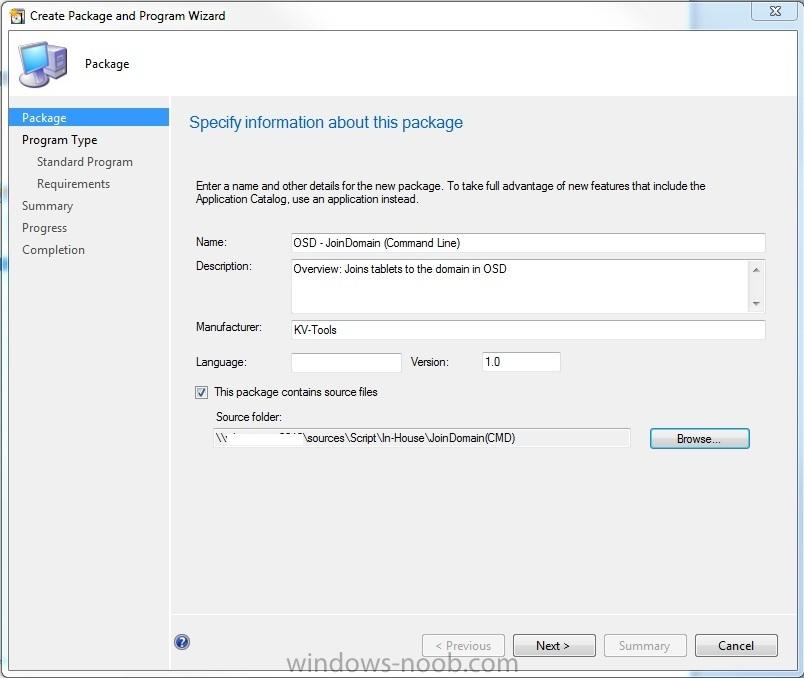
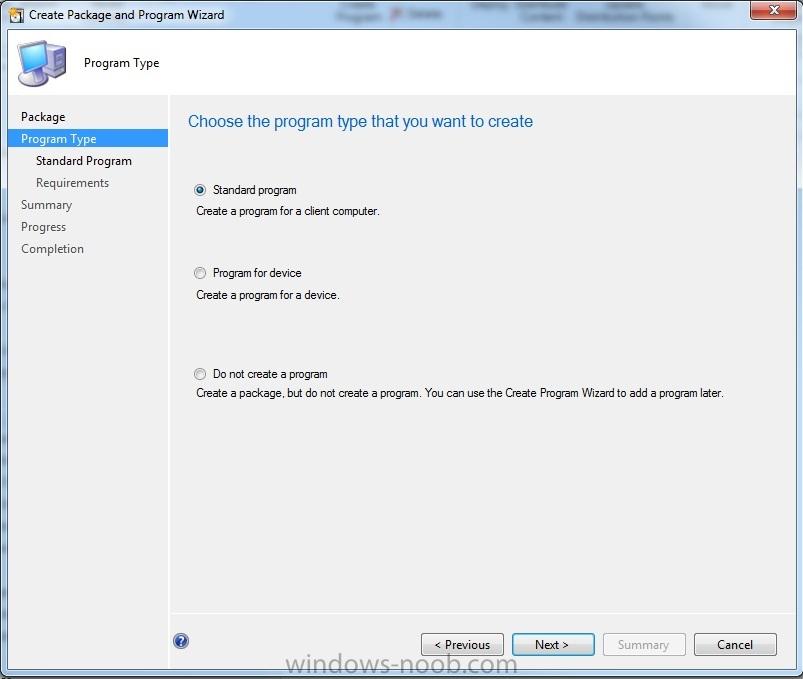
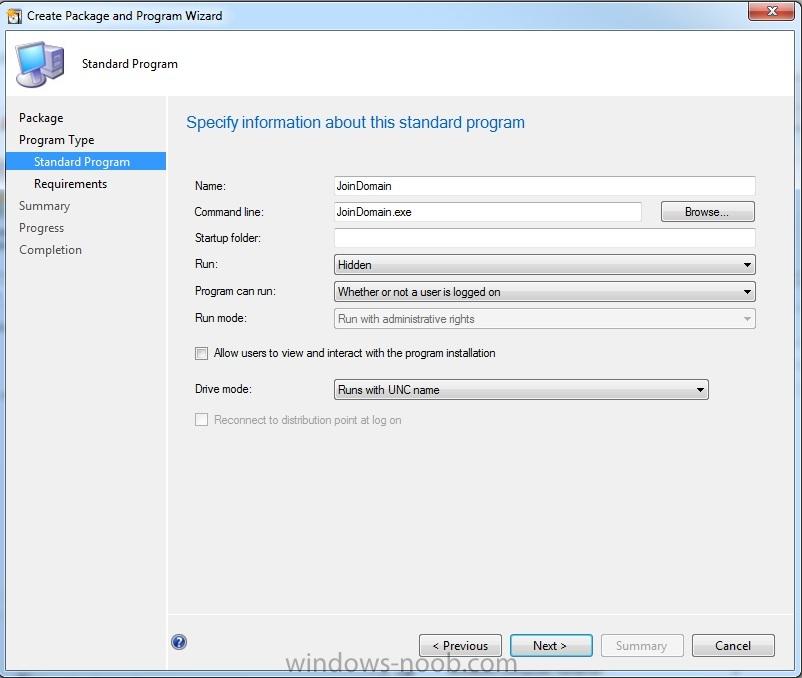
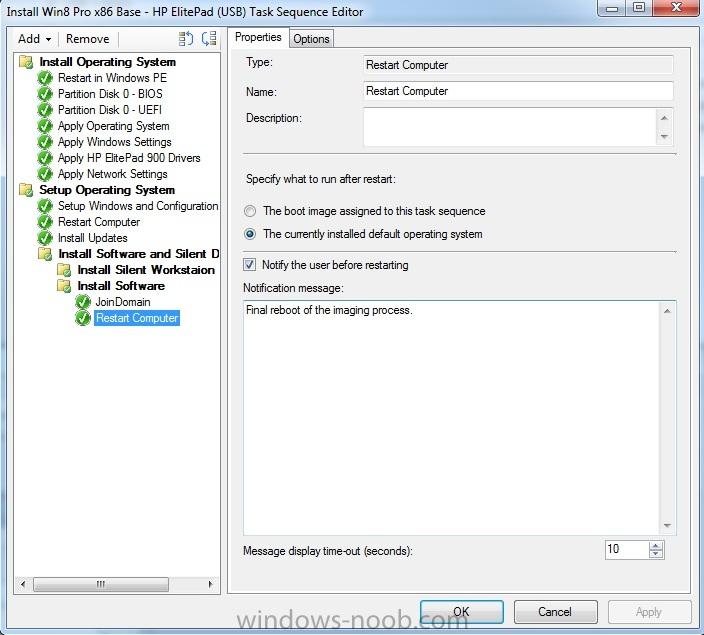
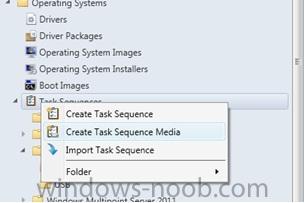
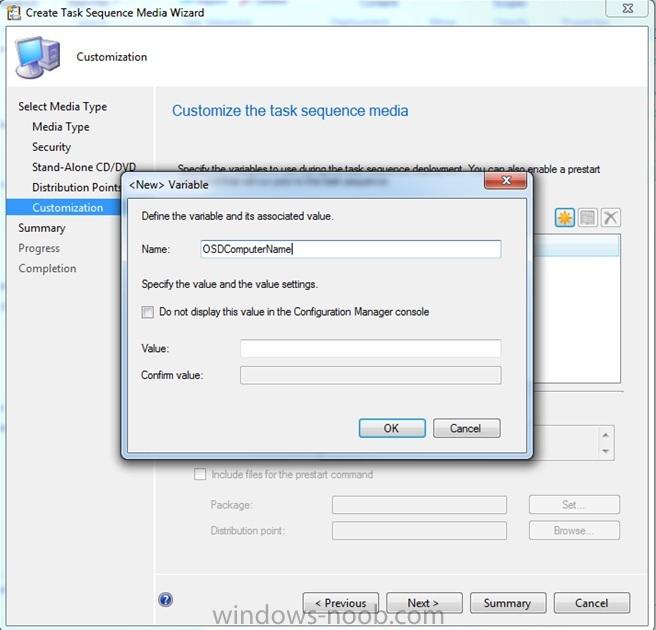
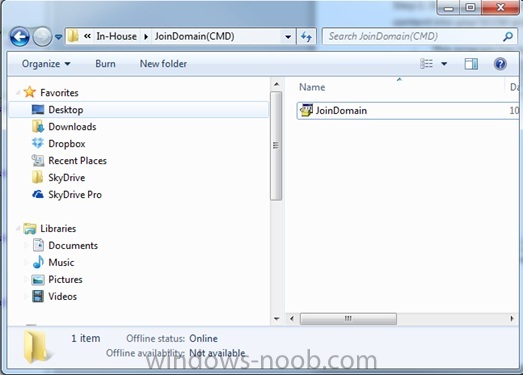
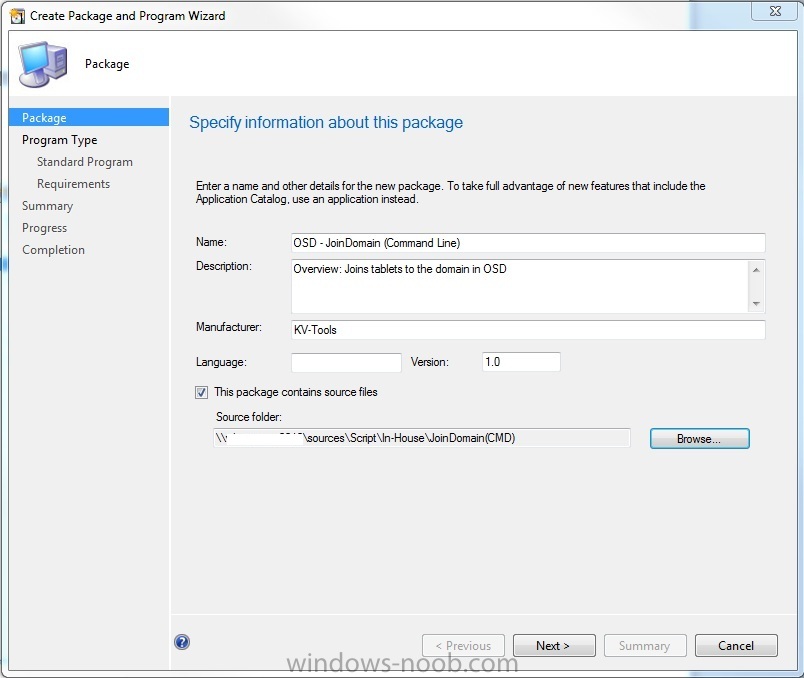
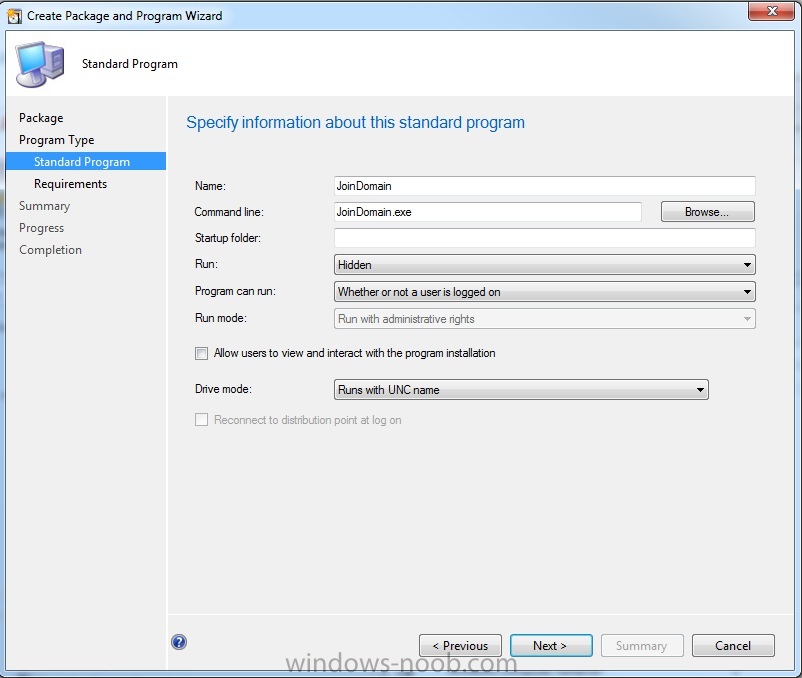
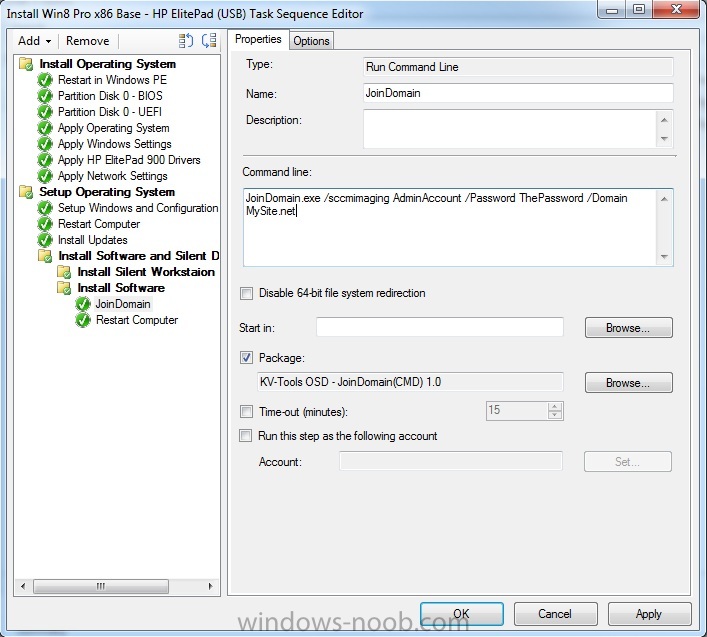
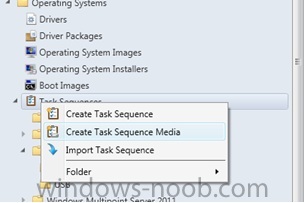
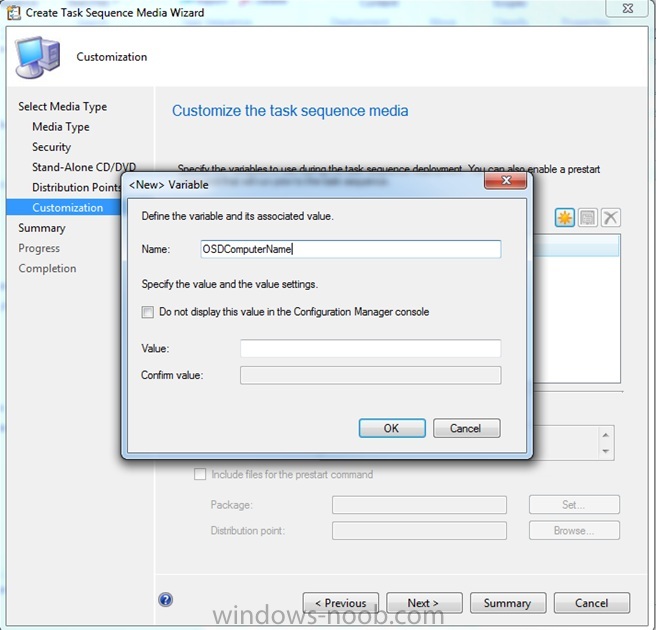
Imaging Windows 8 Tablets Using SCCM 2012 w/ USB (No Network Cable) Depending on the size of your environment you may find that tablets can be a struggle to get imaged onto your domain because they do not have a network port. Some tablets (HP ElitePad) have docks with a built-in network port that allows you to imaging them as normal laptops/desktops (extra costs), but others may not have that option. This guide will explain how to image Windows 8 tablets with SCCM 2012 using a USB drive. There will be one point in the operating system deployment (OSD) that you will have to connect to your wireless manually. I worked on trying to automate this process, but Microsoft currently does not support the ability to connect to wireless during the pre-installation environment and windows has to configure before any connections can be made. During the “Setup Windows and Configuration Manager” step is when you will be prompted to connect to your wireless. Note: The wireless you join has to have access to your domain controller (DC) or the computer will not join the domain. This guide will not go into any detail on how to create a base image, import drivers, or build a task sequence from scratch because a lot of these items are covered in other posts. Some screen shots have been added to demonstrate settings. Prerequisites: Microsoft System Center Configuration Manager 2012 Wireless Access To Domain Controller Windows 8 Tablet USB Drive (Size Depending On Your Base Image Size) USB Port On TabletSome have adapters My program (KV-Tools) called JoinDomain (Attached)No wireless connection can be made until after the "Configure Network" step, so this program is required in order to join your domain once you connect to your wireless. Step 1: Download the attached file I have included in this post called JoinDomain. I designed this program with command switches for this guide. JoinDomain.zip Step 2: Extract the content into your SCCM sources location. This program has been designed to join your tablet to your domain at the end of the OSD. Step 3: Create a new package for JoinDomain & Distribute Content (Not All Steps Included) Step 4: Create a new task sequence (TS) for your tablet(s) like you would for a normal deployment. Depending on the size of your environment you may have a lot of machines with a bunch of driver packages, so keeping a dedicated tablet TS will help save space on your flash drive and speed up the process. For this guide I am setting up a TS for a HP ElitePad 900. All settings will be your normal settings besides you will change your “Apply Network Settings” to a workgroup. Keep the TS open for step 5. Step 5: Select “Install Updates” in the TS and click select “Add>General>Run Command Line”. This will add this new step right after “Install Updates”. Select “Package” and browse to the package you created for “JoinDomain”. In the “Command Line” field you will enter the switches to allow the workstation to join your domain. You will need a domain admin account if you plan on using this account on several machines or a standard user account with permission to give unlimited network joins. Replace the information below in red with your information. Note: This step is used to join a tablet to your domain based on your information only. JoinDomain.exe will not perform any other actions. Since step 4 requires you to connect to a workgroup because you are not joined to a wireless connection yet, this step has to be added at the end of your OSD to join your tablet to your domain. Log output can be found in "C:\Windows\Logs\JoinDomain.log". Command Line: JoinDomain.exe /Username AdminAccount /Password MyPassword /Domain MySite.net Step 6: The last step should be a restart in the TS. Step 7: Insert your flash drive into your computer that has the SCCM 2012 console installed. Step 8: Create Task Sequence Media Click “Stand-alone media” > Select your USB Flash Drive > Choose Password or Unselect > Browse For Tablet Task Sequence (Wait For Content To Load Before Clicking Next) > Add DP > Add Custom Variable Name: OSDComputerName & unselect “Do not display this value in the Configuration Manager Console” (Figure Below) > View summary and build the flash drive. Step 9: Put flash drive into tablet and boot into the flash drive. Click through the options and add the machine name by double clicking “OSDComputerName”. Note: if you don’t enter the computer name it will get a generic name. Once you complete these steps, have the install continue. Mid-way through the deployment a wireless screen will appear asking you to join a wireless connection. Join the wireless that is accessible to your domain controller. The installation will continue and everything from this point forward will be automated. By default the computers will go into the “Computers” OU. If you like to have these tablets moved in a different OU after they image you will need to add another step to the TS to move the tablet(s) or have a script on a server move machines.