Search the Community
Showing results for tags 'Integration Packs'.
Found 2 results
-
 Hello All, I wanted to share this article/post that I wrote recently about an error I encountered while trying to configure SCORCH Integration Packs. The solution is simple, but the error message is "blank". URL: http://adinermie.wordpress.com/2014/03/19/configuring-scorch-integration-pack-connections-produces-a-blank-error/ Don't forget to check out my blog regularly, as I post article there first before re-posting here.
 -
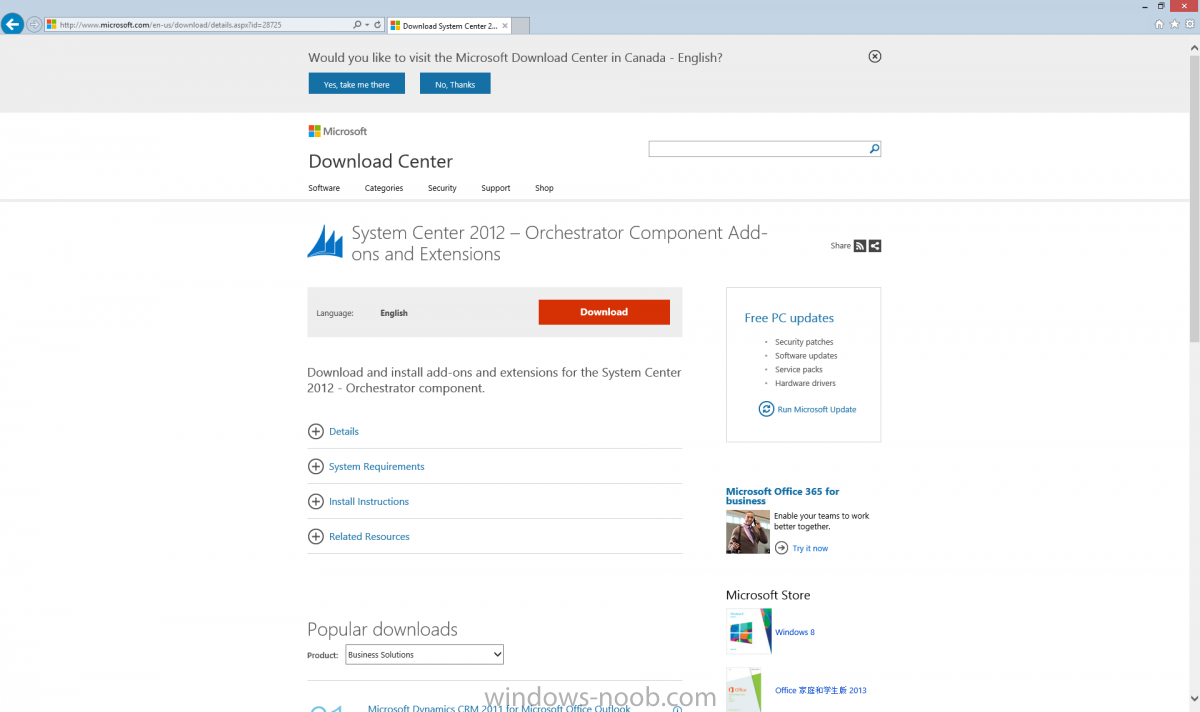
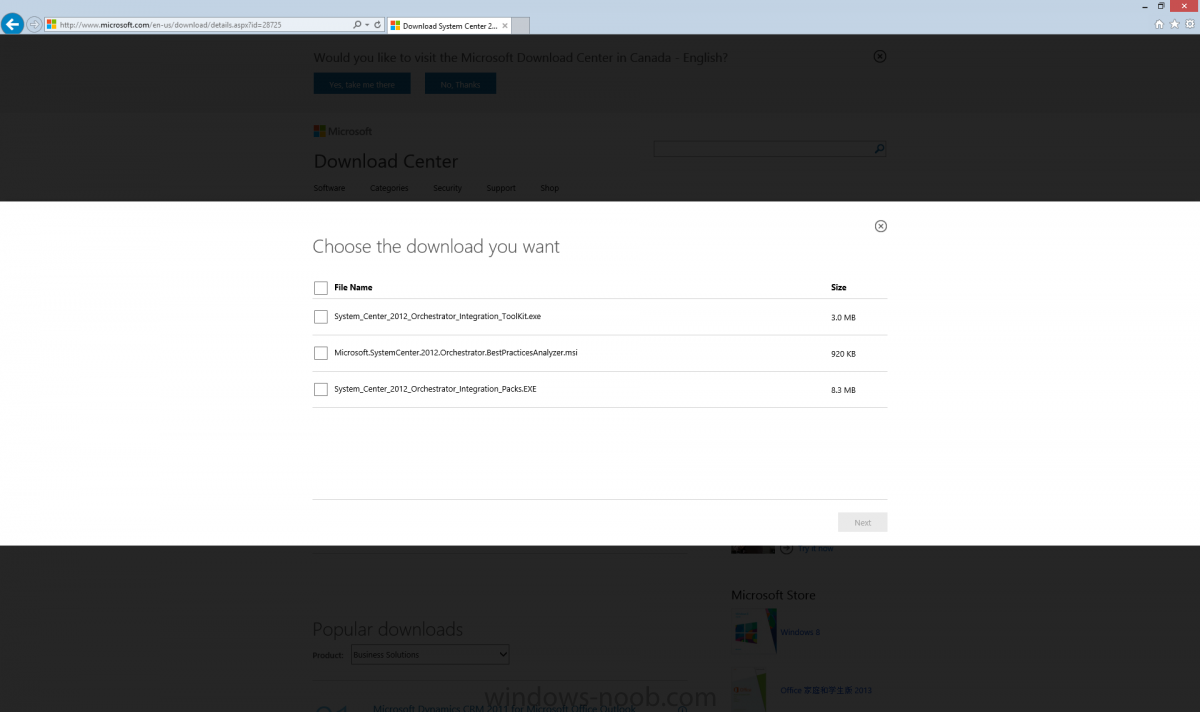
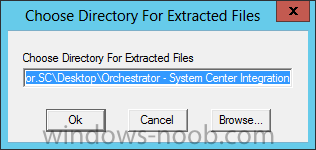
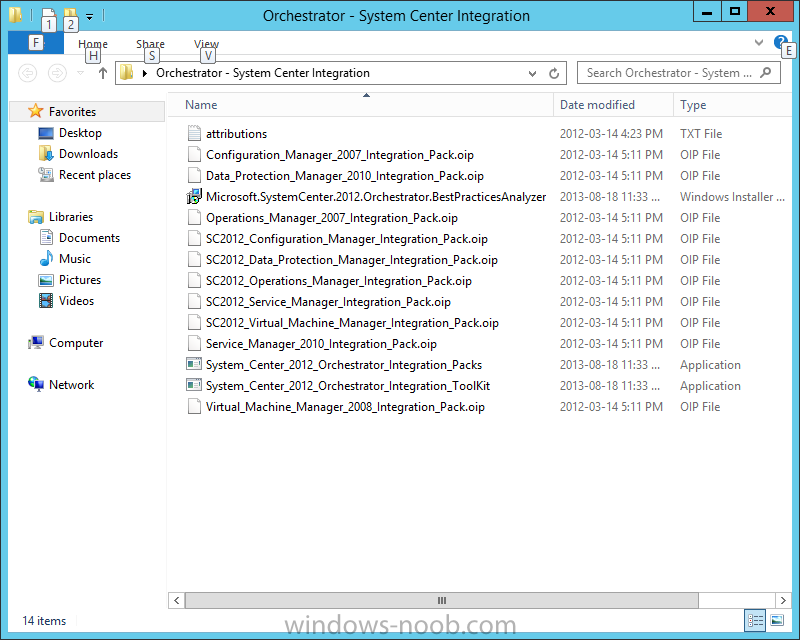
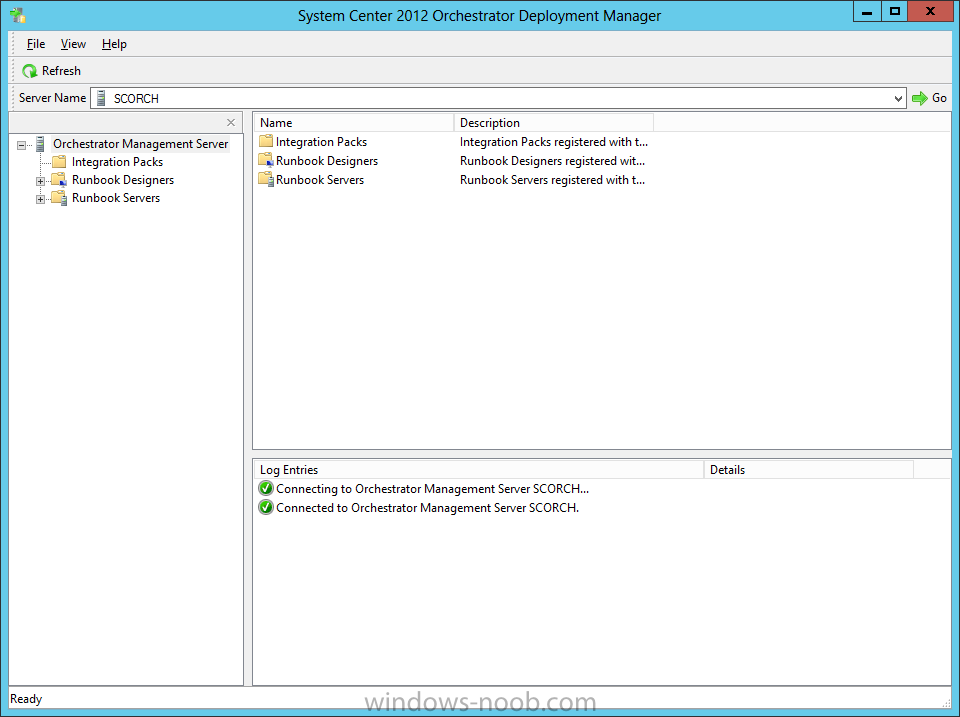
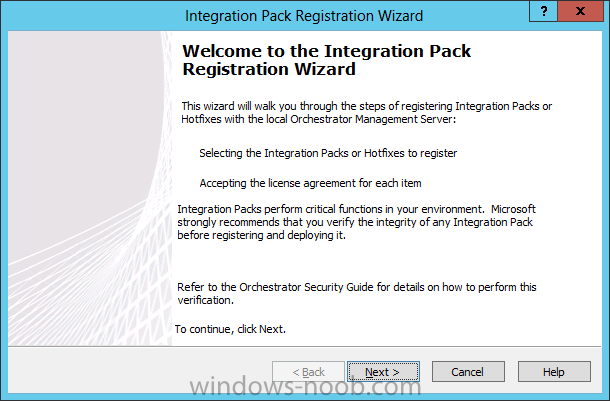
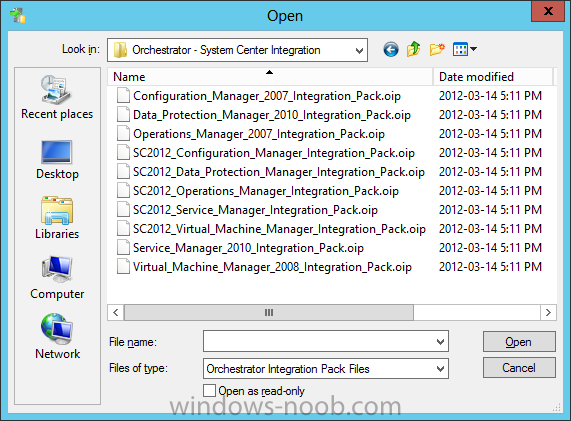
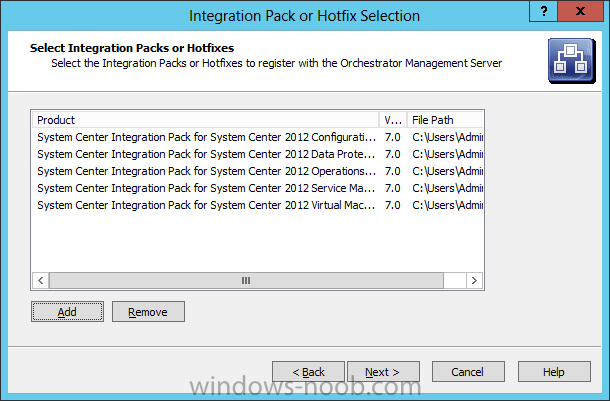
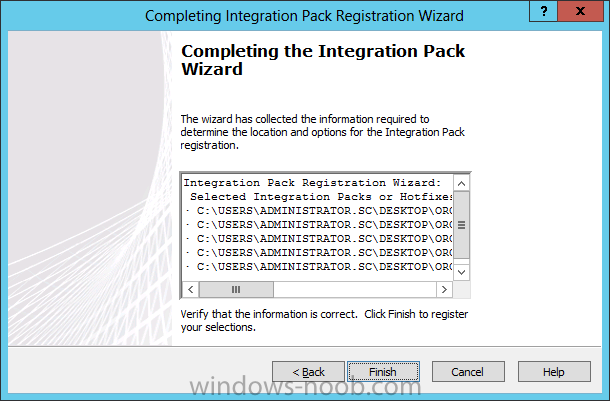
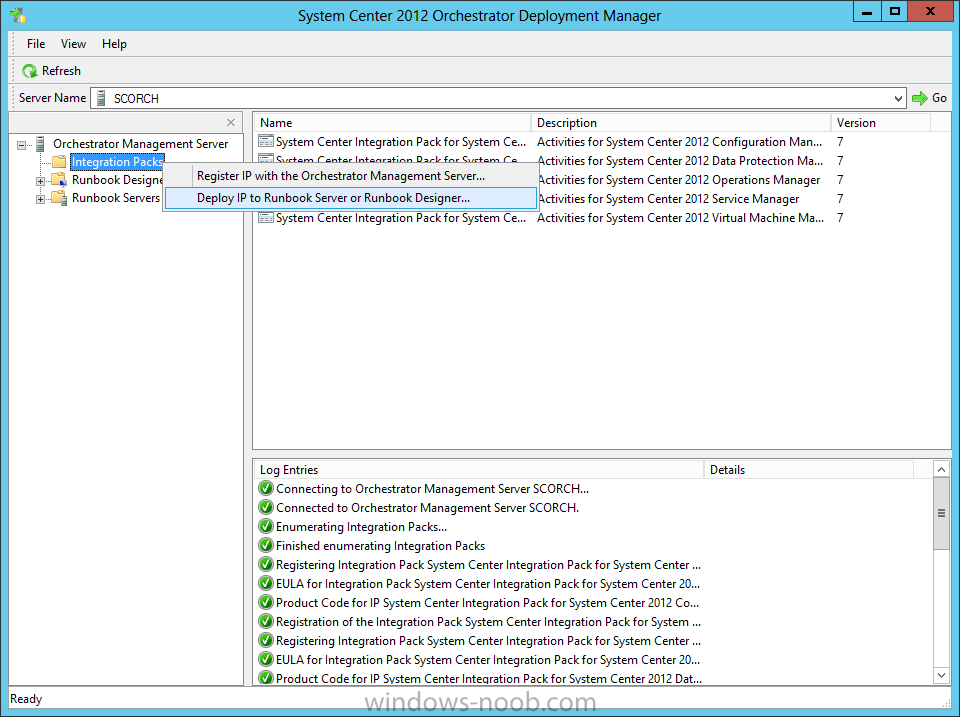
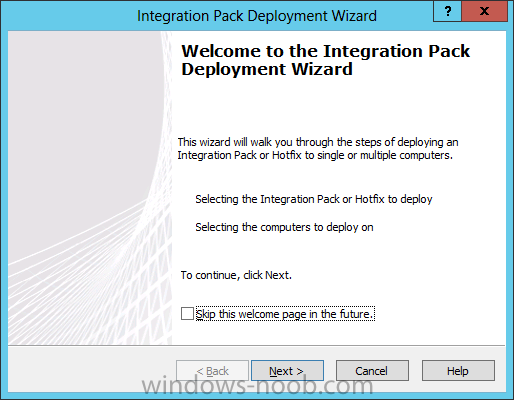
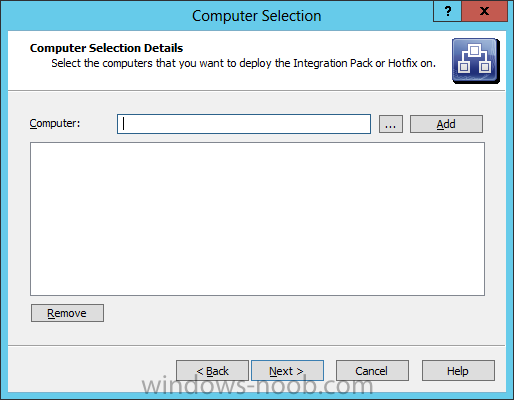
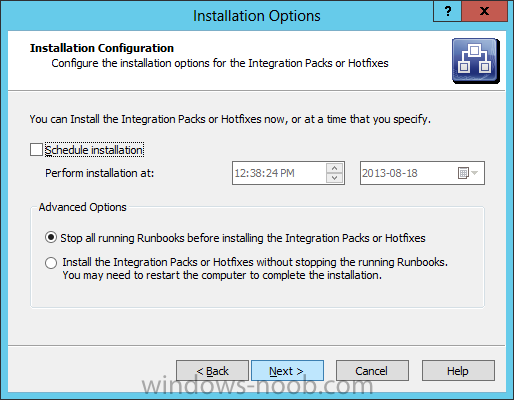
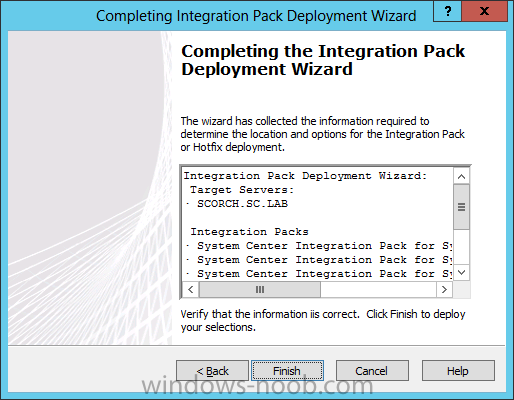
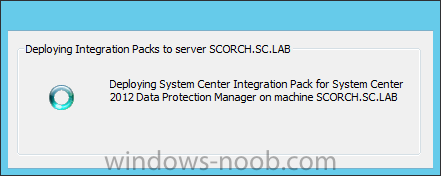
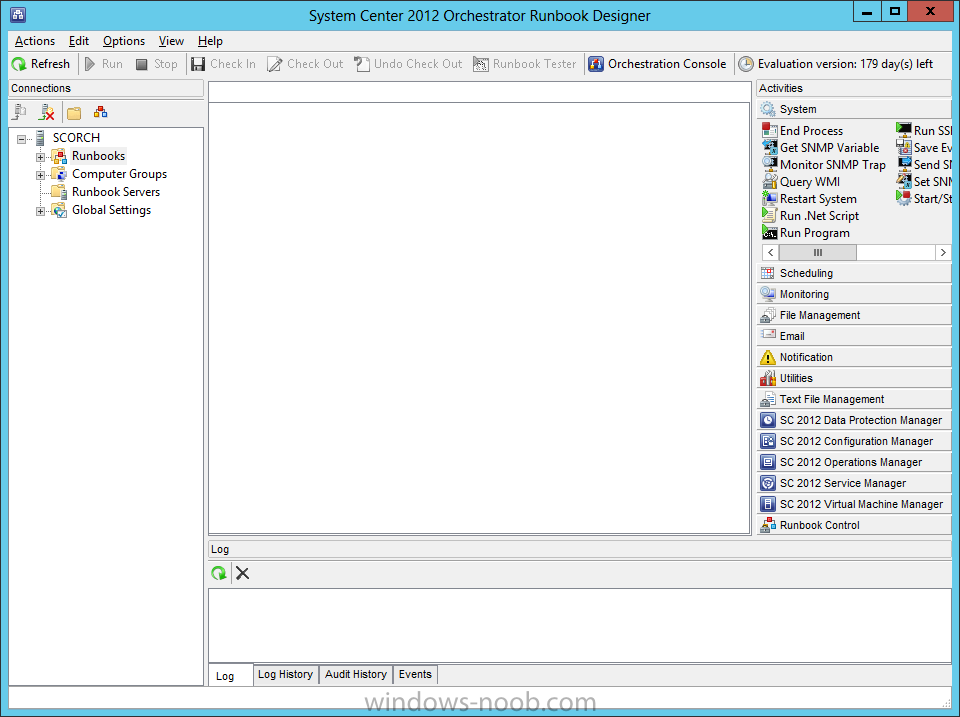
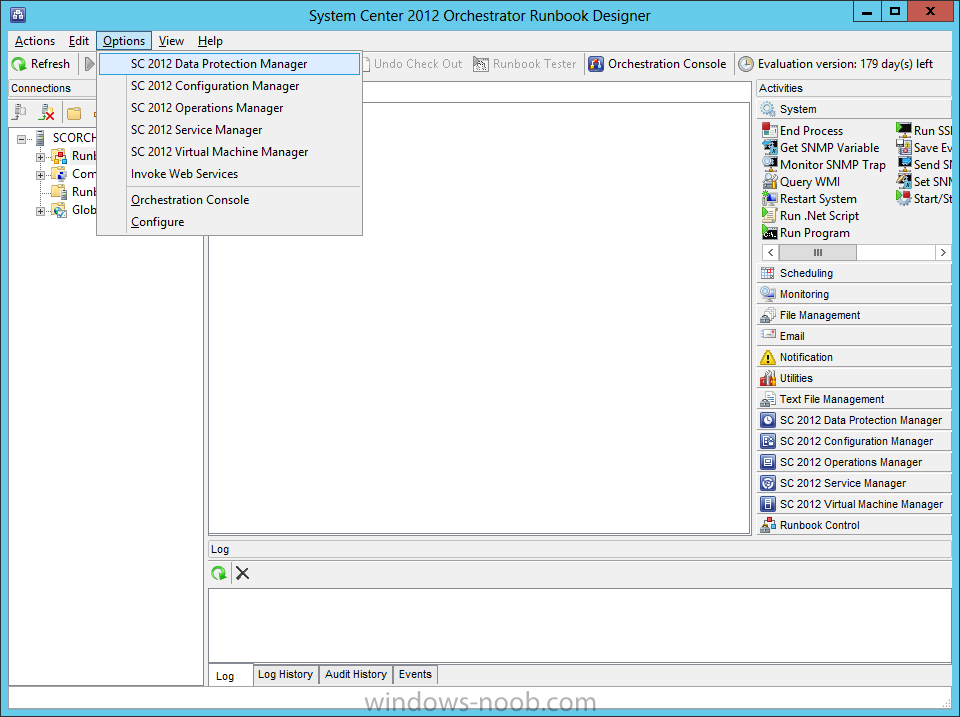
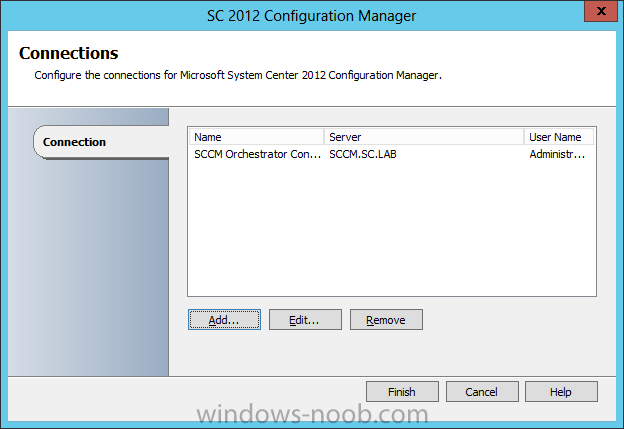
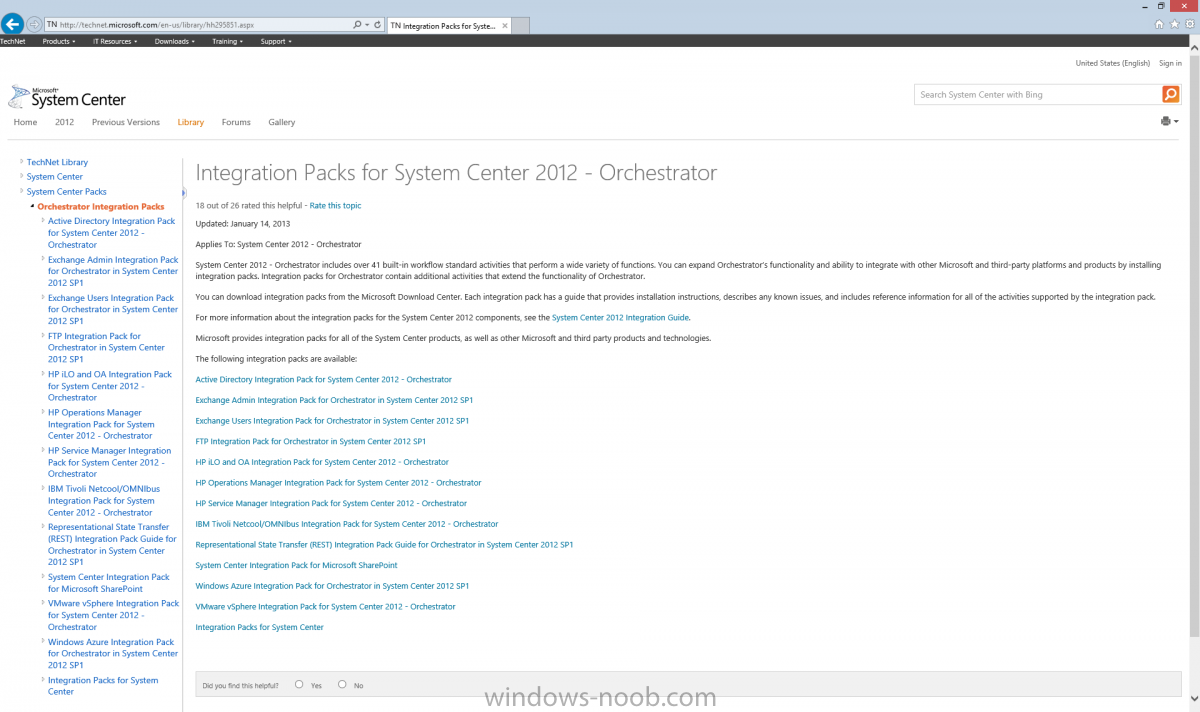
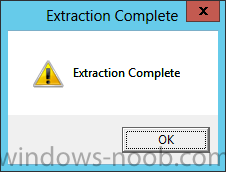
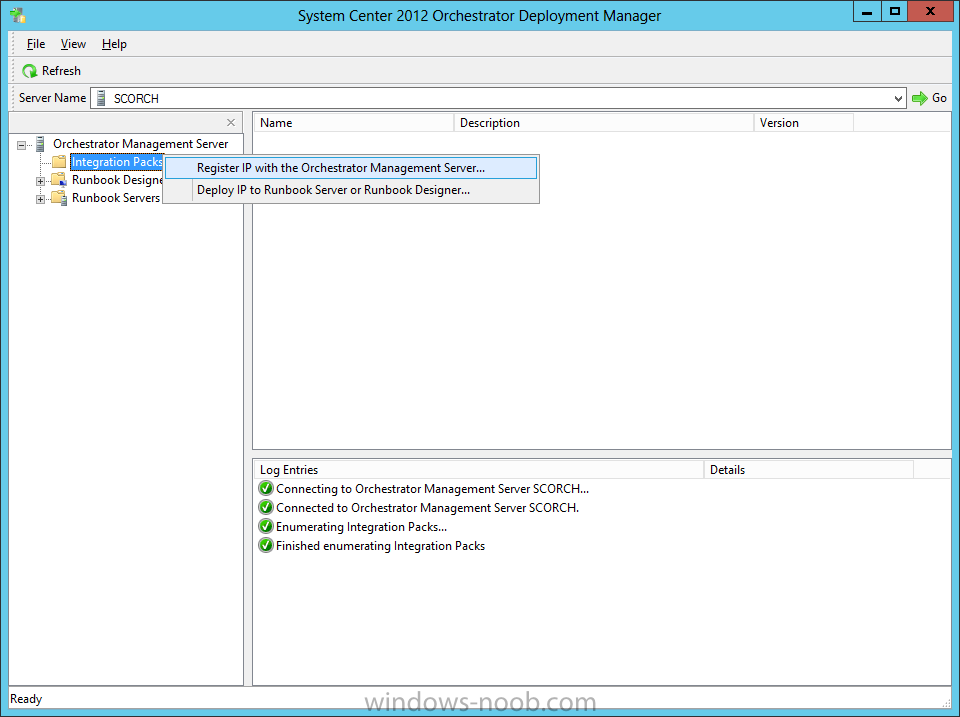
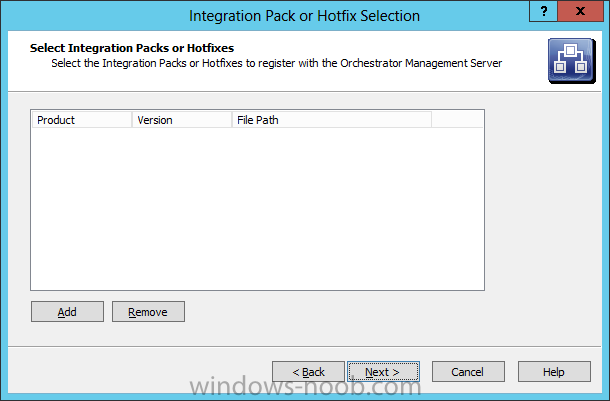
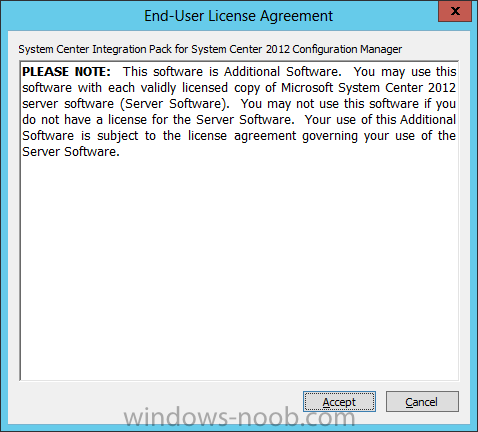
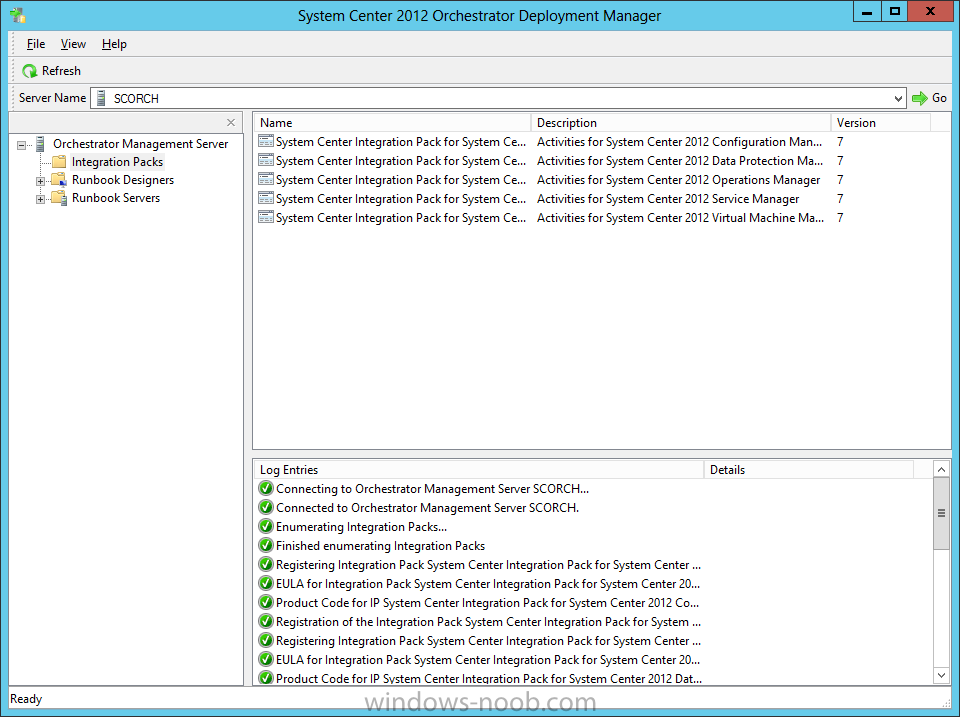
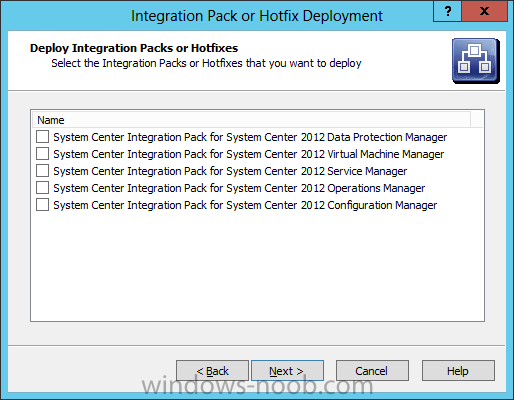
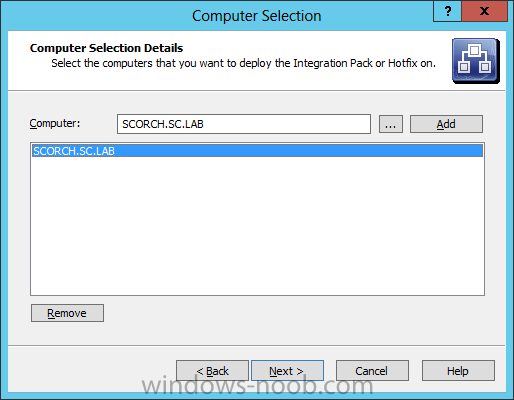
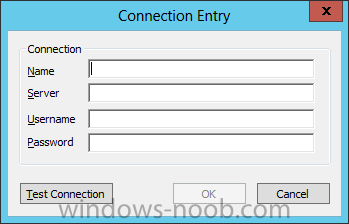
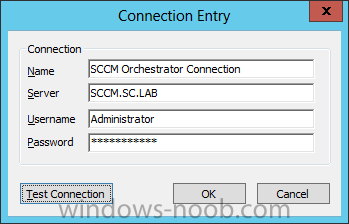
Hello everyone, if you have been following along with my guides, you should now have Orchestrator installed. Orchestrator includes over 41 built-in workflow standard activities that perform a wide variety of functions. You can expand Orchestrator’s functionality and ability to integrate with other Microsoft and third-party platforms and products by installing integration packs. Integration packs for Orchestrator contain additional activities that extend the functionality of Orchestrator. For this lab example, we will download and install the System Center Integration Packs, which will enable Orchestrator to integrate with all the other System Center products. Download Integration PacksTo start, open a browser and navigate to the following URL: http://technet.microsoft.com/en-us/library/hh295851.aspx, and click on the last link in the page labelled “Integration Packs for System Center”. On the Integration Packs for System Center page, you can choose either the 2007 or 2012 Integration Packs. For this lab example, we will use the 2012 packs. Click on the link for each System Center product, which will bring you to another webpage. Look for the link under the ‘Downloading the Integration Pack’ section. This will bring you to the download page. Click the Download button, and select all 3 items to download. Note, you do not need to download and install the Best Practice Analyzer, or the Integration Toolkit, but they are useful to have. After the files are downloaded transfer them to the Orchestrator server (if you didn’t download them directly). Install Integration PacksStart by running the System_Center_2012_Orchestrator_Integration_Packs.exe. You will receive the following prompt to extract the files. Either accept the default or change it to another directory, then press OK. When the extraction is complete, you will receive the following prompt. Press OK. If you open the directory where the files were extracted to, you will see a bunch of files ending in .oip file extensions. These are the Orchestrator Integration Packs. Now open the Deployment Manager. Before we can use the Integration Packs, we need to Register and Deploy them. We have to start with registering the packs. Right-click on the Integration Packs folder and choose ‘Register IP with the Orchestrator Management Server’. This will launch the Integration Pack Registration Wizard. Register Integration PacksWhen you choose ‘Register IP with the Orchestrator Management Server’ from the Deployment Manager, this wizard will launch. Click Next. On the Selection screen, click the Add button to find the Integration Pack(s) you want to register. In the Open dialog, browse to where the .OIP files were extracted to, and select the Integration Pack you want to register. Note that you can only select one at a time, and are not able to multi-select. You can, however, register more than one at once. If you want to register more than one Integration Pack at once, just click the Add button again and select another .oip file. Once you have the file(s) selected click Next. The next screen will list everything the wizard finds. Click Finish to start the registration. You will encounter an End-User License Agreement for every Integration Pack (meaning if you are importing 5 packs at the same time, you will have 5 agreement prompts). Read the information presented and press Accept. Once the registration is complete, the Integration Packs will now be present under the Integration Packs directory. Deploy Integration PacksNow that the packs are registered with the Orchestrator server, we can now deploy them. In the Deployment Manager, right-click the Integration Packs directory and choose ‘Deploy IP to Runbook Server or Runbook Designer’. The Integration Pack Deployment Wizard will launch. Click Next. Now select the Integration Packs that you want to deploy. On this dialog you can select multiple packs, but only the packs that have been registered will appear for selection. Make your selection and then click Next. Next you need to supply the computer(s) that you want to deploy to. If you recall from the context menu, this is either to a Runbook Server or a Runbook Designer. So this can be the Runbook Server (in our lab example, the same server running all the other Orchestrator elements), or the Runbook Designer (which can be installed on an Administrator workstation). Add the various computer names, and then click Next. You can schedule the installation for the future (i.e. after-hours in Production), or install the packs immediately with the wizard. You also have control on how the installation will affect the system (i.e. stopping the Runbooks or not). Make the applicable selections and click Next. Review the information on this final screen and click Finish. The wizard will deploy the Integration Packs. Once the Integration Packs have been deployed, in the Runbook Designer you will see the additions (in this example the System Center packs) on the right in the Activities pane. Now we need to connect the pack(s) to the corresponding system. Configure Connection SettingsNow that we have the Integration Packs registered and deployed, we still need to provide connection information so that Orchestrator will be able to communicate and operation with these other systems. Open Runbook Designer, select Options from the menu, and select the system you want to configure connection settings for. In this example, we will use ‘SC 2012 Configuration Manager’. When the Connections dialog appears, click the Add button. On the Connection Entry screen, provide a name (to identify the connection), and fill in the Server, Username, and Password to use for the connection. In a Production environment, a dedicated Service Account would be created/used for each product connection. Don’t forget to test the connection to ensure it can communicate with the system you are integrating. Then press OK. The newly added connection will be shown. Click Finish. If you have more than one Integration Pack, you will have to configure the connections for each of them.