anyweb
-
Posts
9276 -
Joined
-
Last visited
-
Days Won
371
Everything posted by anyweb
-

WDS 2008 and Novell DHCP
anyweb replied to wells2050's question in Windows Deployment Services (WDS)
excellent that you solved the problem and even bettter that you posted HOW here, well done and best of luck with the rest, you know that if you replace the pxeboot.exe with pxeboot.n12 you'll stop it prompting for 'press f12...' and vice versa cheers anyweb -
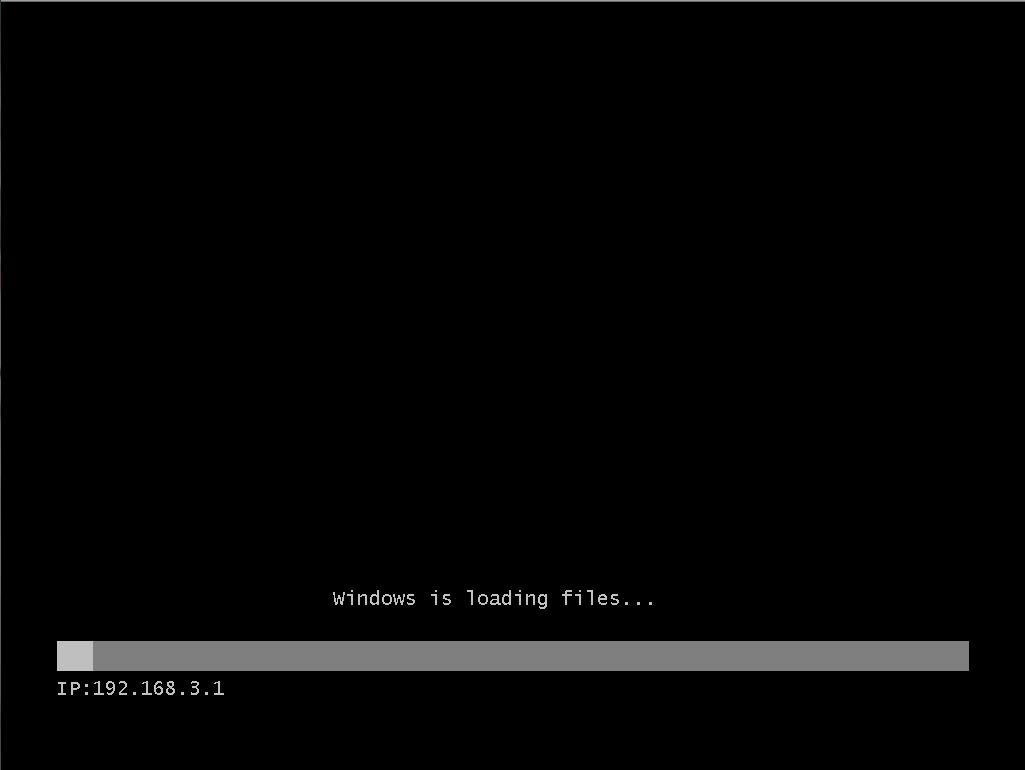
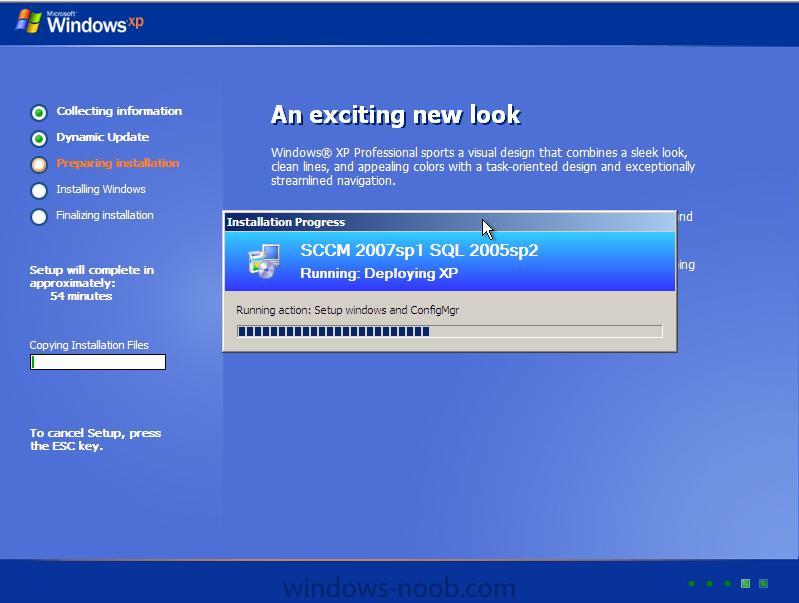
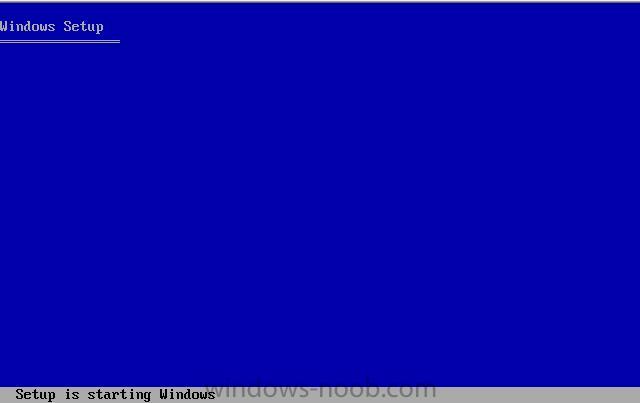
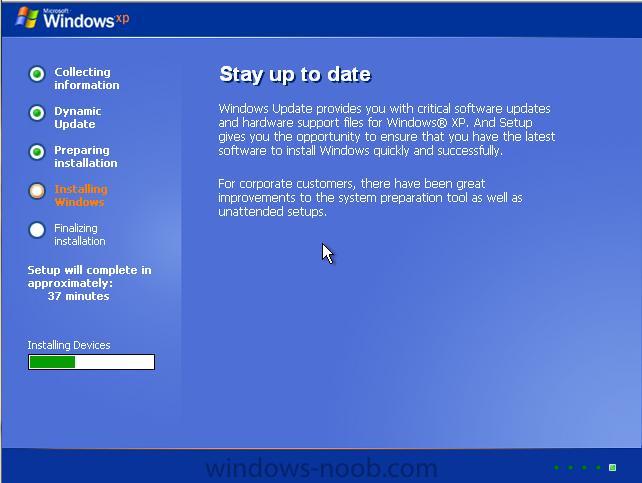
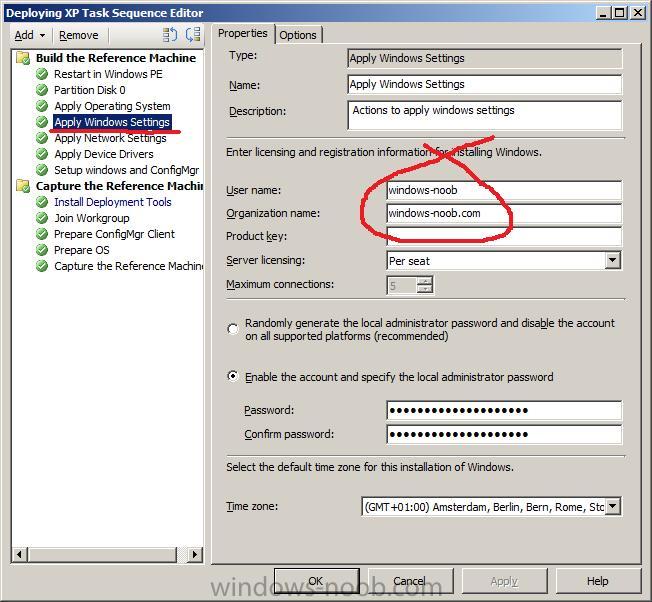
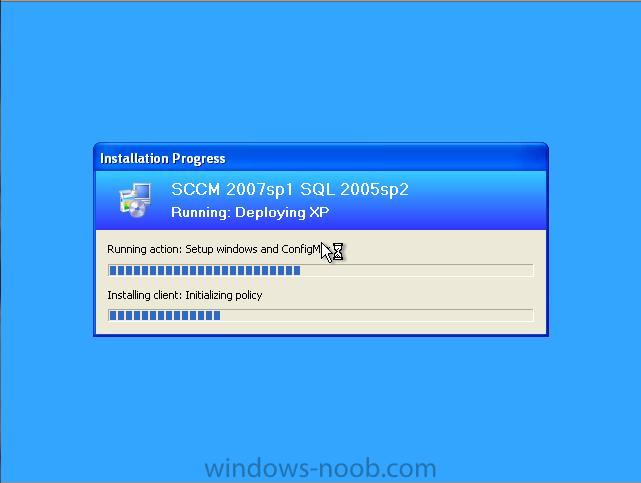
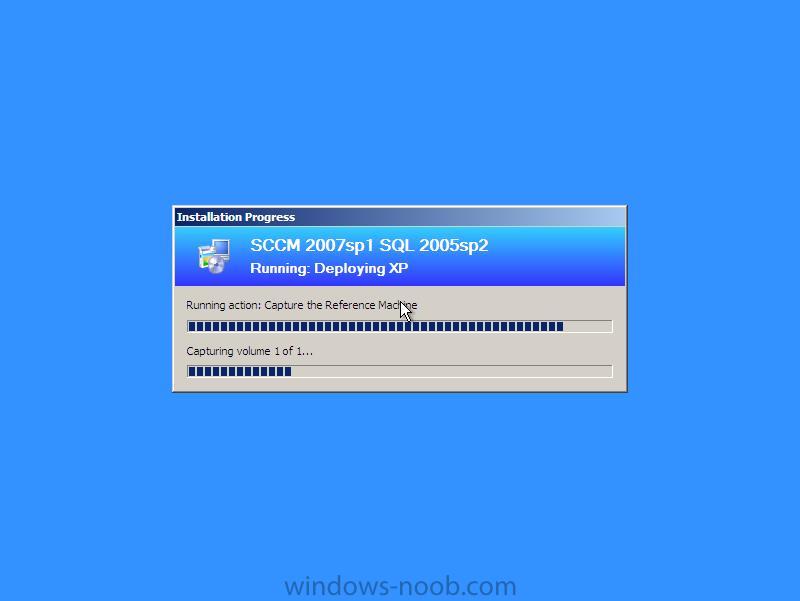
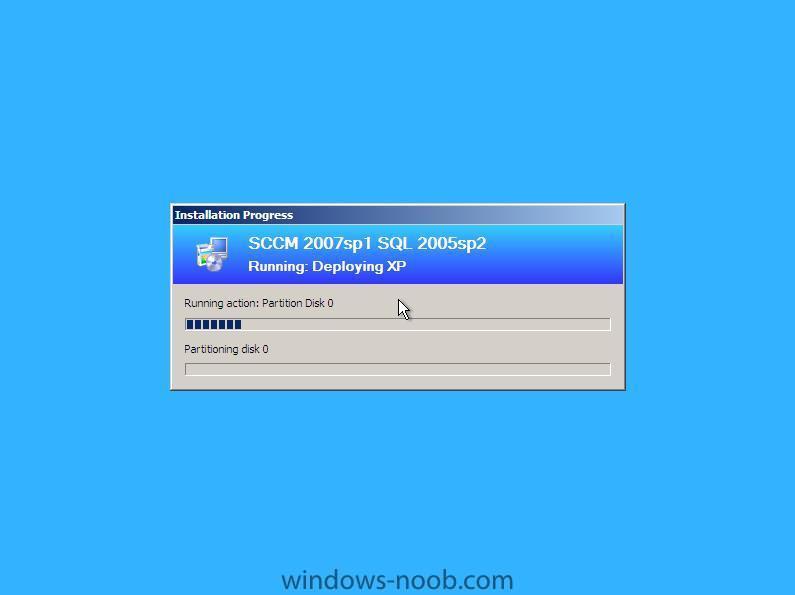
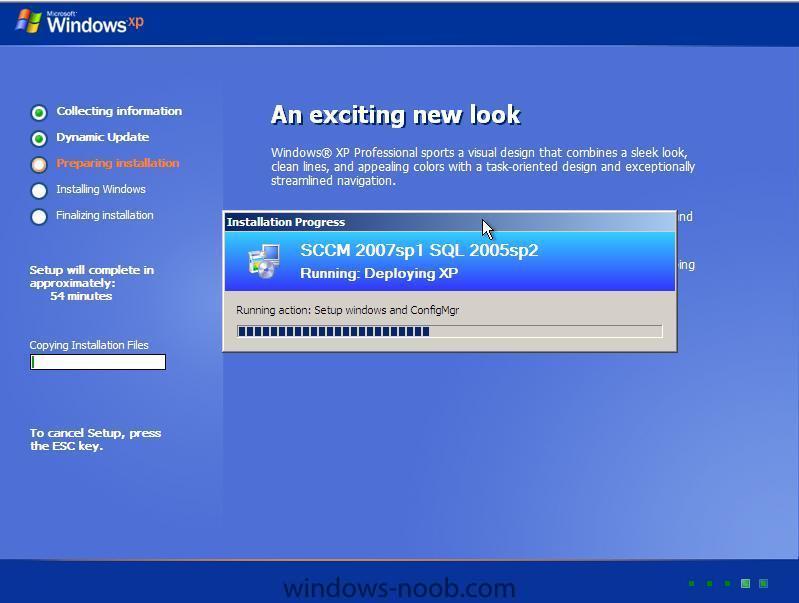
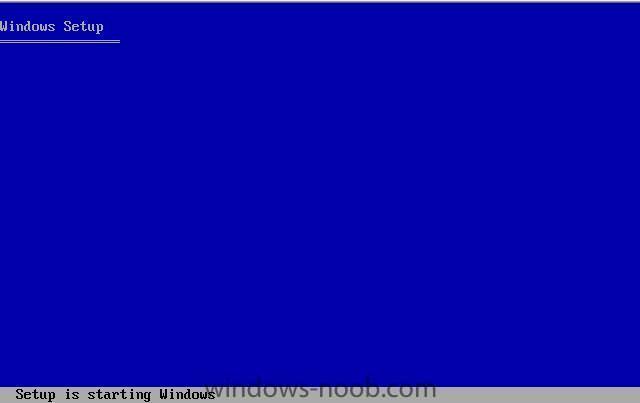
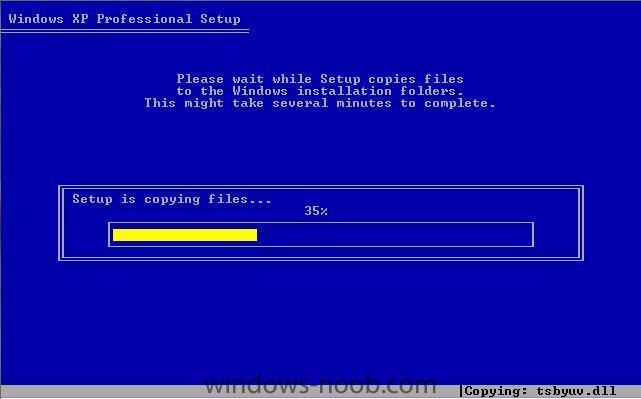
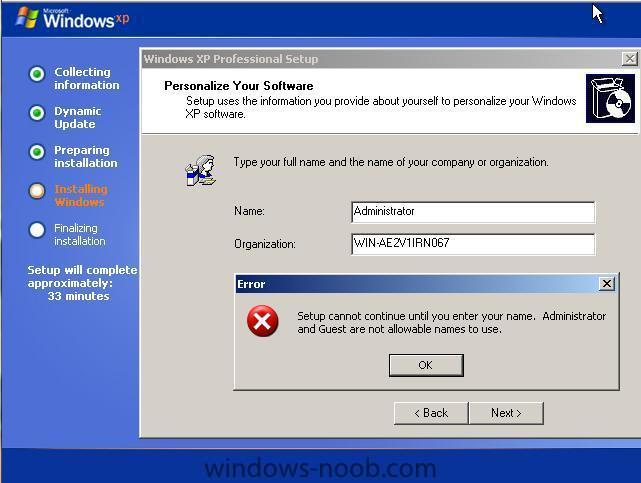
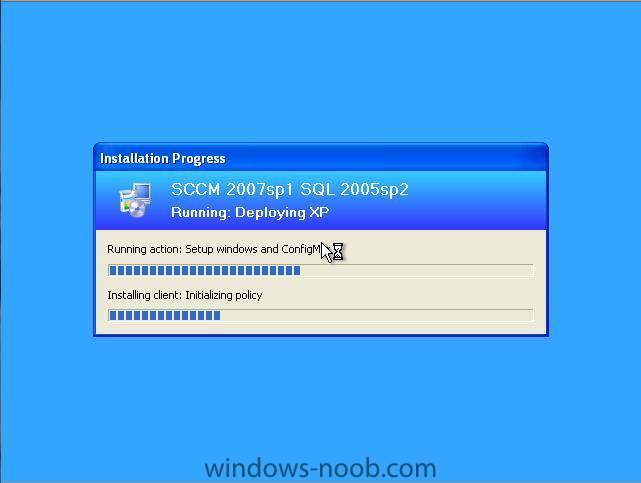
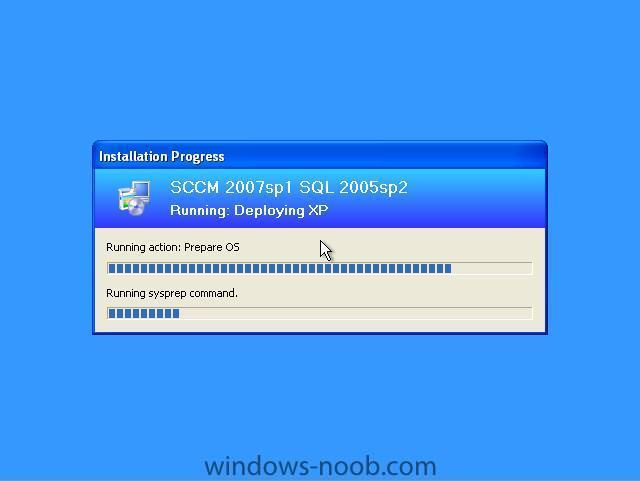
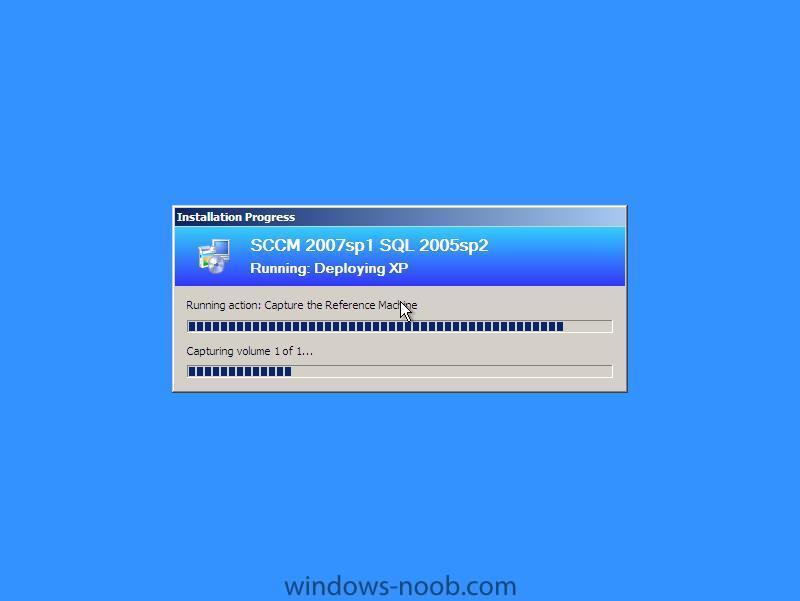
PXE boot the client and start the deployment PXE boot your client Windows PE should start and the Task Sequence should kick in... and XP is being installed after a reboot you'll see some old familiar XP setup screens... then back to the XP setup GUI if you get this error then you'll know that you need to edit your Task Sequence and change the following setting (Apply Windows Settings) back to the Task Sequence... Just before running Sysprep, the task sequence will run the 'Install Deployment Tools' section within our Task Sequence and you may see a failure here where you get an error similar to If you get this error then verify the following: 1. you have added the Windows XP network driver for the client's network card as a driver in SCCM and added it to a driver package and added in to the Task Sequence 2. create a distribution point and then updated the distribution point for the network driver package Once done, re-run the TS and all should be ok. running Sysprep capturing the sysprepped XP image to a WIM file and storing it on our SCCM server After the capture is done, the computer will restart and boot into XP, at this point you now have a captured WIM file with your Windows XP image. You can use that WIM file to Deploy your XP clients. In other words, you now have a WIM image of a Sysprepped Windows XP installation targetted for the hardware you just ran this on. You now have the options to * create a new Operating System Image using this WIM file,. and then create a new Task Sequence for deploying it to bare metal pcs, or * use a Custom Installation DVD. or deploy this image using imageX or other methods like WDS\MDT, but you really want to use SCCM for this right ?


-
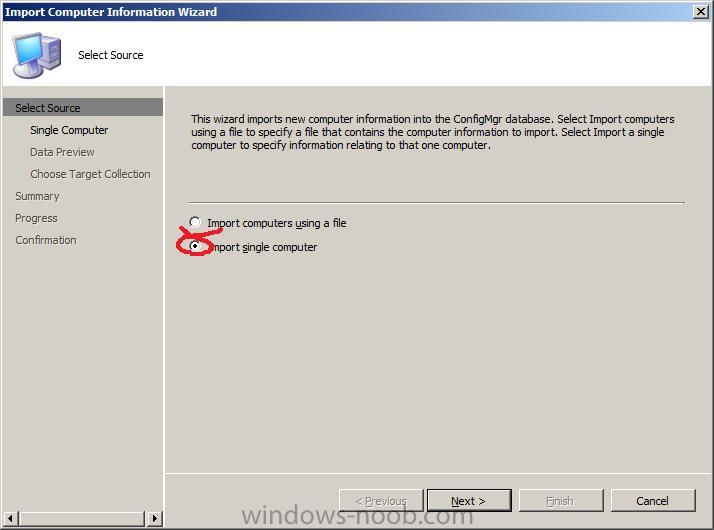
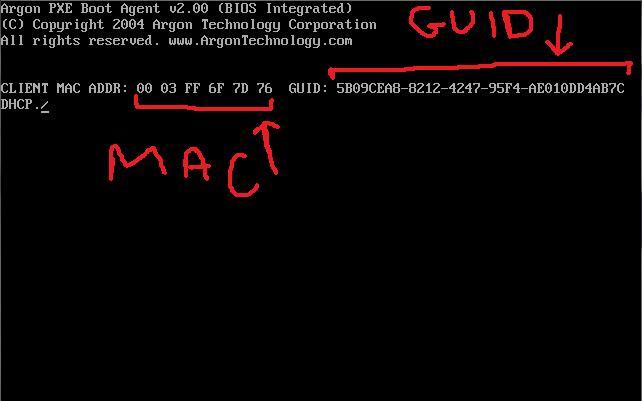
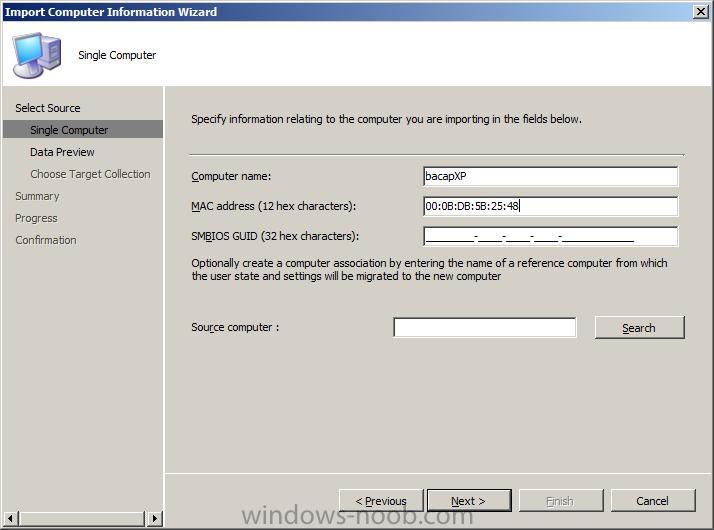
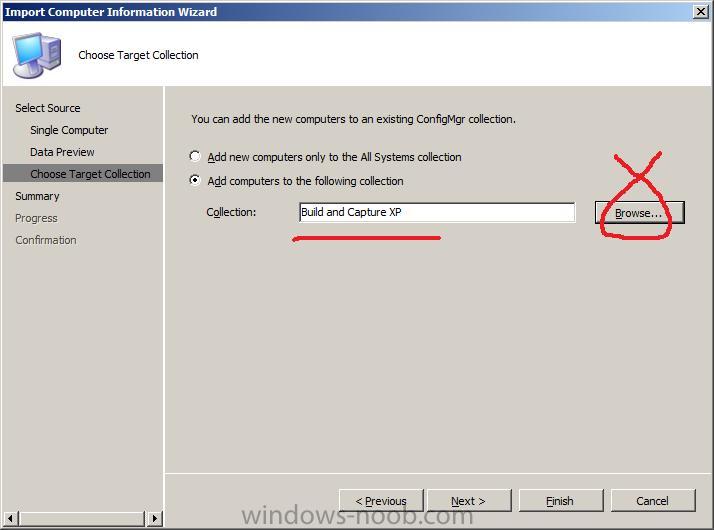
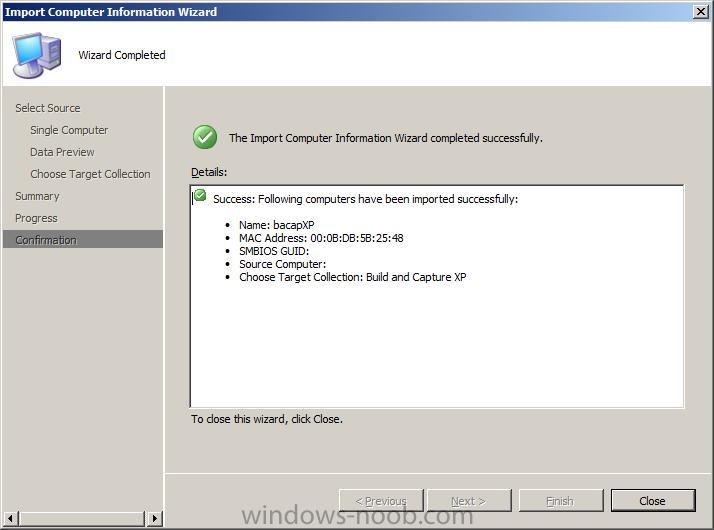
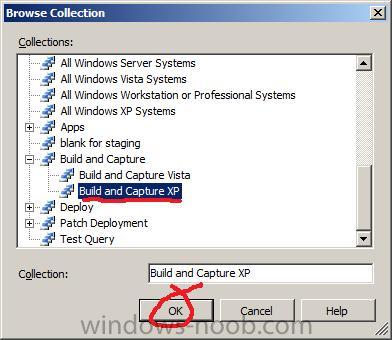
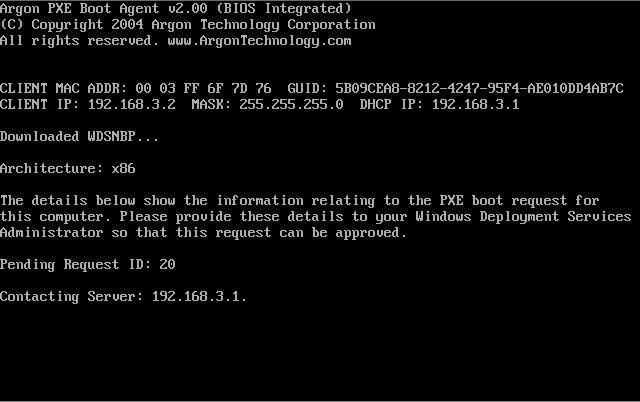
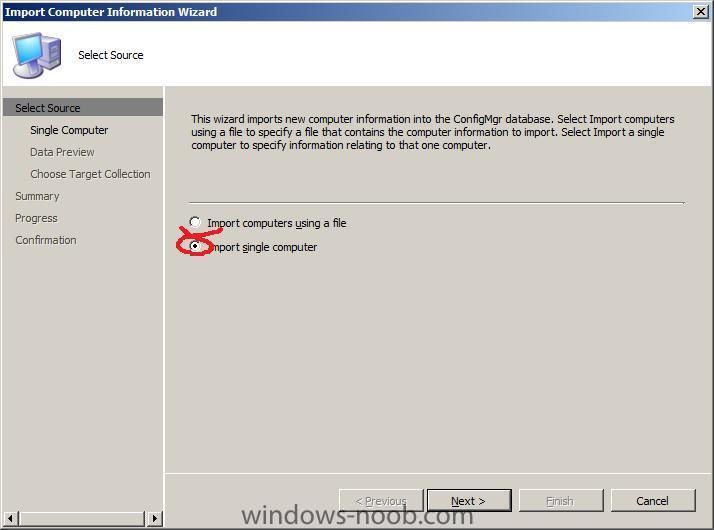
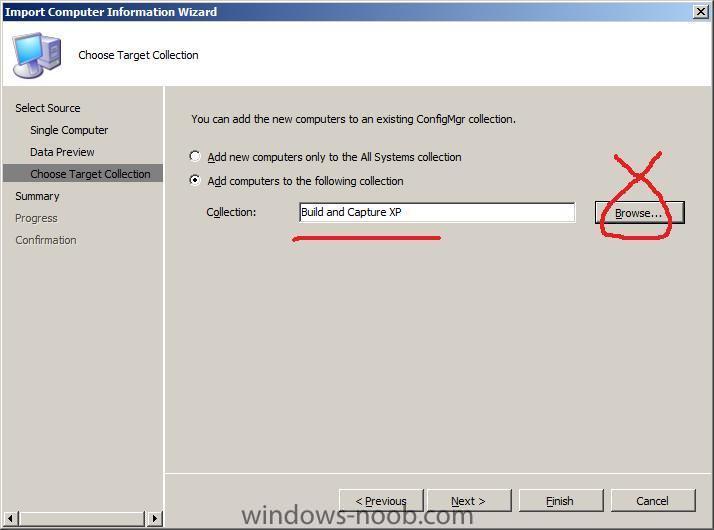
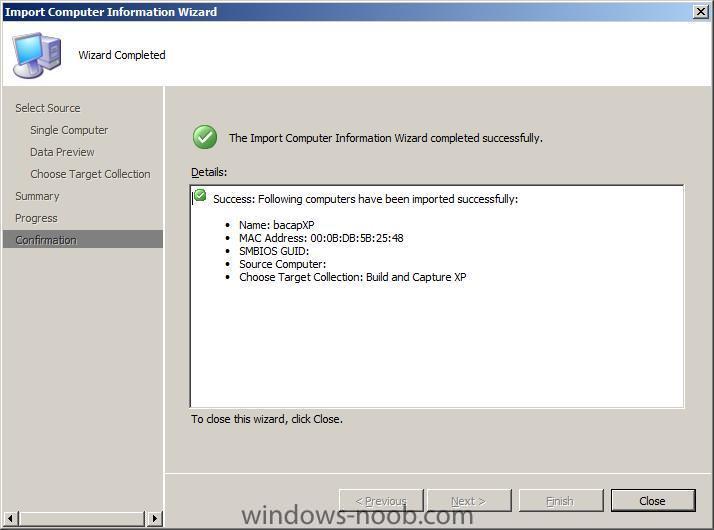
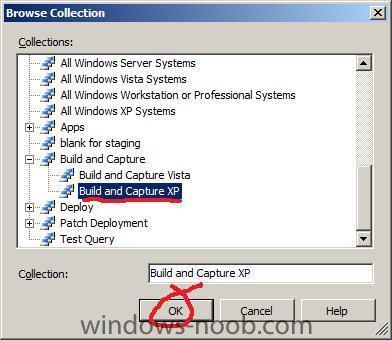
Import computer into the collection In the Operating System Deployment section, right click on computer Association and choose import computer information, select import single computer for computername call the computer bacapXP fill in the MAC or GUID details (or both) the MAC or GUID can be obtained from the bios screen when the client PXE boots.... click next for the data preview, check for typos on the Choose target collection screen, click browse and scroll down to our Build and Capture XP collection, select it review the summary and click next then click close at the confirmation screen


-
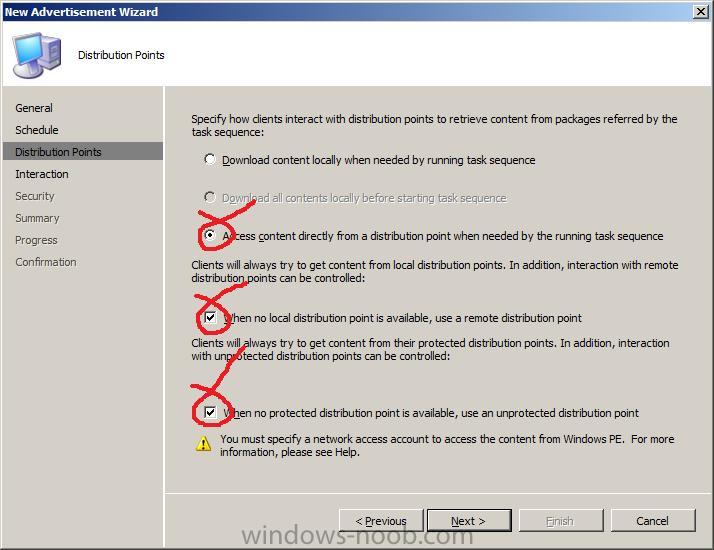
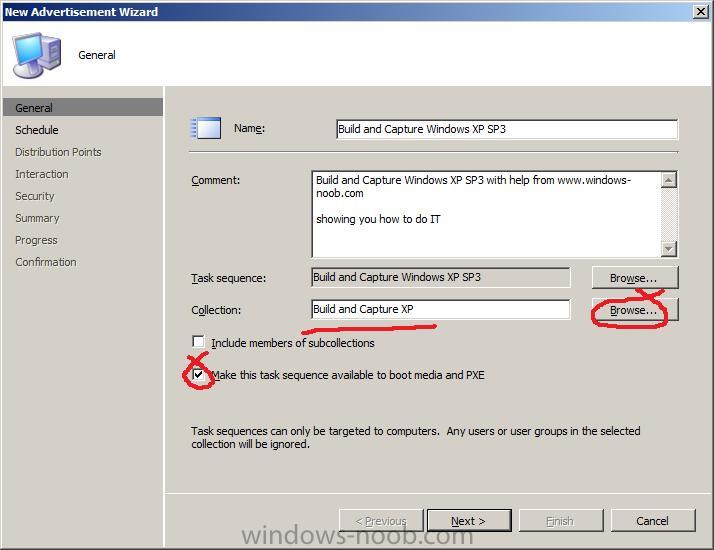
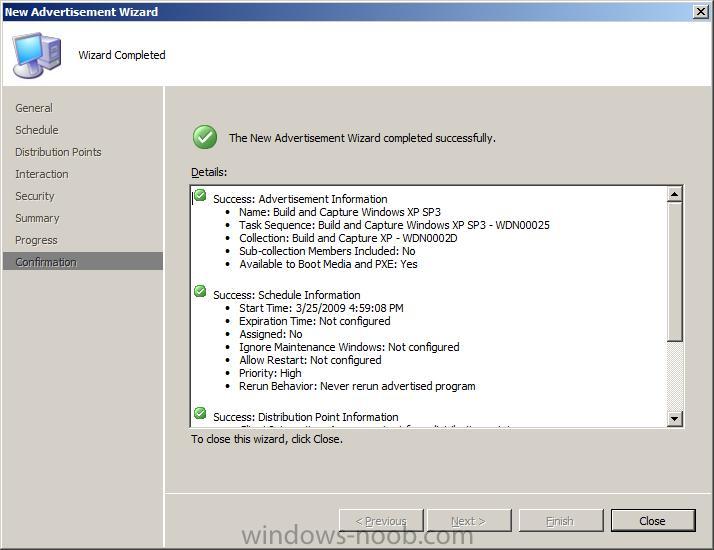
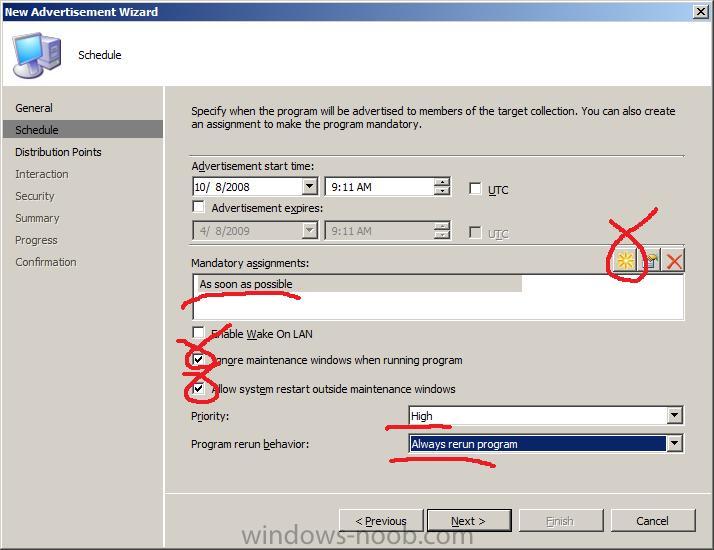
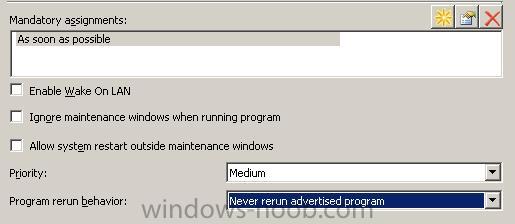
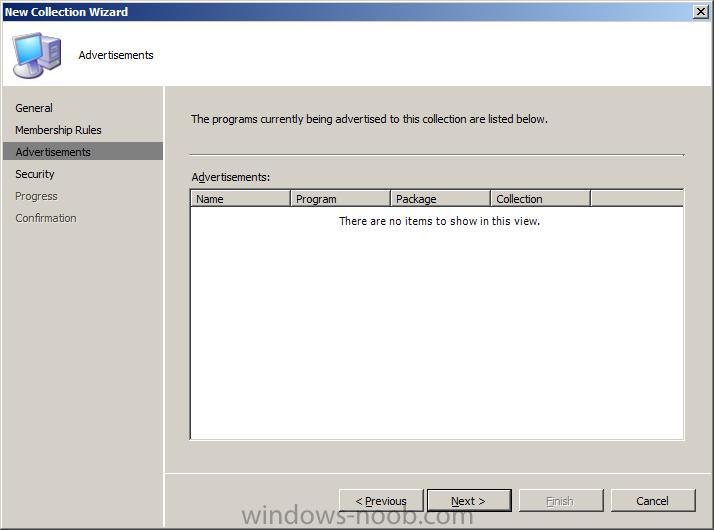
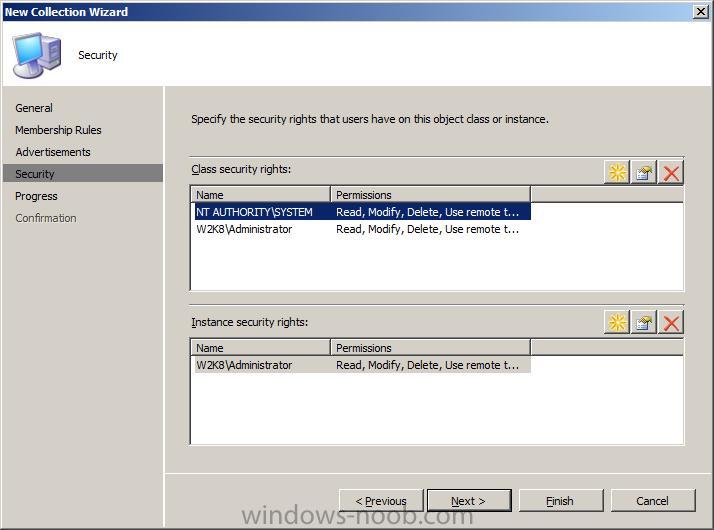
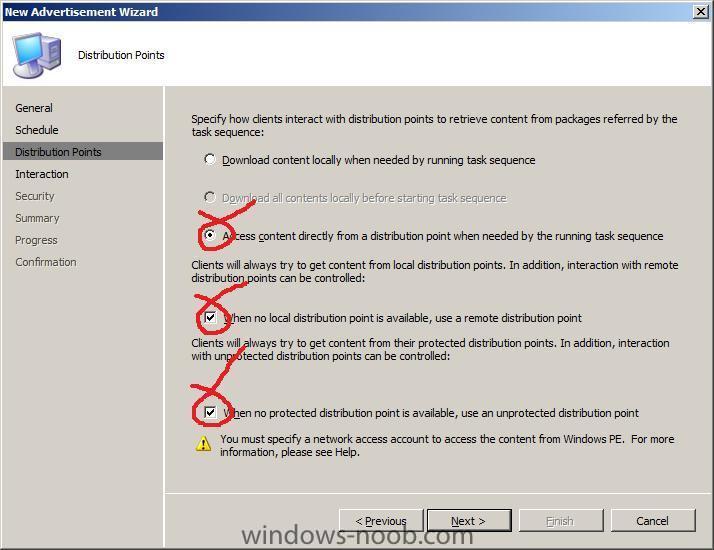
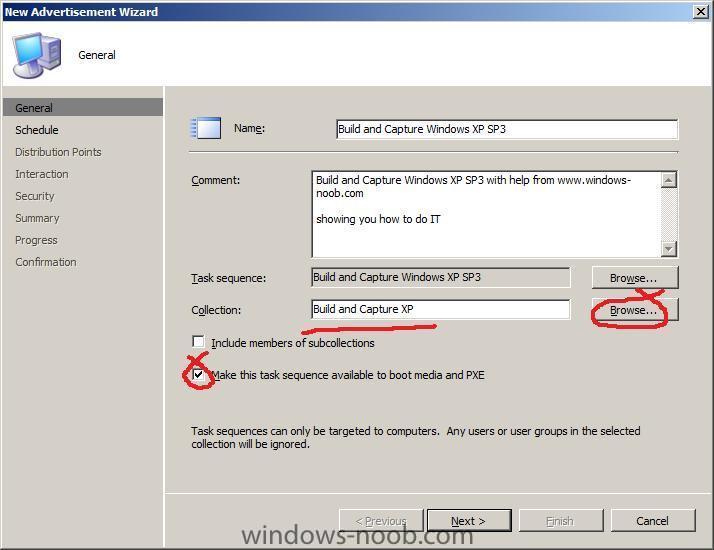
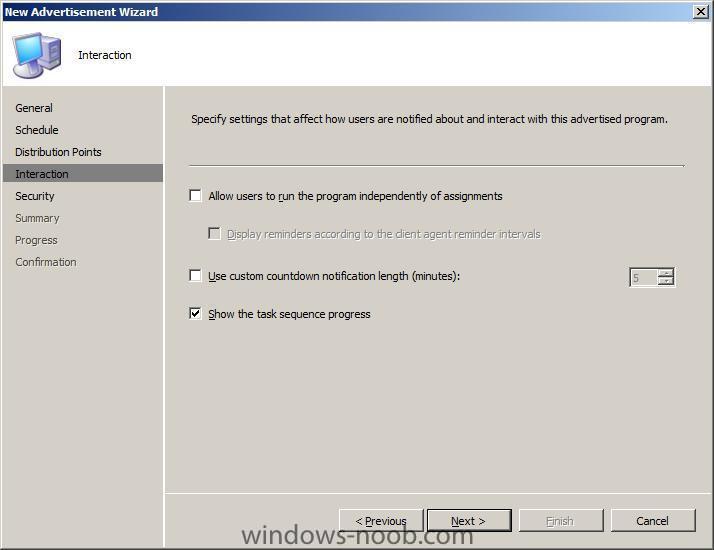
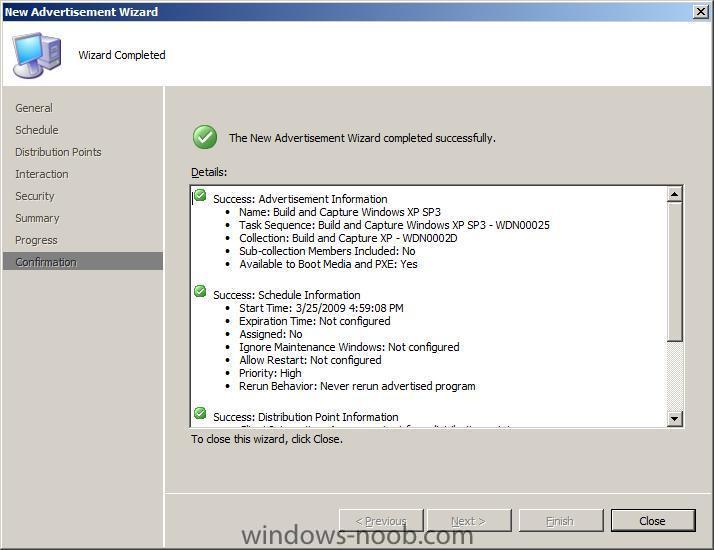
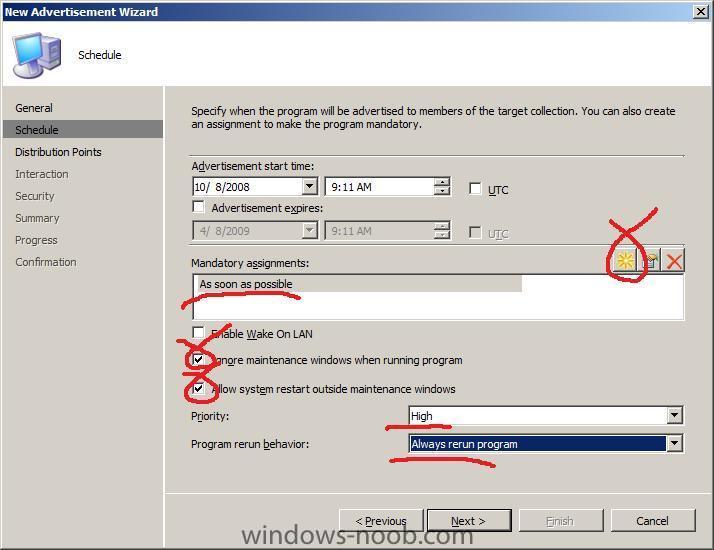
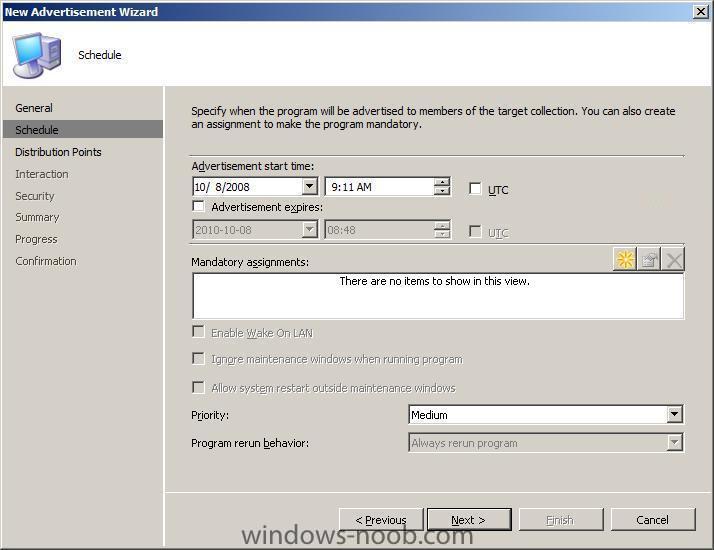
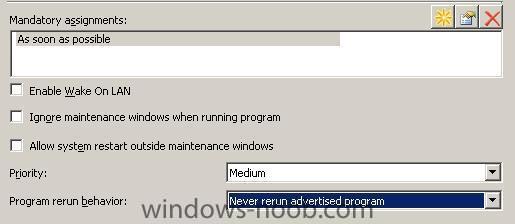
Advertise the Task sequence We will now advertise the Task Sequence to the Build and Capture XP Collection we created in Part 1, so to do this right click on the Task Sequence and choose Advertise. On the general screen click browse and select the Build and Capture XP Collection make it available to boot media and pxe Schedule Set your schedule depending on whether you are in a Lab or Production Environment. For a Lab Environment Make the Task Sequence mandatory by clicking on the yellow star and select As soon as possible. Select ignore maintenance windows when runing program and allow system restart, set the program rerun behaviour to always rerun program so that we can rerun the task sequence over and over as we require for testing. For a Production Environment In a Production environment set the advertisement from Mandatory to Optional, this gives us less risk of an accidental deployment but also introduces the possibilty of choice. if you want to remove choice then keep the advertisement mandatory but change the program rerun behaviour to never rerun (see below screenshot). set the distribution points as follows: and interaction options... click next through security, summary and progress and close at the confirmation screen after verifying all is ok
-
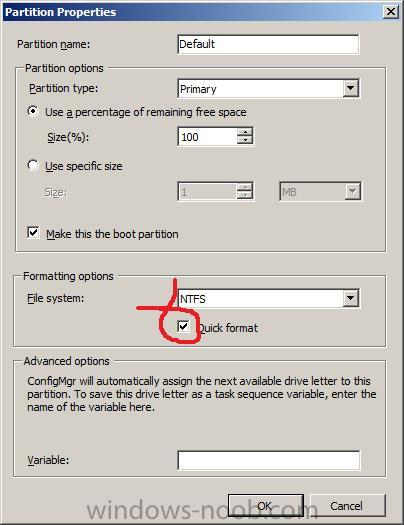
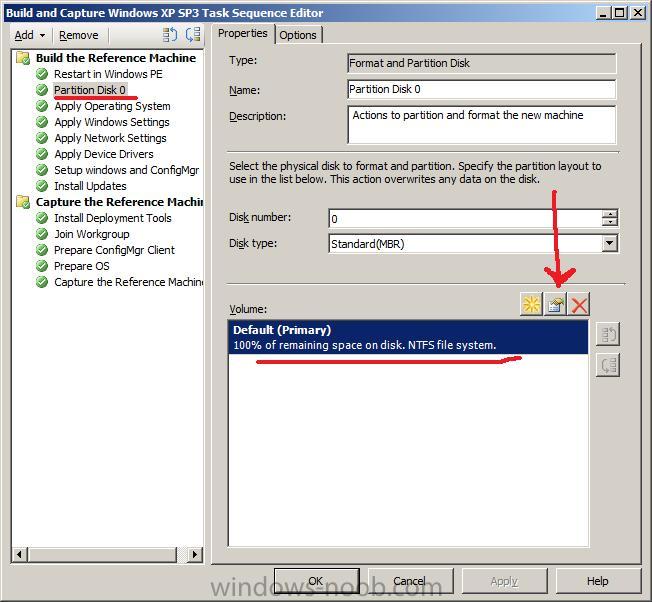
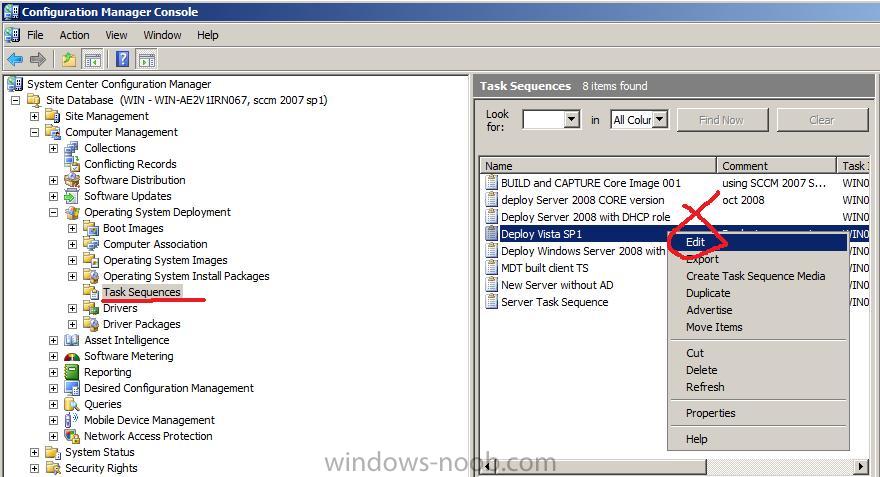
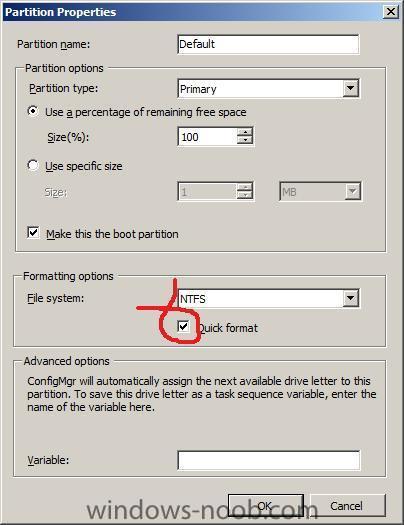
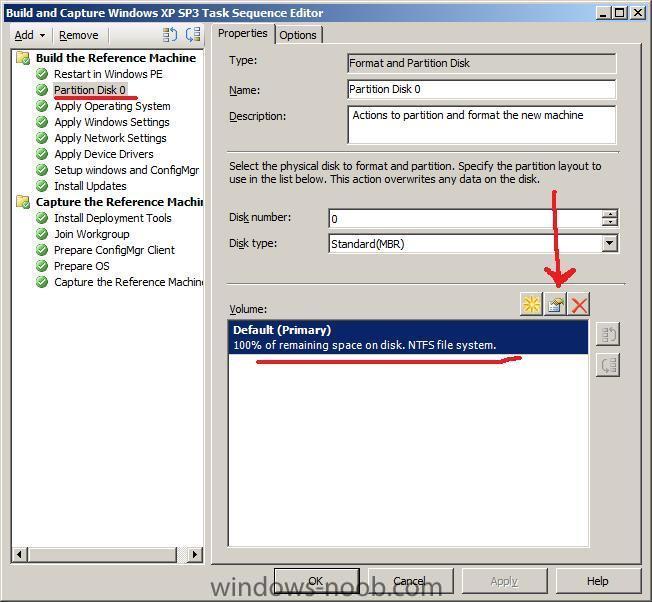
Edit the Task Sequence Now that we have made our task sequence let's make the deployment process faster by forcing the Format process to do a quick format. Right-click on the TS and select Edit. In the Task Sequence, click on Partition Disk 0 and then click (to highlight) the Default volume listed, once done you can edit the properties of it by clicking on the middle icon (edit, see screenshot) when the partition details come up, place a checkmark in Quick Format click OK when done.

-
Create a Package from Definition for the ConfigManager Client complete the following Step (step 3). Create distribution point and then update it complete the following Step (step 4) >> continue on to complete the next part
-
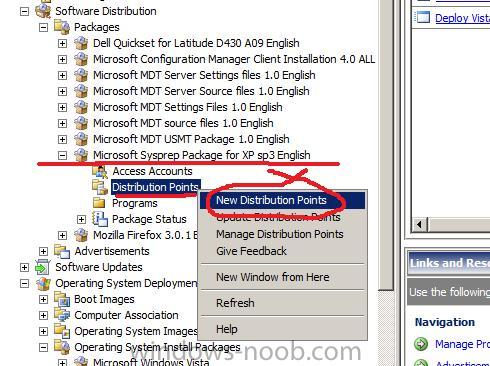
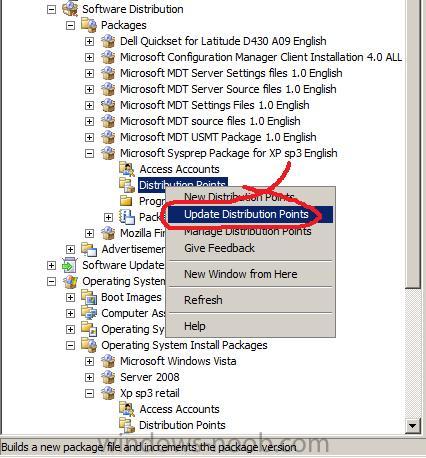
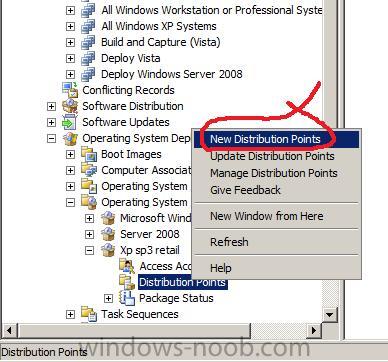
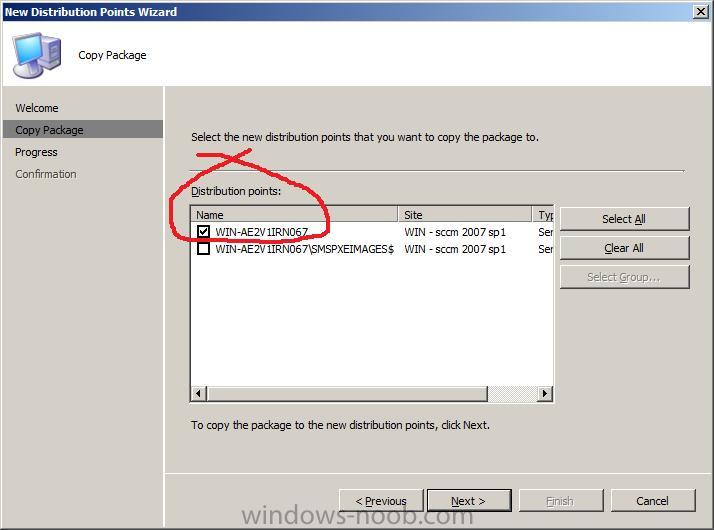
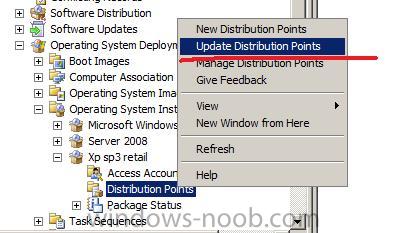
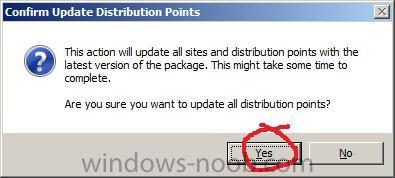
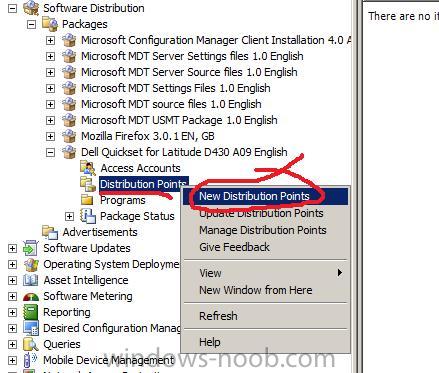
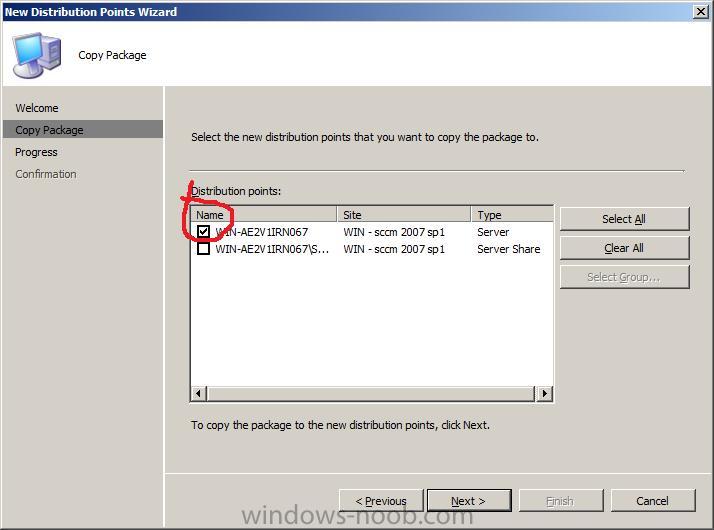
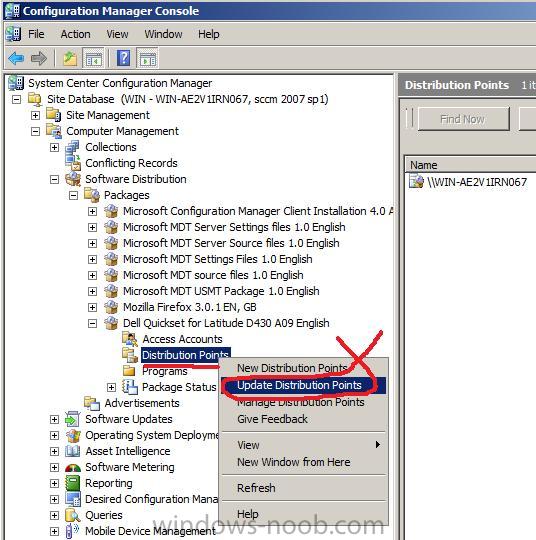
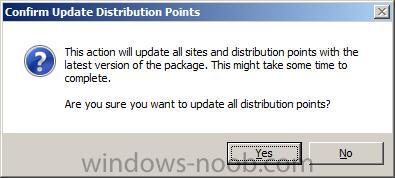
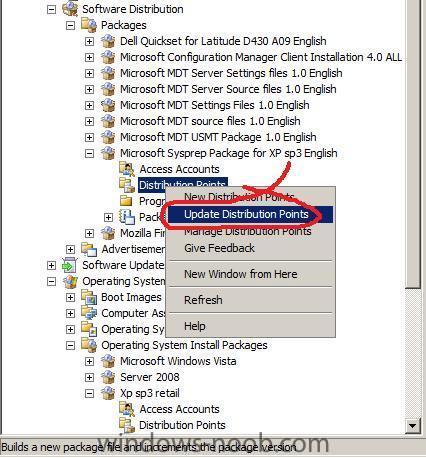
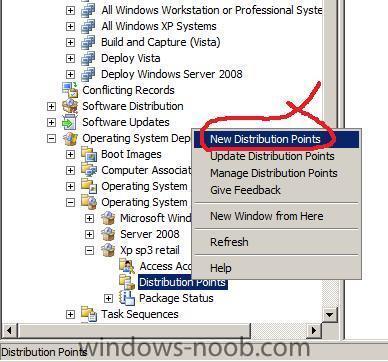
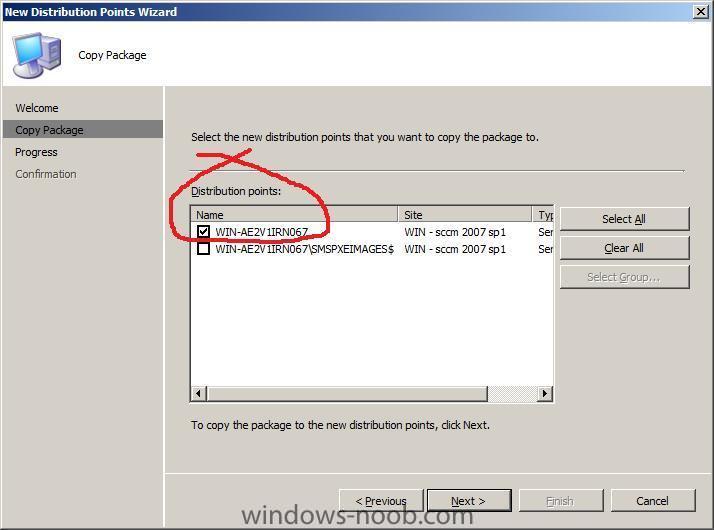
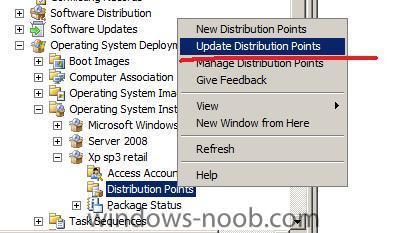
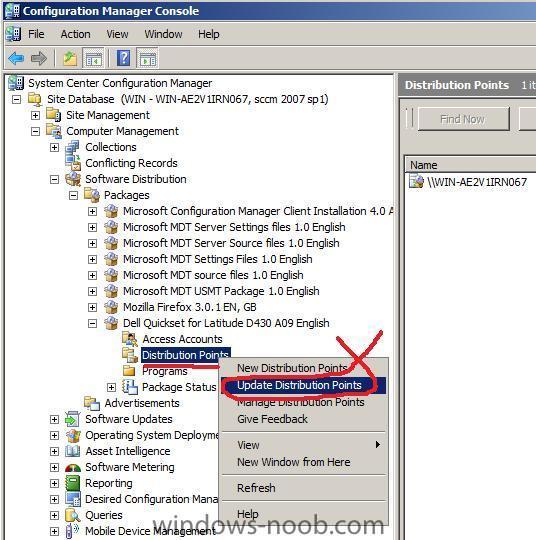
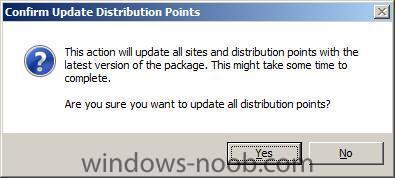
Create a Distribution Point and Update it for the Sysprep Package Expand the Sysprep Package we have just created in ConfigMgr and right click on Distribution Points choose New Distribution Points Click next and select only the standard distribution point (exactly as we did above for the Operating System Install package), click close when done. Once created, right-click on distribution points again and this time choose Update Distribution Points. answer Yes when prompted

-
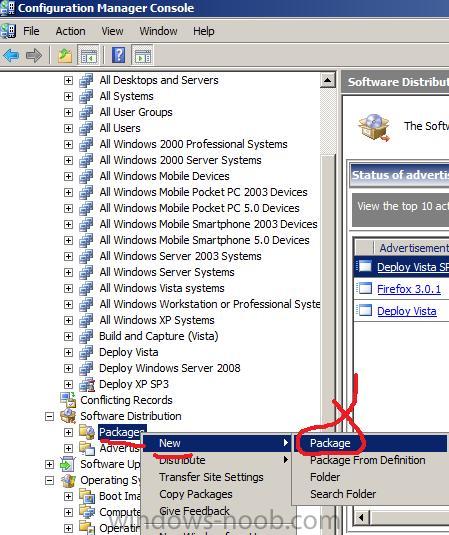
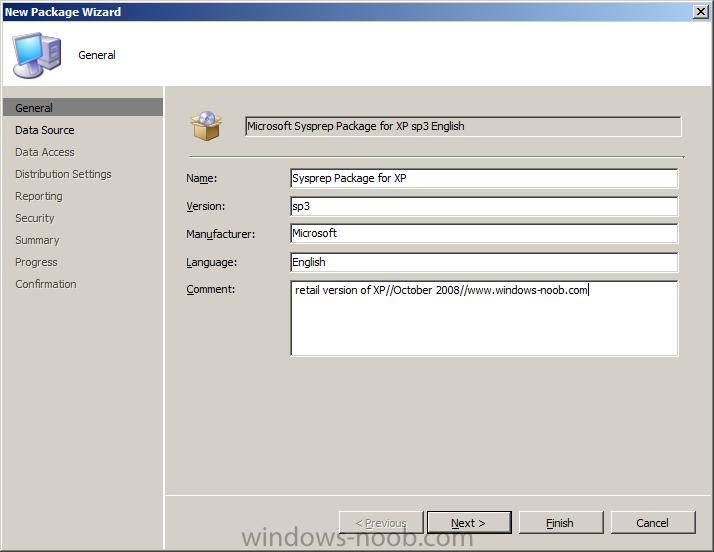
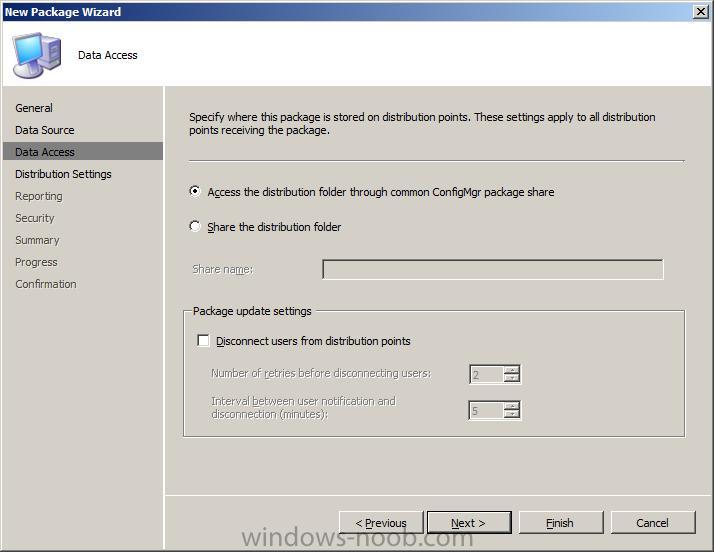
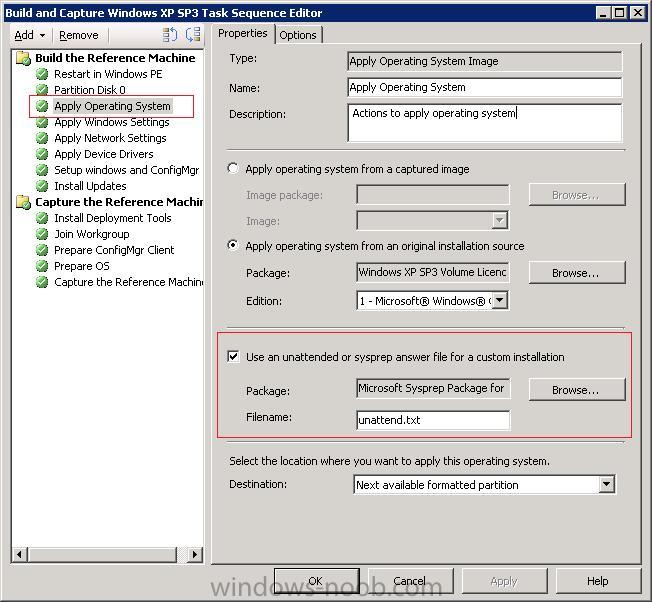
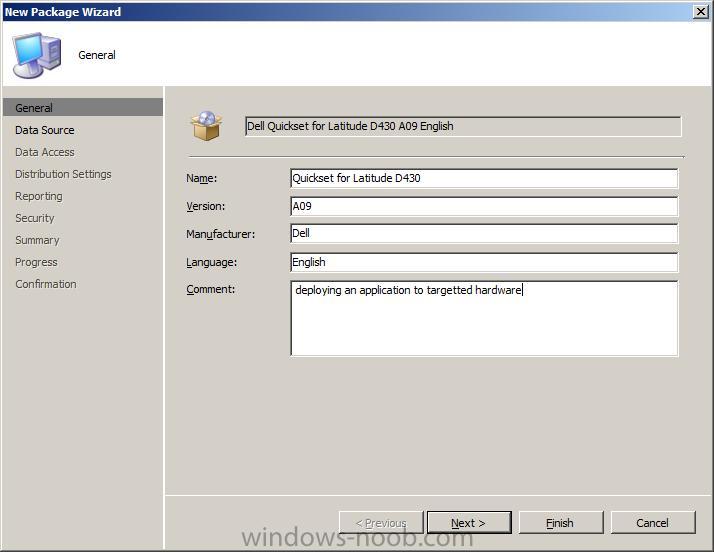
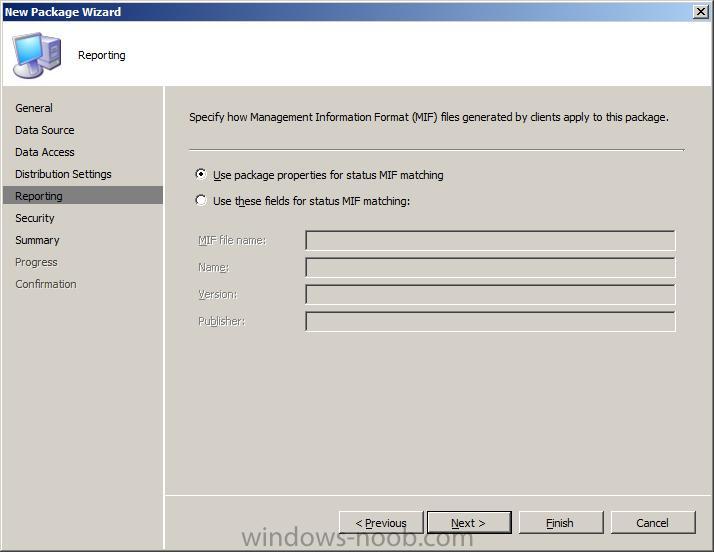
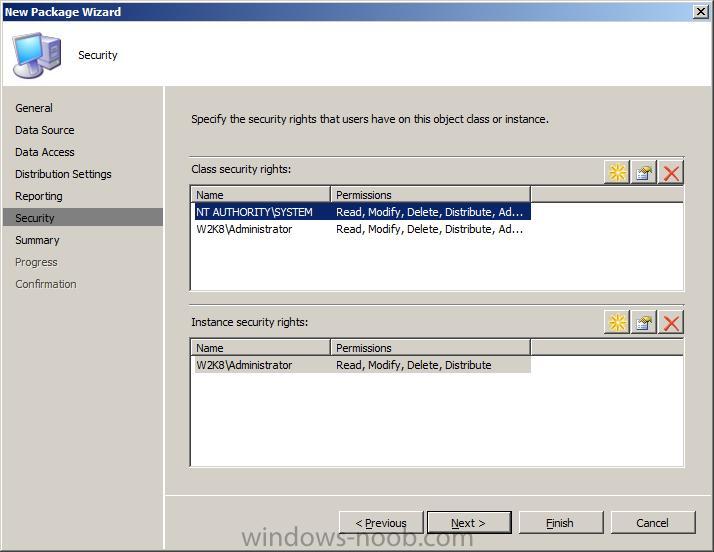
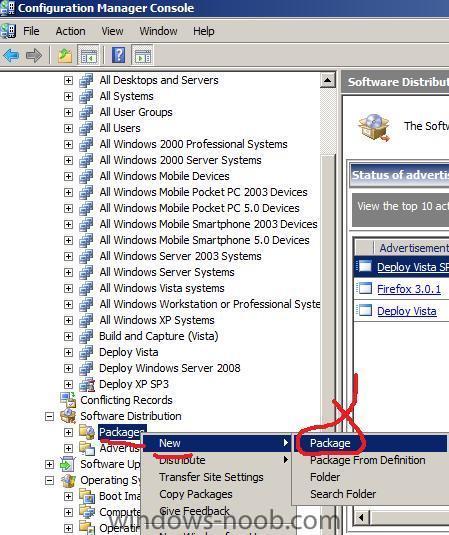
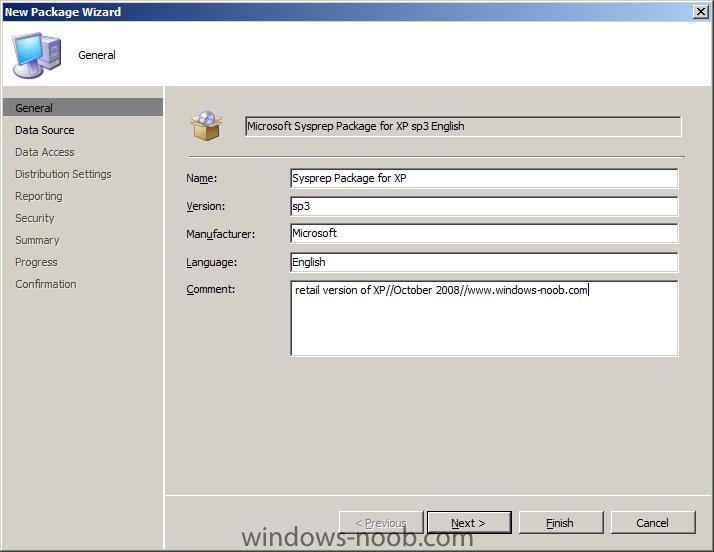
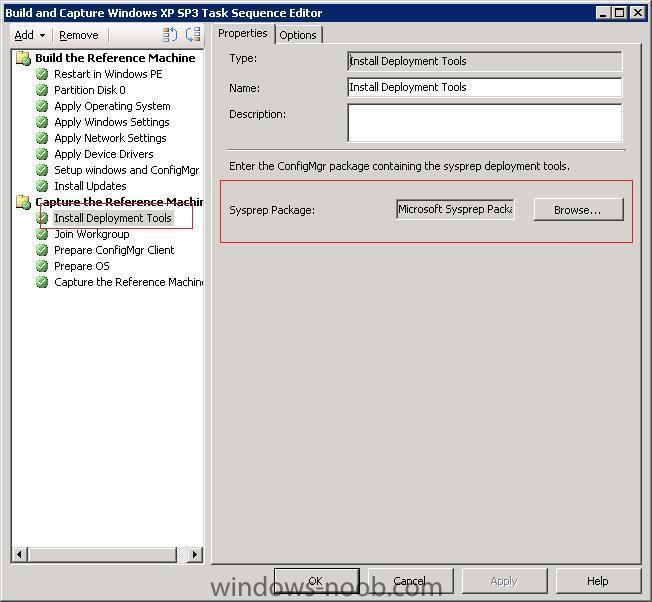
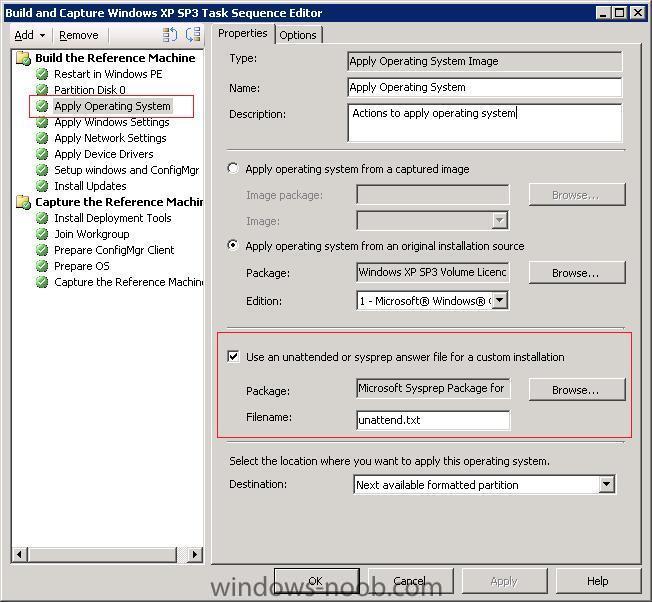
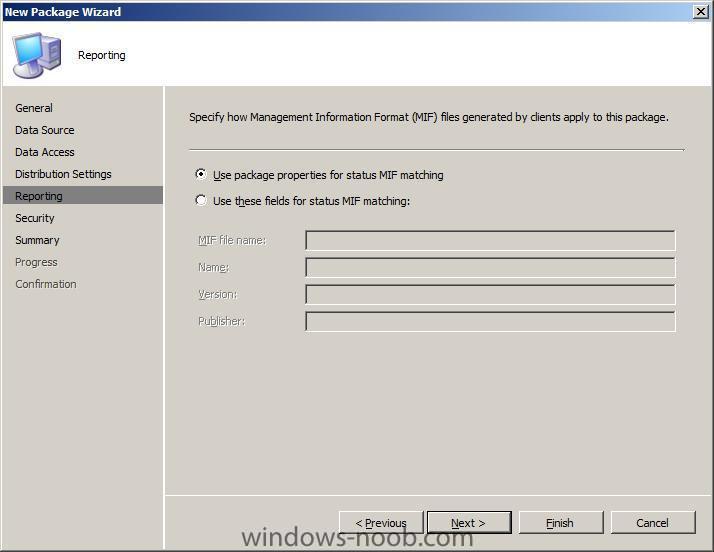
Create the XP SP3 sysprep package download the XP SP3 deploy.cab file and extract its' contents (or just the sysyprep.inf file) to a folder called sysprep. Create a network share and copy the contents of the sysprep folder into the share, call the share sysprep. Note: if you are trying to deploy XP SP2 then use this one instead. Note that the Sysprep package will be used in a step called Install Deployment Tools which must happen after Setup Windows and ConfigMgr step but before the Prepare Configmgr Client step, we will be creating the task sequence in the next part and it will automatically insert that step in the correct place, however we need to define the Sysprep Package first. I'd also recommend you copy your unattend.txt file to the sysprep package, we will use this to make changes to our Windows XP image in the Apply Operating System Image step (see below) In ConfigMgr expand the Software Distribution node and right click on Packages and choose New Package. fill in the package details for Data Source, point the wizard to the sysprep share you created earlier eg: \\WIN-AE2V1IRN067\sysprep leave Data Access as it is Leave Distribution Settings as they are for reporting and security just click next, and click next again at the summary and review your actions on the confirmation screen. Note: If you are trying to deal with AHCI drivers via sysprep then please read this post

-
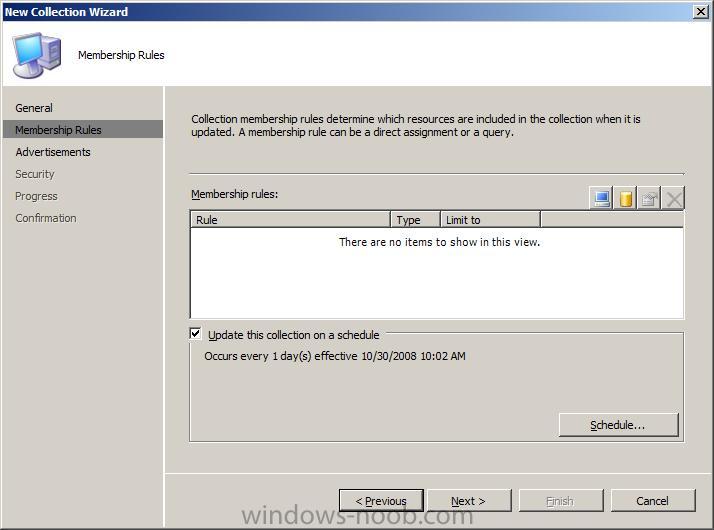
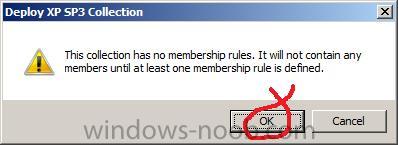
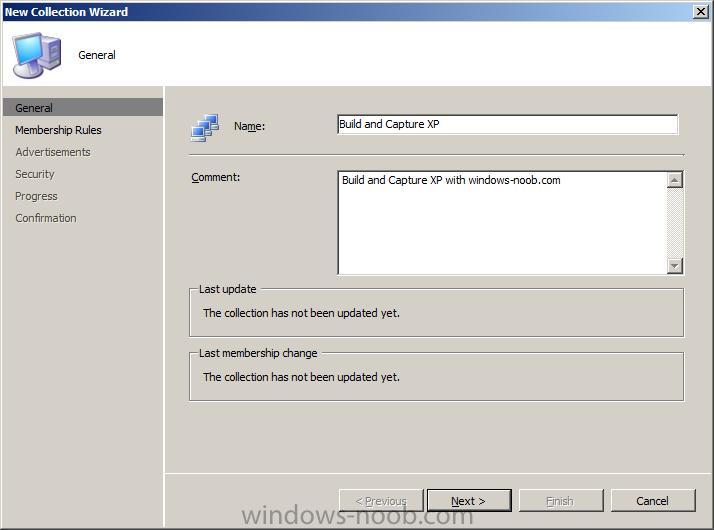
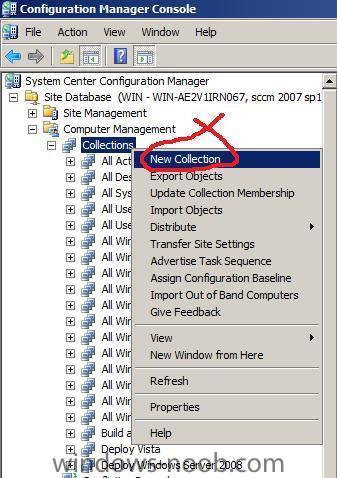
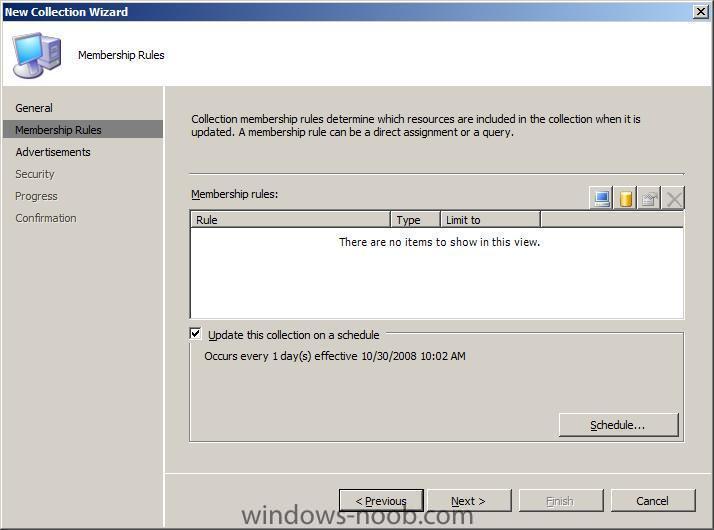
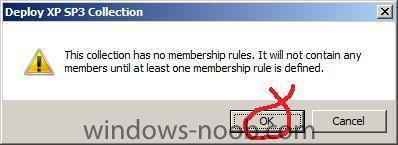
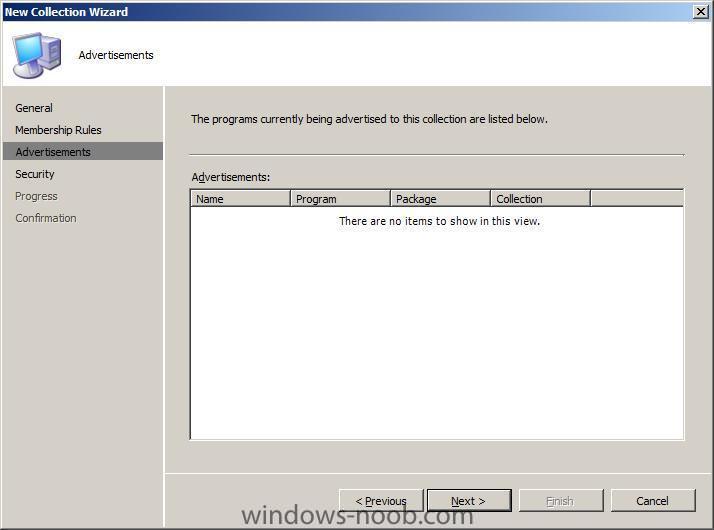
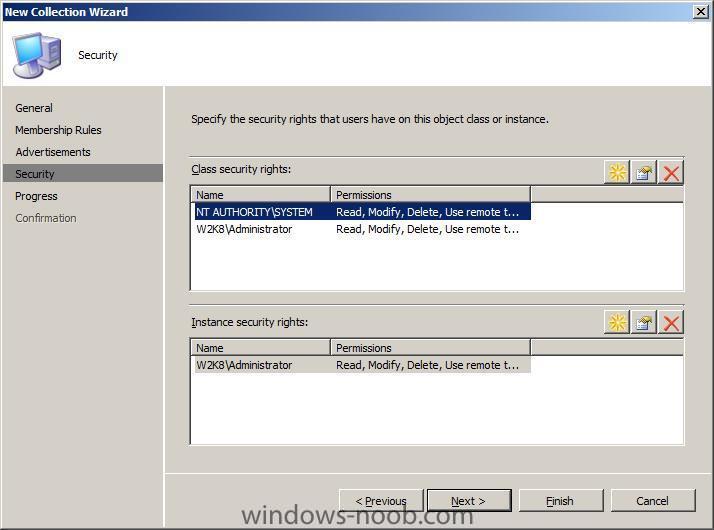
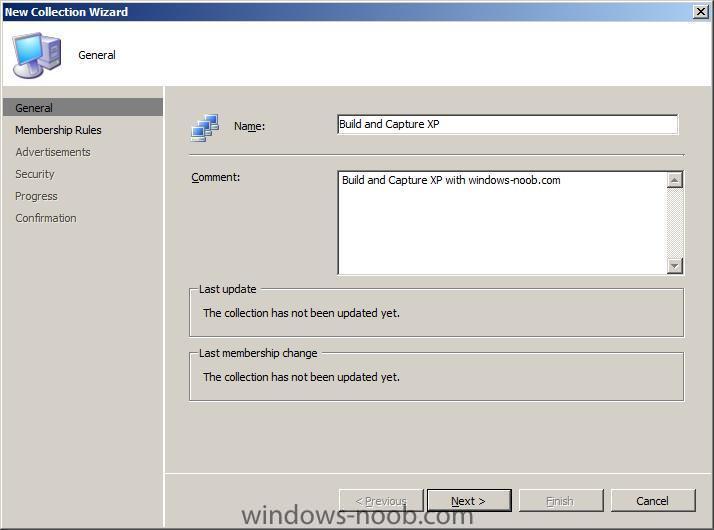
Create a New Collection In SCCM ConfigMgr, highlight collections, right click and choose New Collection, fill in the collection general details and call this collection Build And Capture XP leave Membership Rules blank click OK to the warning click next on the advertisements and security screens click close when done
-
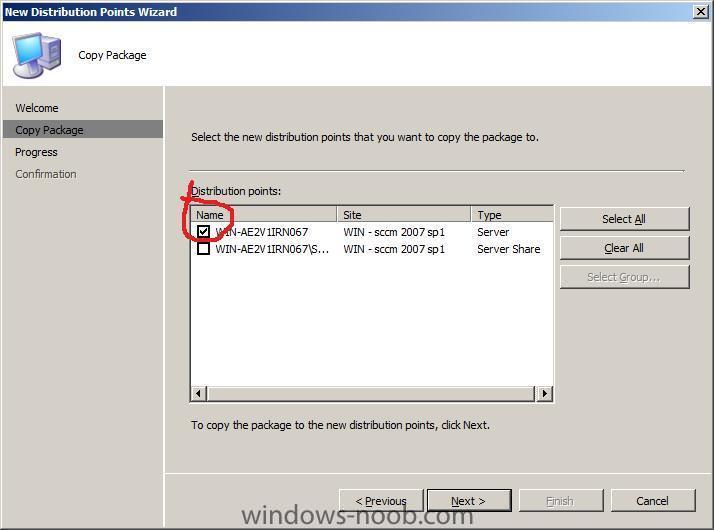
Create a Distribution Point for our Install Package expand the Install package we've just created and right click on Distribution Points, choose New Distribution Points click next when the wizard appears and select only the first distribution point, do not select the PXE distribution point as this is not a boot image. click close at the confirmation screen Now the we have created the distribution point for the operating system install package, let's update the distribution point. Right click on Distribution Points and choose Update Distribution Points answer Yes to the confirmation

-
i'll try and do it this week, watch this space................
-
WDS 2008 and Novell DHCP
anyweb replied to wells2050's question in Windows Deployment Services (WDS)
sounds like this have you actually configured WDS at all or just configured the dhcp options ? is there a switch between the windows 2008 server and the novell dhcp server ? -
hi webuser, if you understand how SCCM works then the following guide should help you give it a try at least and let us know does it work or not, If I have time to do an XP guide I will, but right now I don't.... cheers anyweb
-
Today, the Windows 7 operating system was announced at PDC. Attendees heard how the forthcoming release can help customers leverage previous investments in the Windows Vista operating system. Enhance security and control. Reduce power consumption. And seamlessly connect their people and devices.
-
it means you need to install the WAIK do that, and then try again cheers anyweb
-
ok first of all are you deploying XP or Vista ? and I assume the two computers you are attempting to install to are both 32 bit and 64 bit ? from your error it sounds like WDS is not configured correctly take a look at this post to get an idea of the options cheers anyweb
-
how can I target applications to specific hardware
anyweb replied to anyweb's question in Deploy software, applications and drivers
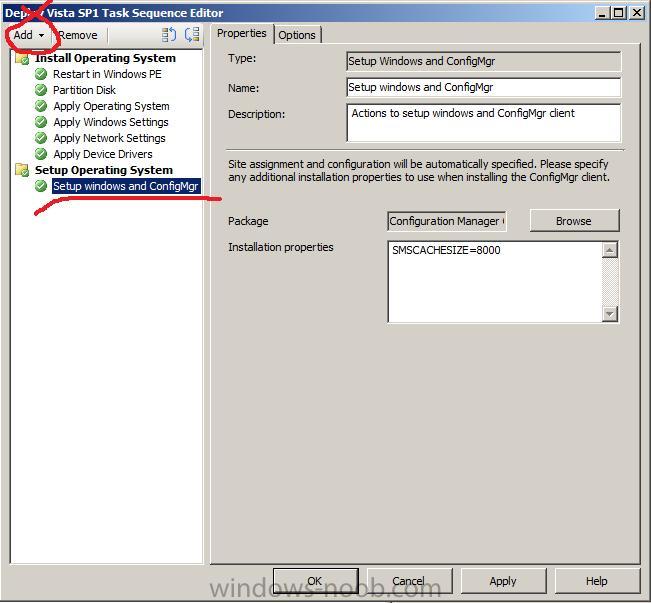
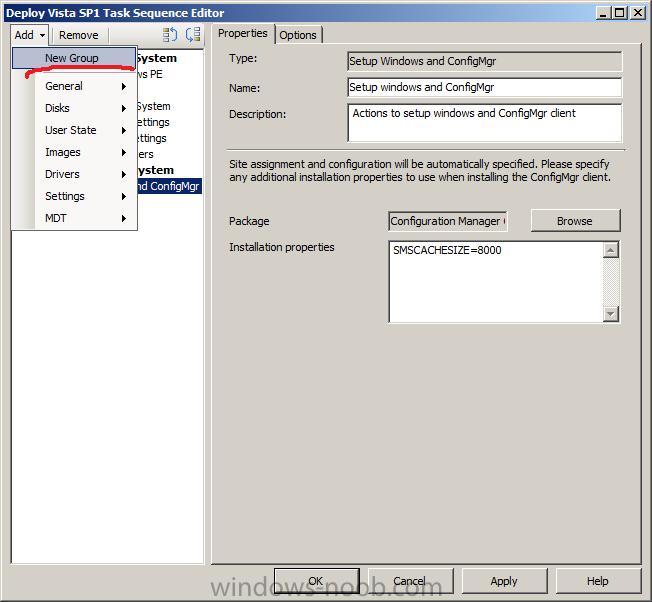
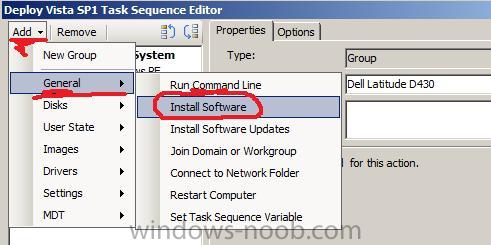
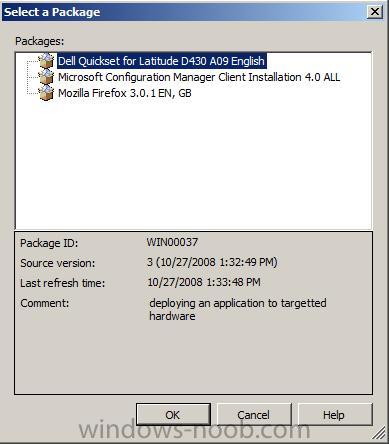
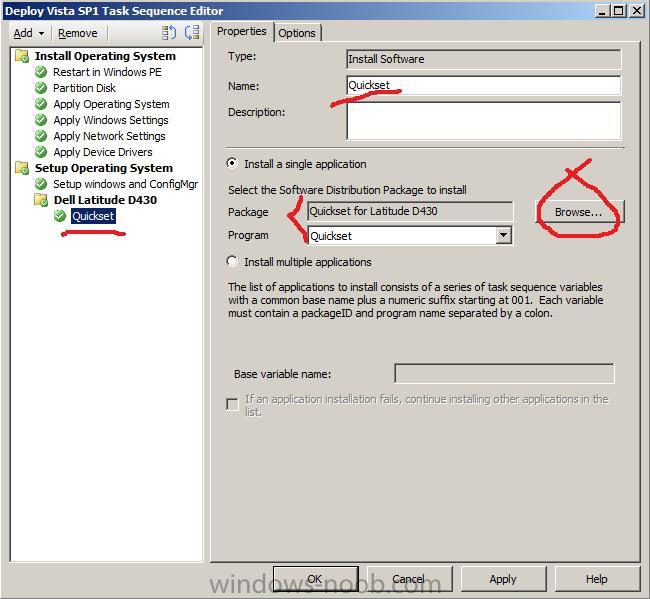
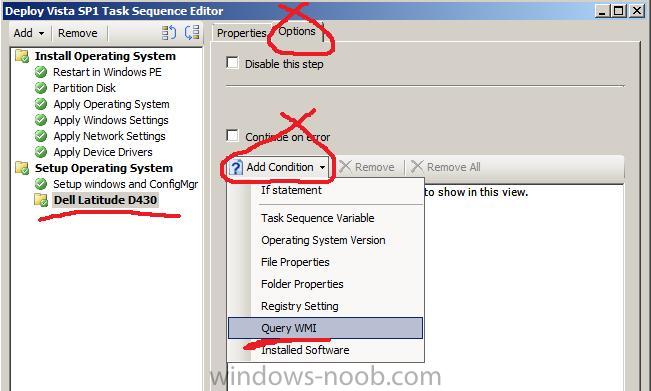
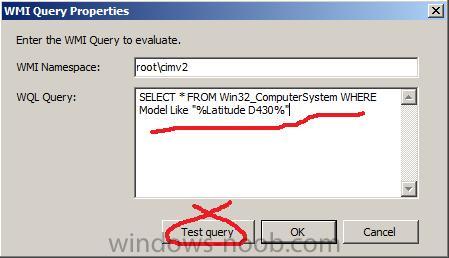
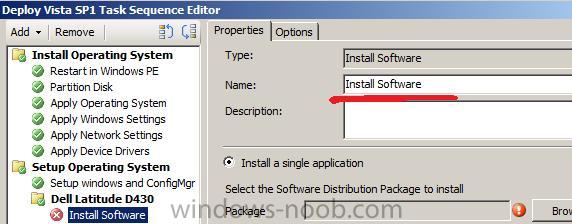
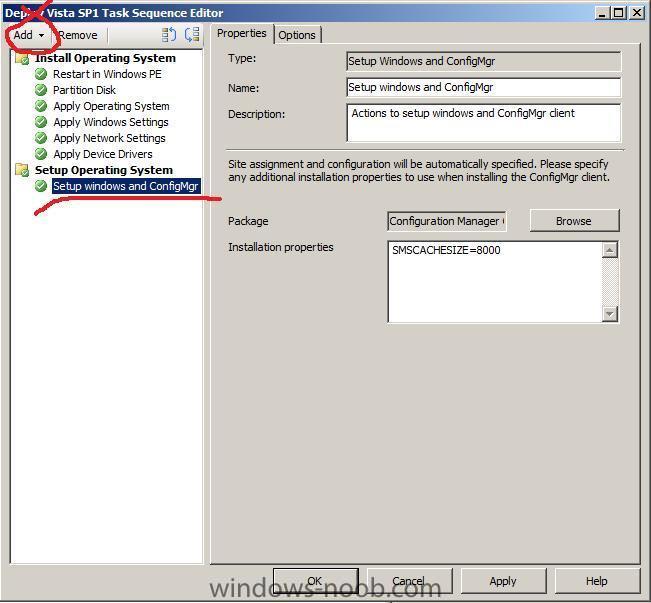
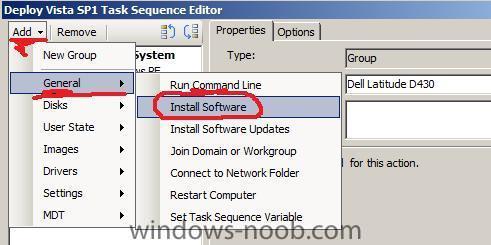
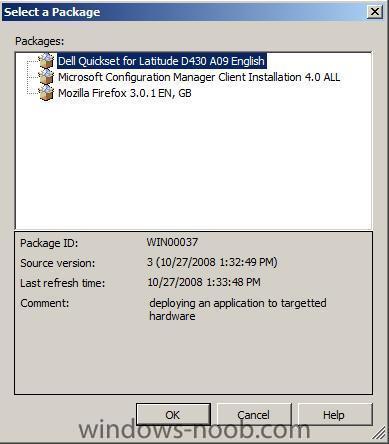
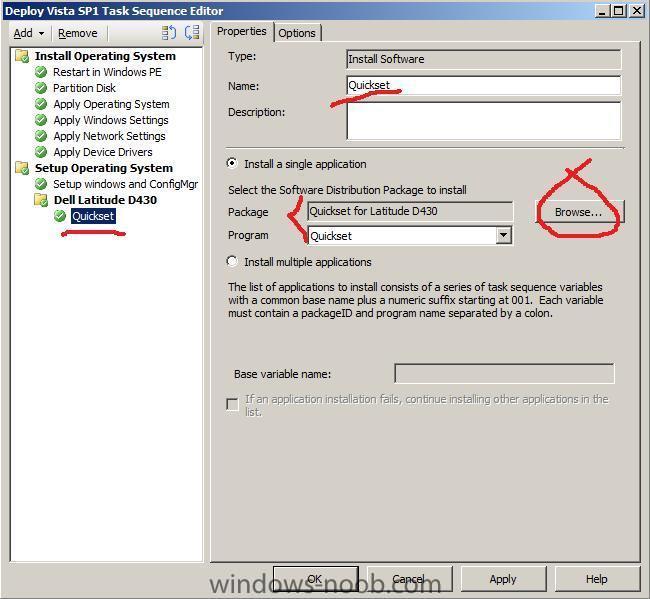
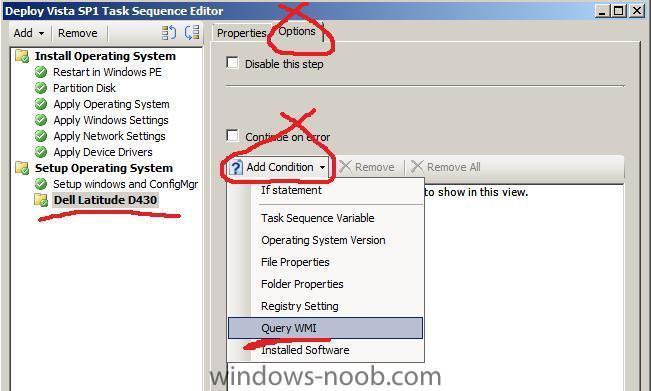
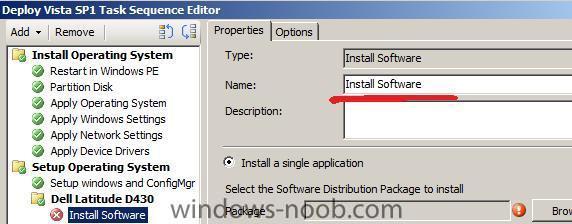
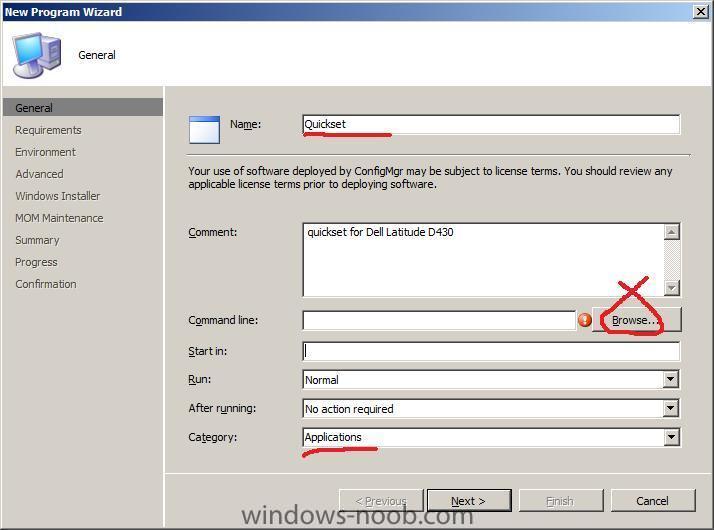
Edit the Task Sequence Now we need to edit our Task Sequence to add the conditions necessary to selectively install applications/drivers, so expand the Operating system deployment node and expand Task Sequences and select a Task Sequence. Right click on it and choose Edit. When the Task Sequence appears, highlight Setup windows and ConfigMgr and then click on the Add drop down menu click on New Group from the choices when the New Group appears, change it's name to Dell Latitude D430 Adding the WMI Query to detect our Model type Now click on the Options Tab and then click on the Add Condition drop down menu, choose Query WMI Paste the following code in to the WQL Query box SELECT * FROM Win32_ComputerSystem WHERE Model Like "%Latitude D430%" You can even test your query by clicking on the Test Query button (will return 1 if true, 0 if not) Click on Ok and then click on the Properties Tab again. Add the Quickset Application to the Task Sequence click on the Add drop menu again, and choose General then Install Software change the Name from Install software to Quickset and then click on the browse button select the Dell Quickset package from the list ... and click ok then apply and that's it, you can now do a test deployment to see the Dell Quickset application installing itself on Dell Latitude D430's, once you've succeeded in the above you can broaden this further by installing applications like Intel Proset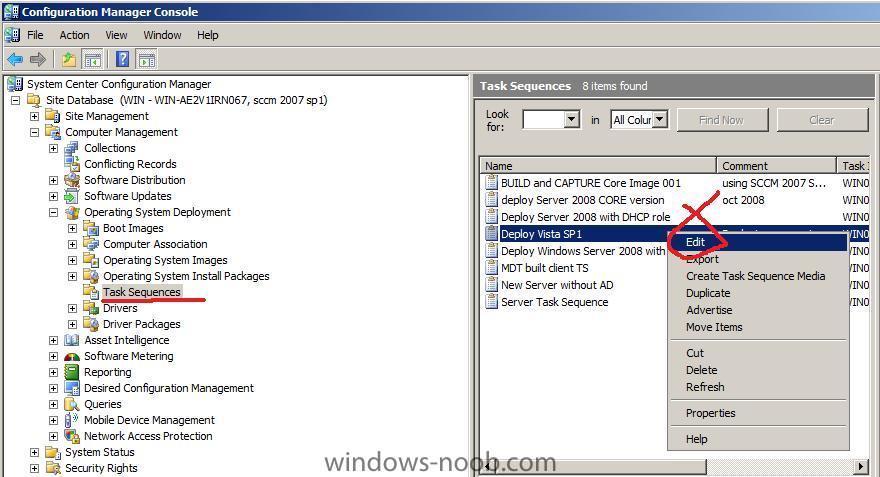


-
how can I target applications to specific hardware
anyweb replied to anyweb's question in Deploy software, applications and drivers
Identify the hardware name in WMI Now we need to query WMI to find out the hardware name (we'll need it for later). Open a command prompt on your client hardware (the machines you intend to be deploying to....) and type wmic To find out the model name type this CSProduct Get Name The result is what we need Below is a sample output from a Dell Optiplex 745 -
how can I target applications to specific hardware
anyweb replied to anyweb's question in Deploy software, applications and drivers
Distribute the Package and update distribution points Now that we have created our Package and created a program for it, we need to create a distribution point for it and then update that distribution point with the package. Right click on Distribution Points beside our newly created package and select New Distribution Points. click next when the Wizard appears and select the first distribution point (do not select the PXE DP as this is not a boot image....) click next and then close at the summary screen. Now that we've created a Distribution Point let's Update it, right click on our packages Distritbution Points and choose Update Distribution Points answer Yes when prompted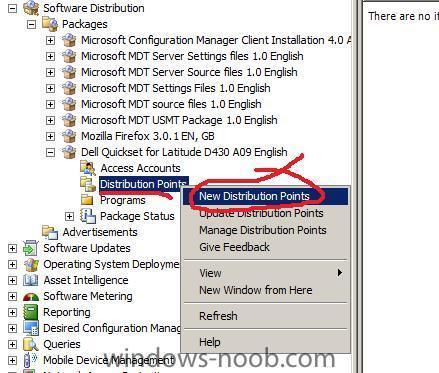
-
how can I target applications to specific hardware
anyweb replied to anyweb's question in Deploy software, applications and drivers
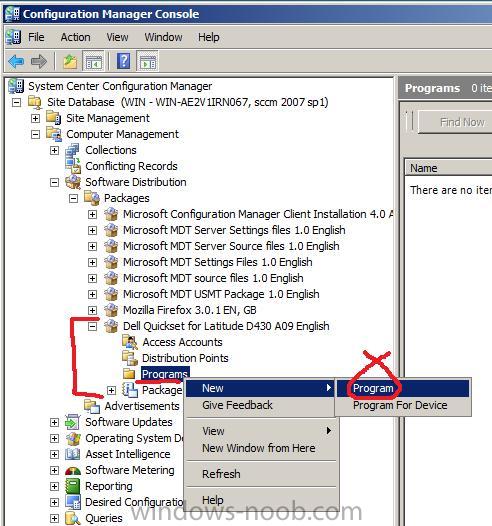
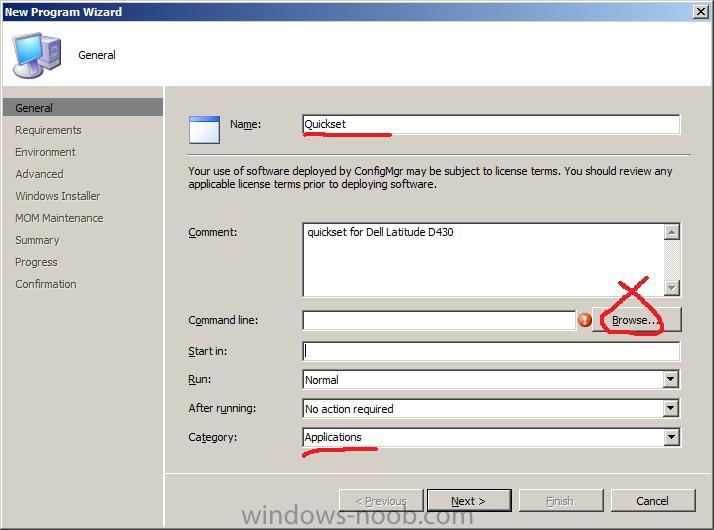
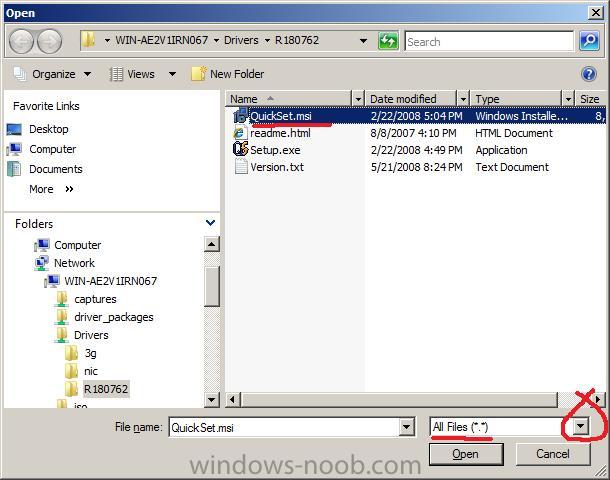
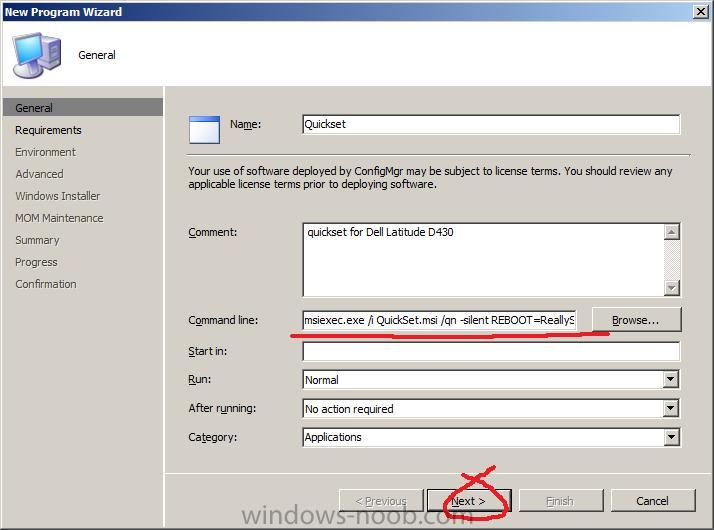
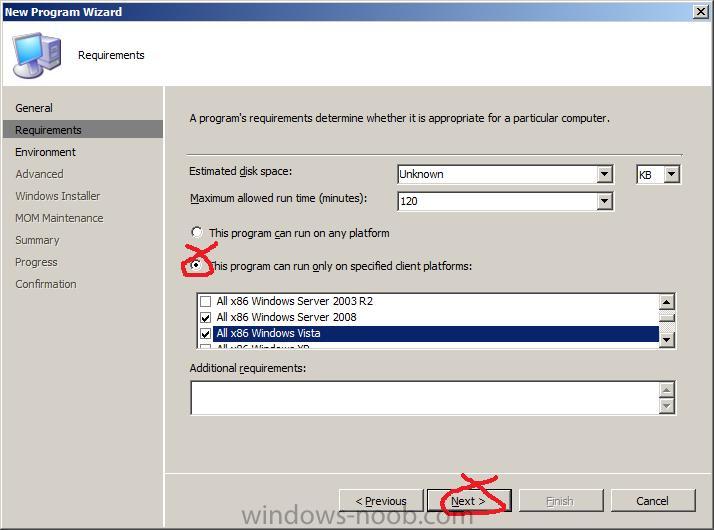
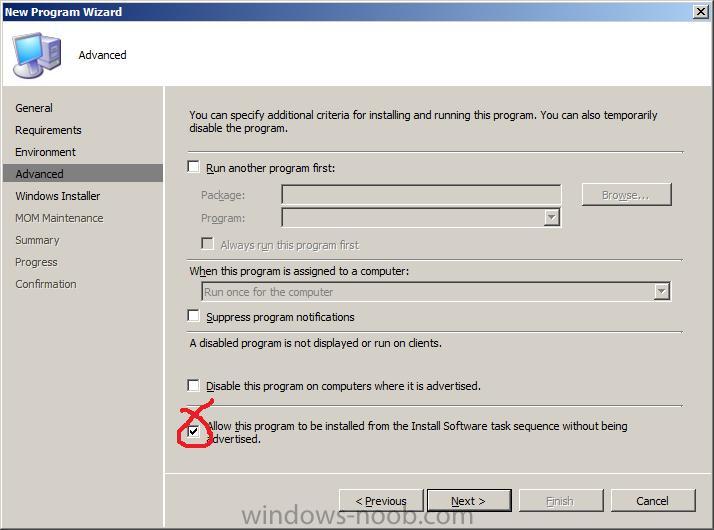
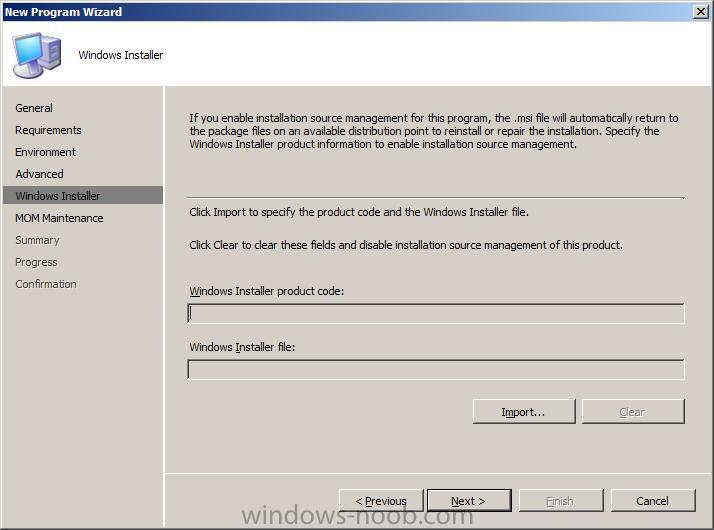
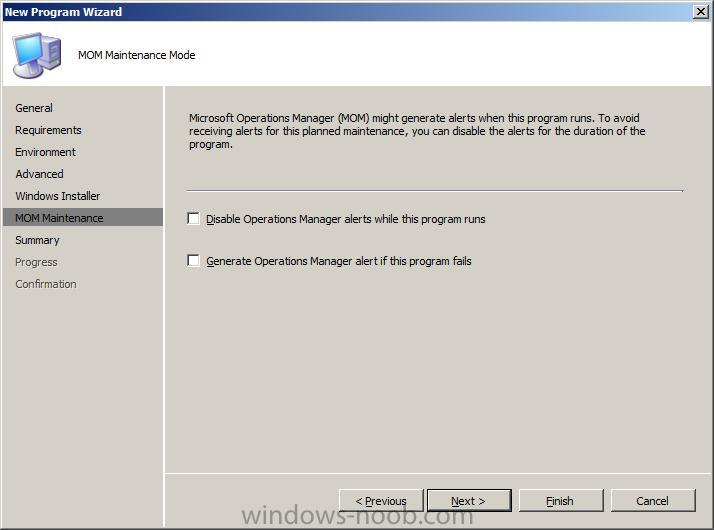
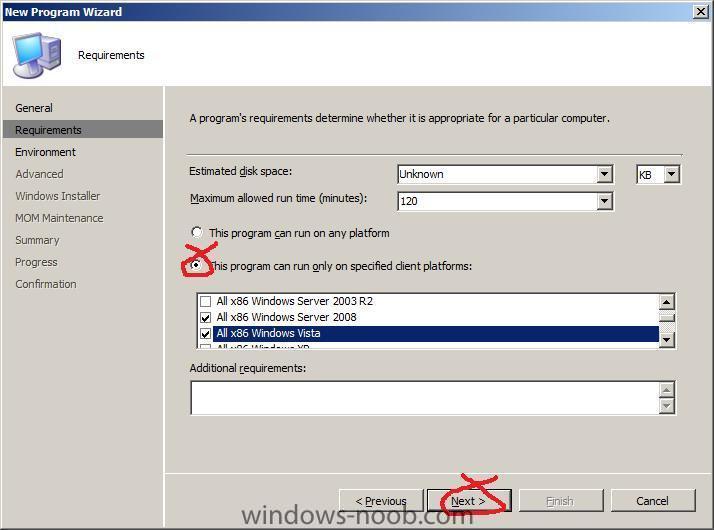
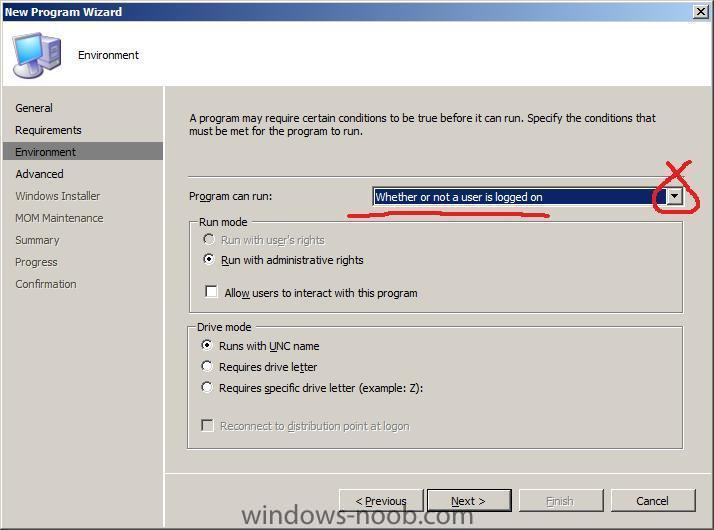
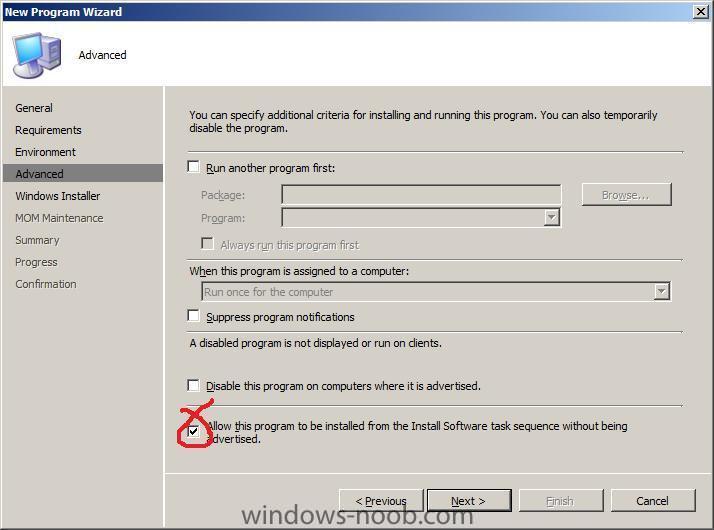
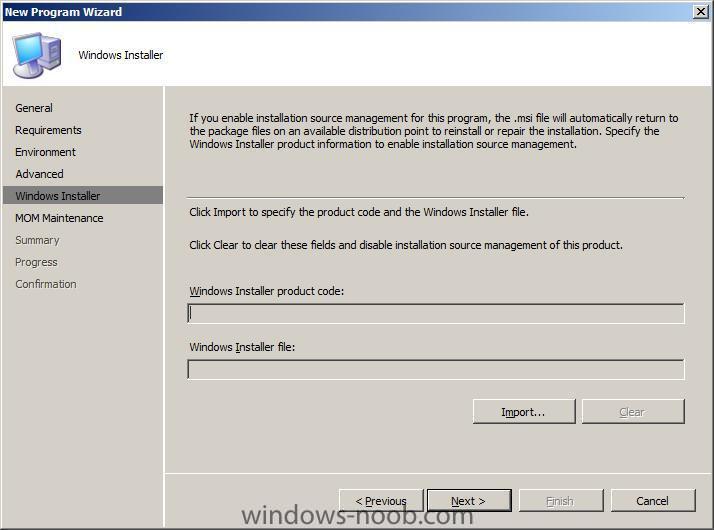
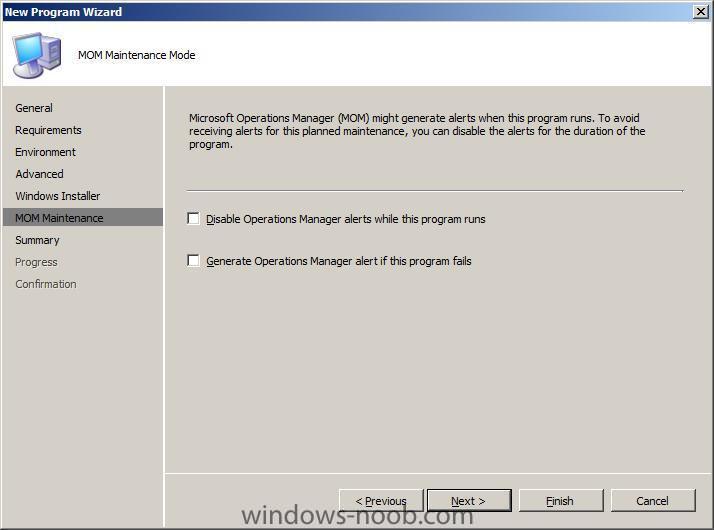
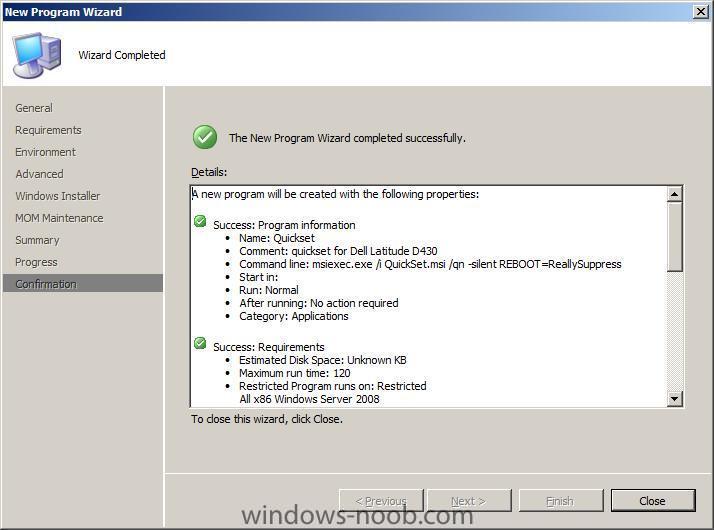
Create a Program ok now that we've created our package above, let's create a program (needed to install the application). Highlight the package, expand it and right-click on Programs, select New, Program. when the wizard appears, type Applications for category type, fill in the other details and click browse make sure to select file type to All files and then highlight quickset.msi and click open then paste in the folllowing line msiexec.exe /i "QuickSet.msi" /qn -silent REBOOT=ReallySuppress and click next, the switches were taken from the README.HTML file provided with this application On the requirements screen we can decide how long this application is allowed to take to install and on what OS types it can be installed on for Environment make sure that whether or not a user is logged on is highlighted from the choices available otherwise this will not work on the Advanced screen, also make sure that Allow this program to be installed from the Install software Task Sequence without being advertised is selected for the Windows Installer and MOM Maintenance screens stay with the defaults, click next at the summary and close at the confirmation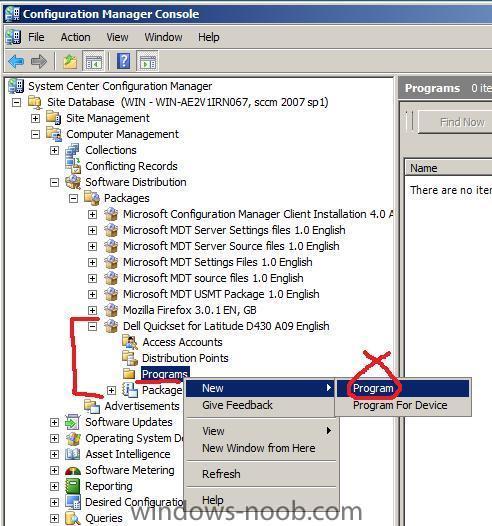


-
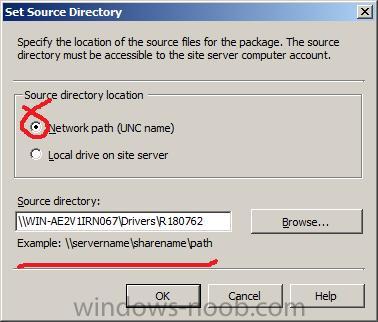
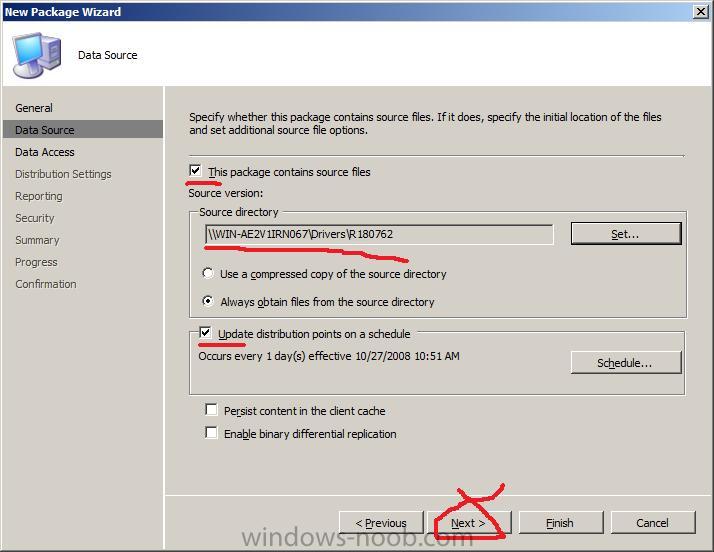
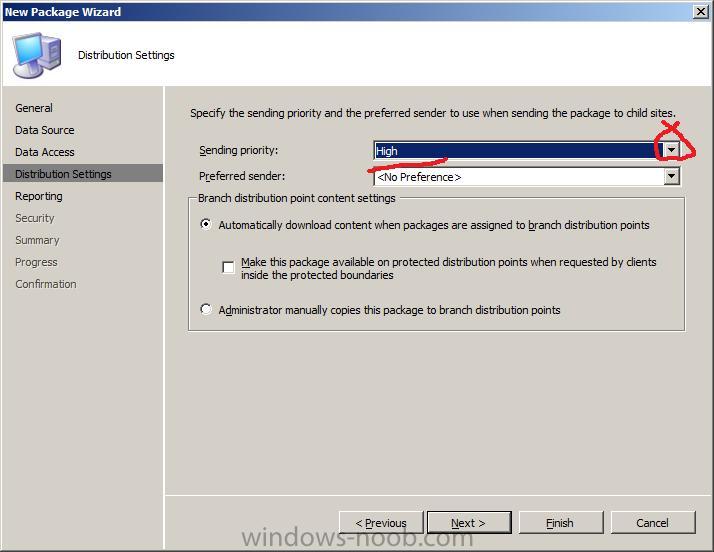
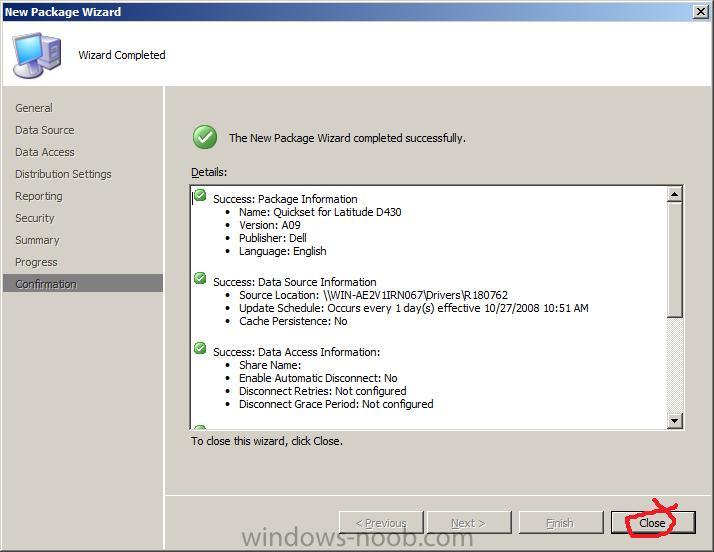
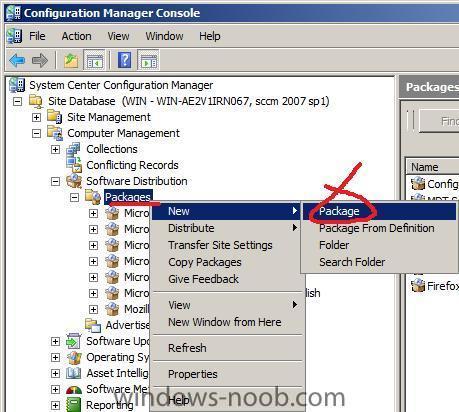
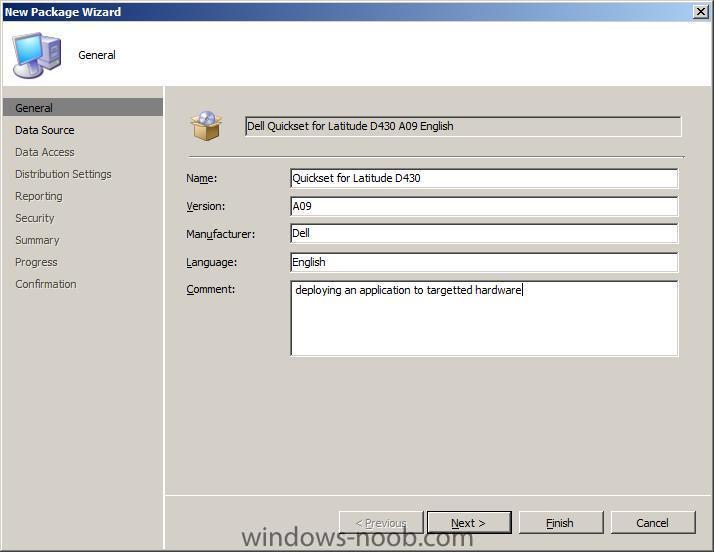
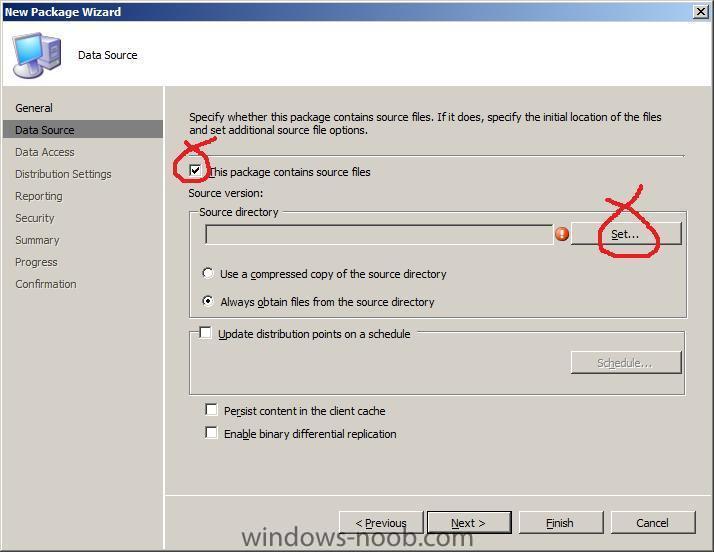
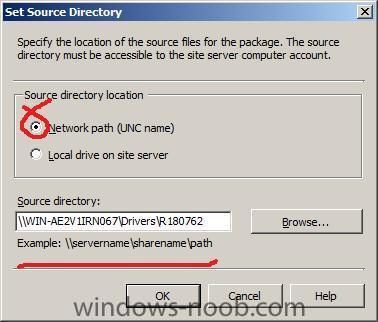
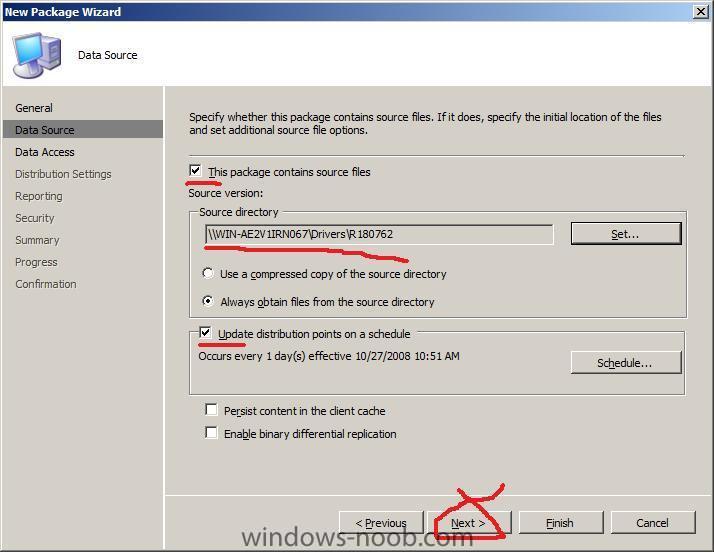
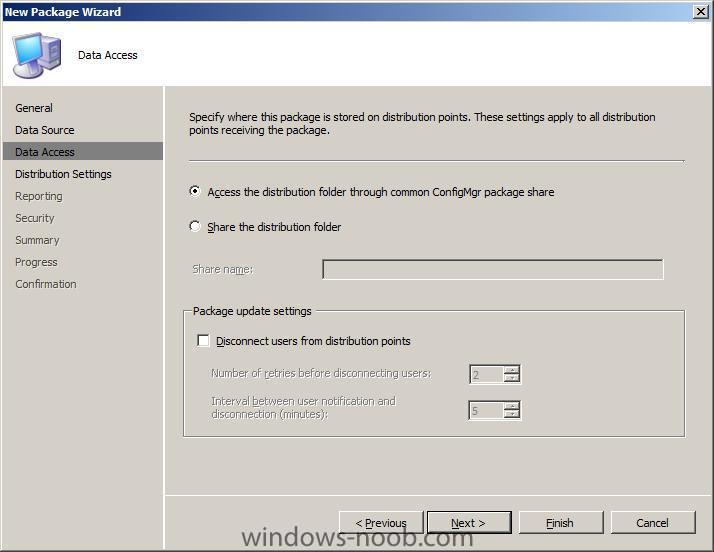
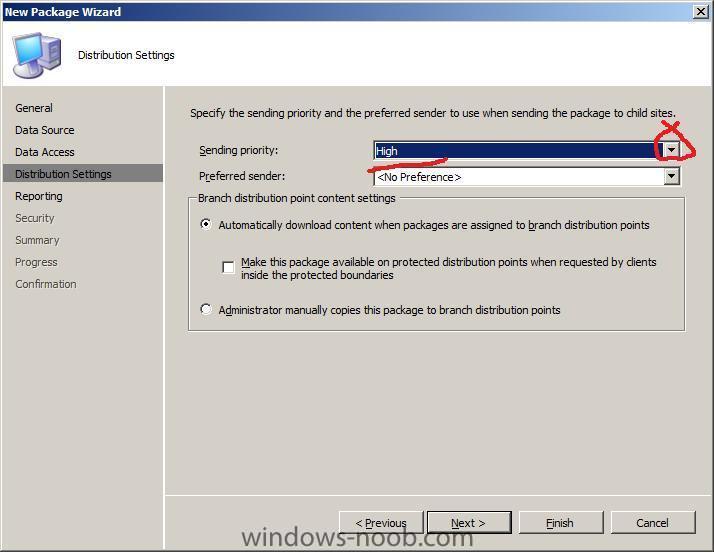
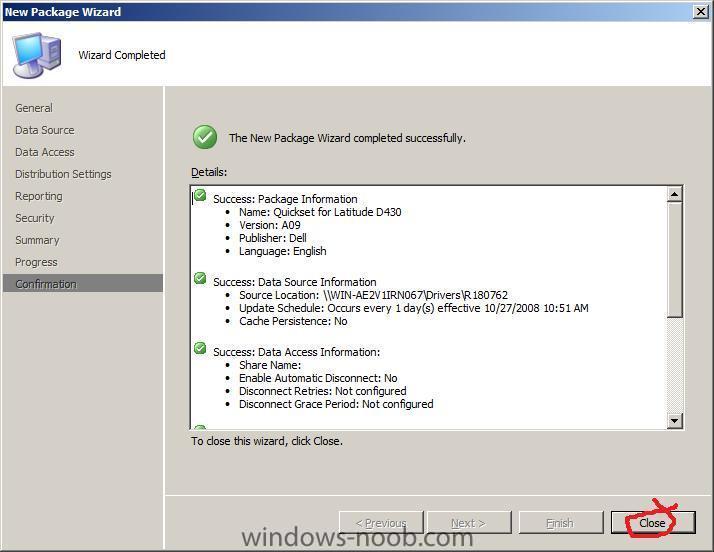
One of the big problems with deploying computers today is getting all drivers installed correctly, some drivers will install just fine using the standard PNP (plug and play) routines within Windows Setup providing of course that you have first added the drivers to driver packages and distributed them to your distribution point(s), some drivers however are not so easy to install and require an application to be run in order for the hardware to function, examples are Bluetooth, Wireless, 3G amonsgt others. These applications contain the drivers needed plus several support files/apps and what not. Therefore you need to have a method of installing applications and in addition you need to be able to target what hardware these applications get installed onto (you don't want wireless drivers being pushed out onto a non-wireless desktop for example. In the example below we will deploy an application called Quickset on a Dell Latitude D430, and I will quide you through the processes needed to get you there. Obviously you can replace the Hardware type with whatever model you are using and in addition you can use whatever application/driver you wish, the purpose of this guide is to show you how to target selected hardware Get the Application download the following file and run it on a test Dell computer, it will decompress the files to c:\dell\drivers\R180762, copy that folder and all files in it to your drivers share on your SCCM server (eg: \\servername\drivers\R180762) Create a Package Ok now that we have the files, and copied them to our SCCM drivers share, we need to create a package in SCCM, so open the Software Distribution node and expand Packages. Right click on Packages and choose New, Package. When the Wizard appears fill in the general details place a checkmark in this package contains source files and click on Set fill in the path to where you copied the driver (a driver share on your SCCM server) and place a checkmark in update distribution points on a schedule this will allow you to update versions of this application by simply copying the files to that folder... click next and leave data access settings as they are set the Distribution Settings to High for sending priority leave reporting and security as default review the summary and verify all green ticks, then click close at the confirmation screen

-
how can I troubleshoot Windows PE booting in SCCM
anyweb replied to anyweb's question in Troubleshooting, Tools, Hints and Tips
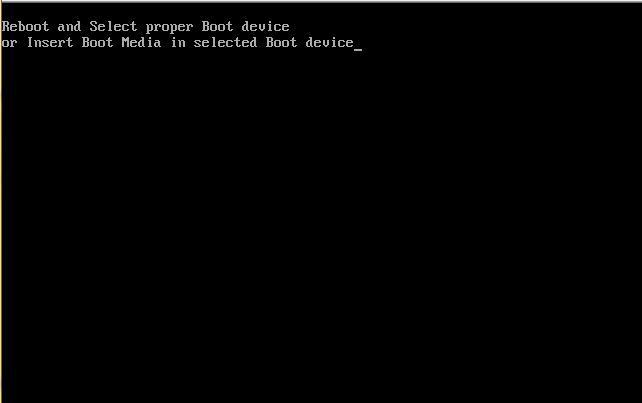
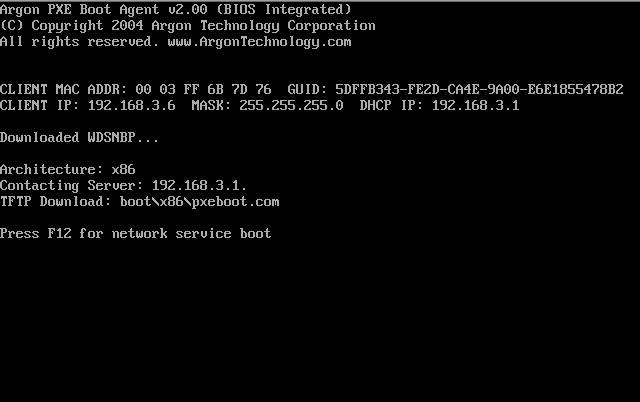
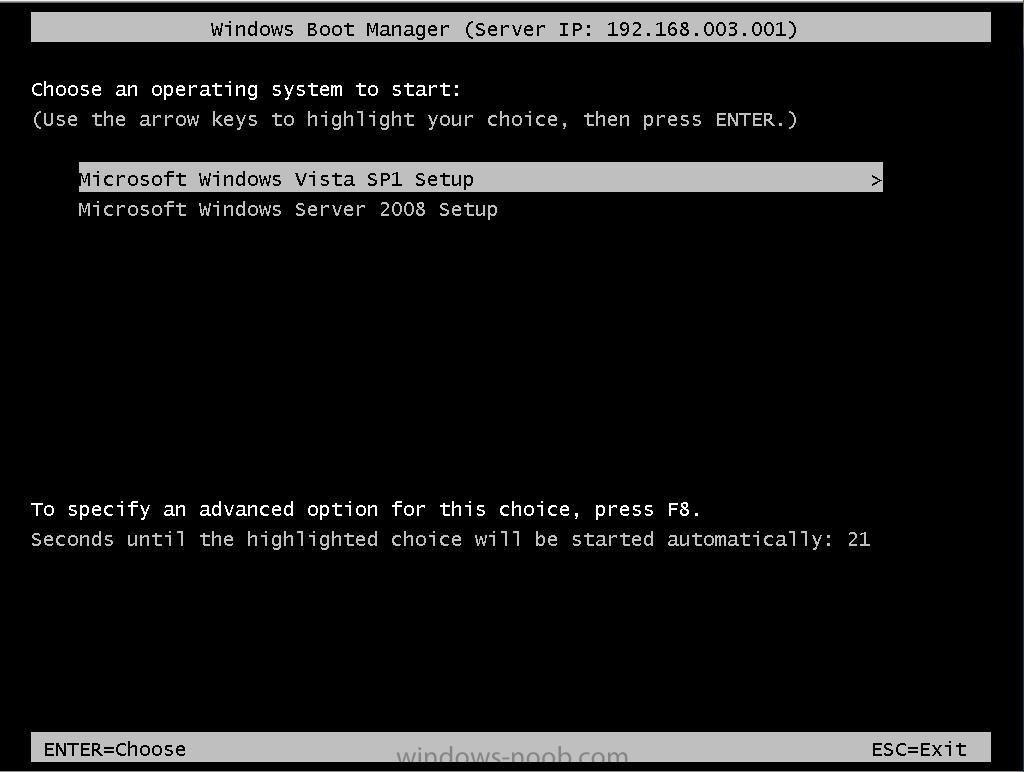
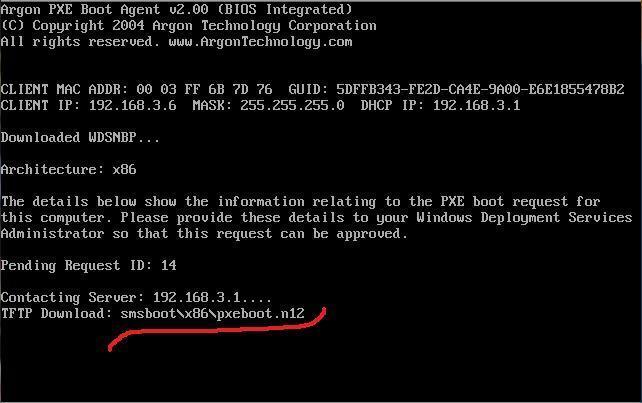
got this error today just after PXE booting The error had me confused for a bit but after rebooting a few times I eventually noticed that the PXE boot prompted me to press F12 to choose boot (like a normal lite touch or RIS menu) prior to the error, so one time I pressed F12 and it displayed the Windows Boot Manager menu with two choices, Setup Vista or Setupy Windows Server 2008 (my WDS menu basically...) So, why didn't it automatically PXE boot into the Server deployment, the reason was simple, even though I had imported the computers settings into the OSD section of SCCM, I had made a mistake in the MAC address, so it never would 'auto f12' the pc in question and instead, defaulted to prompting me for F12 followed quickly by the error above. solution, type in the correct MAC address ! Once done, it will PXE boot as normal and after verifying the MAC address with the one in SCCM's database will apply pxeboot.n12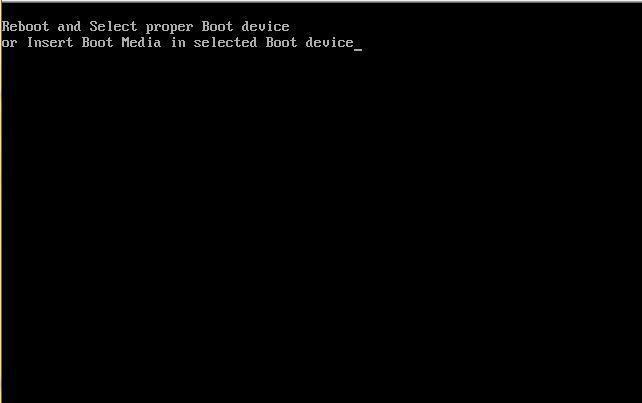


-
ah good to hear it, you can get a lot of WDS info including how to capture and how to deploy images right here in the WDS section if you want semi interactive menus during the wds deployment then lite touch (LTi) is the way to go and you'll need to install MDT for that, if you think it's confusing now just wait till you try SCCM 2007, cheers anyweb
-
have you tried removing anything between the server and client, ie direct connection to rule out SWITCH or routing issues ? if that doesnt help have you checked your logs and event viewer for clues ? cheers anyweb
-
MSCCM 2007, trying to create a new collection but cannot...
anyweb replied to togeoff's question in Collections
have you tried this method ? if that's not what you need then please show me a sample of what you are trying to do (link)