Search the Community
Showing results for tags 'VM'.
Found 6 results
-
 I've got an issue where some servers that were migrated from Hyper-V to VMware are still showing as Hyper-V and others that were originally built in VMware showing as Physical. Is SCCM not capable of detecting VMware? Please see image..
-
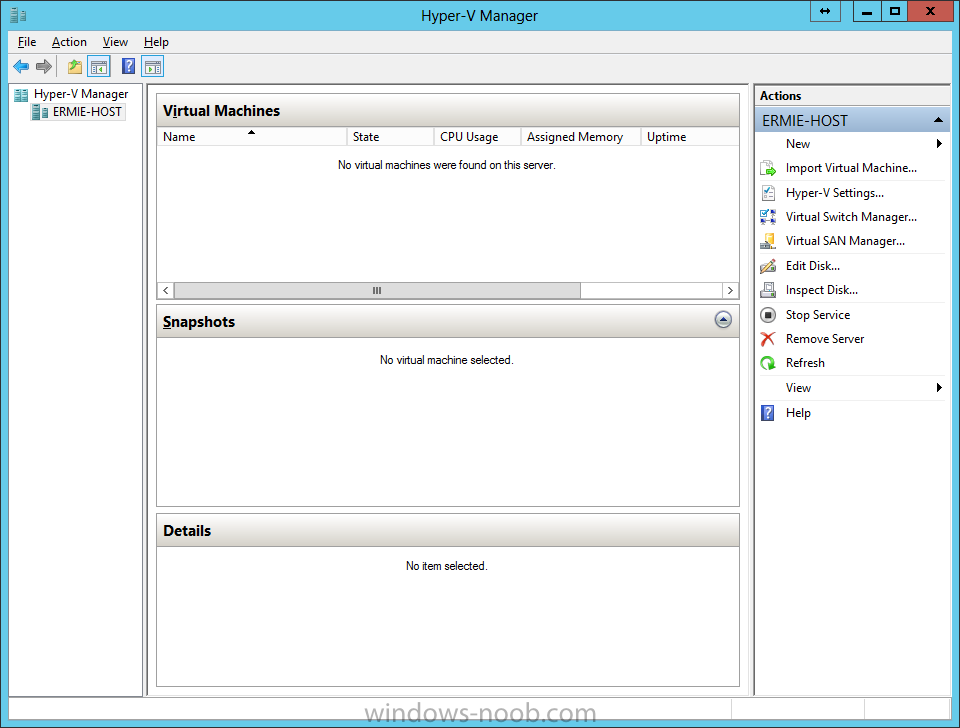
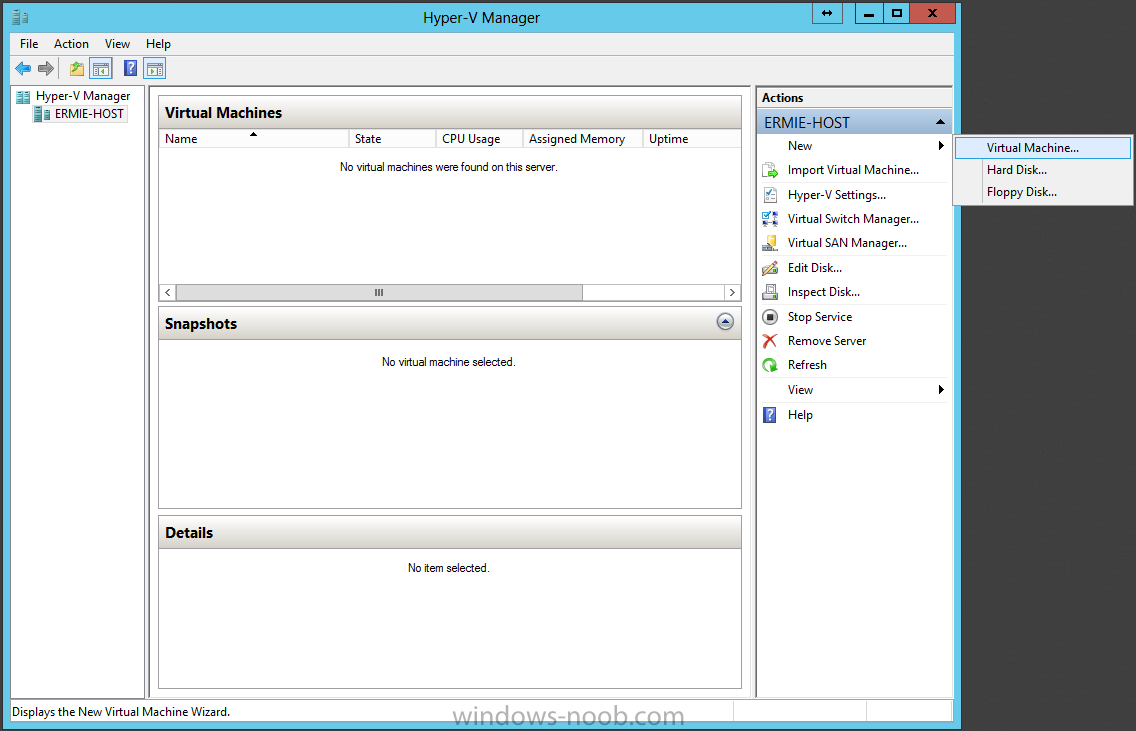
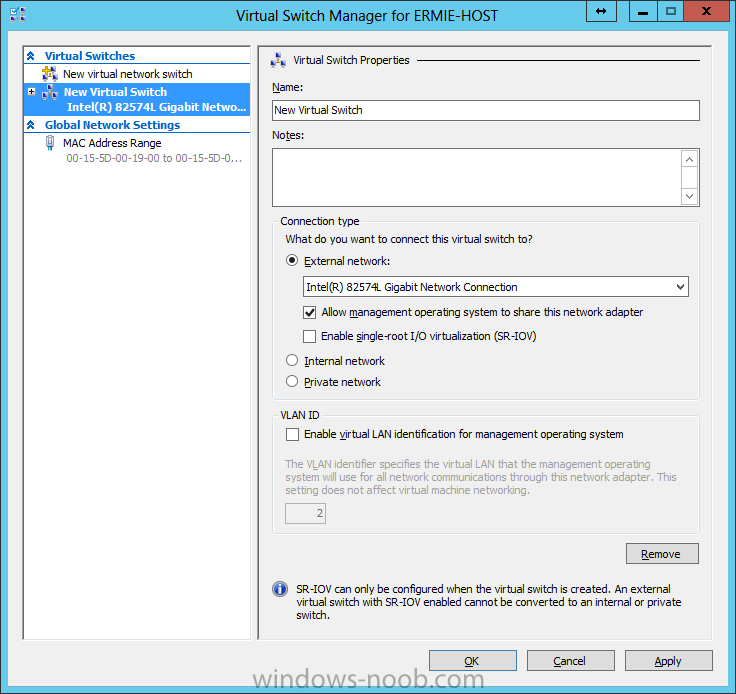
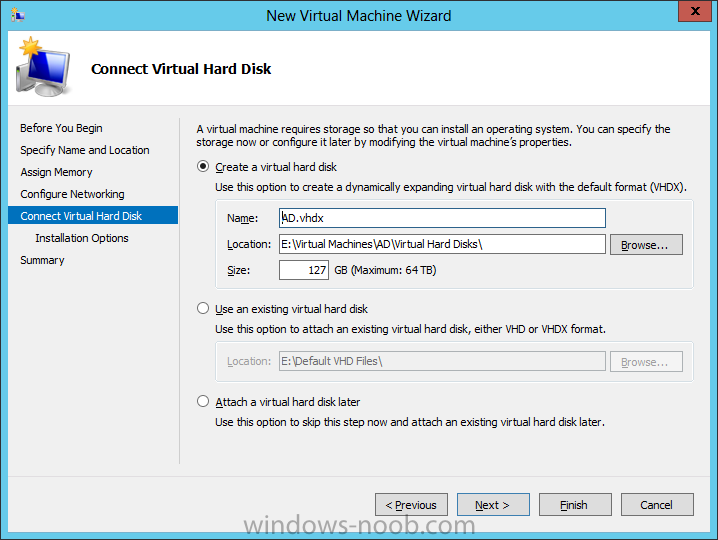
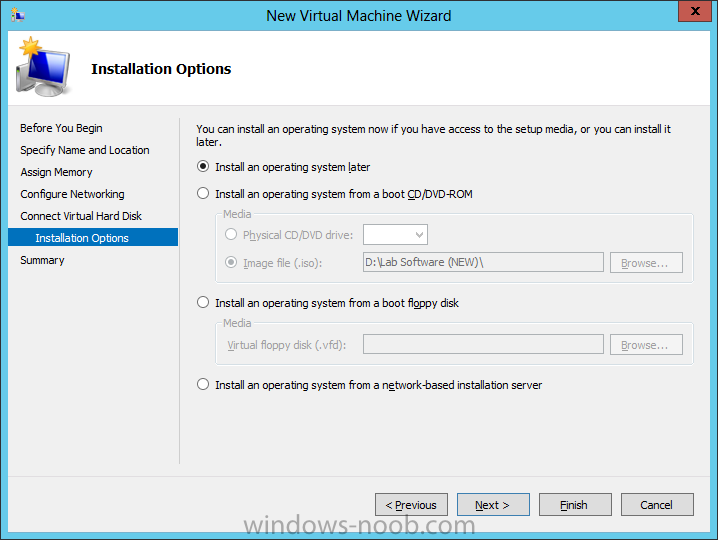
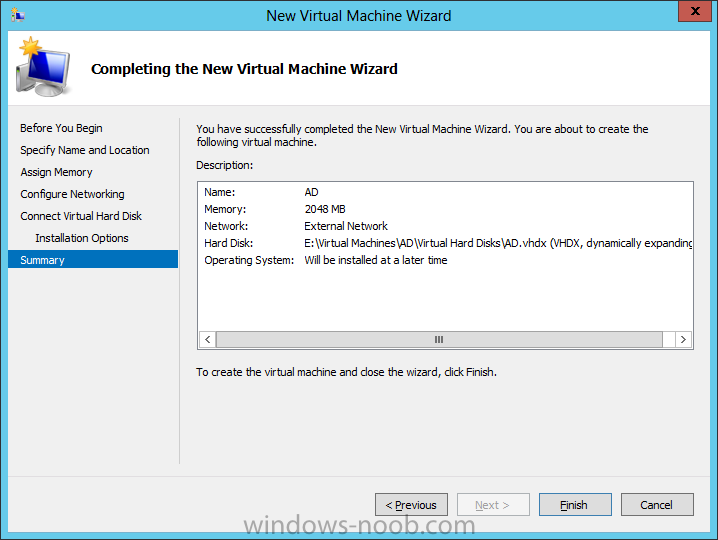
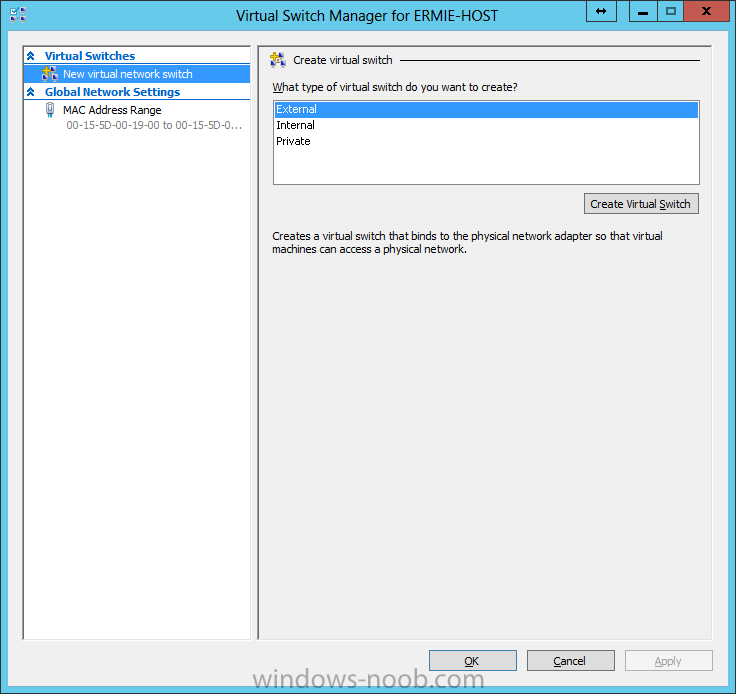
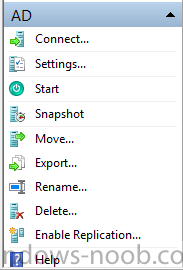
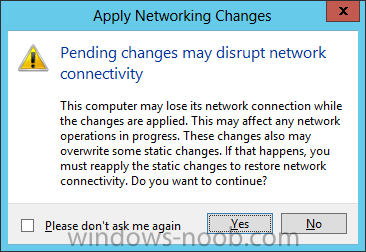
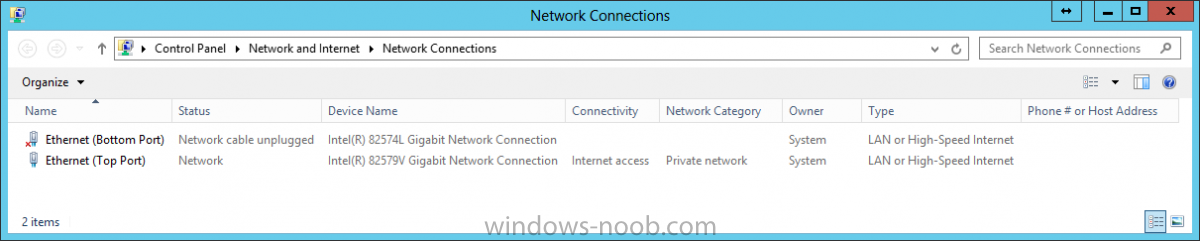
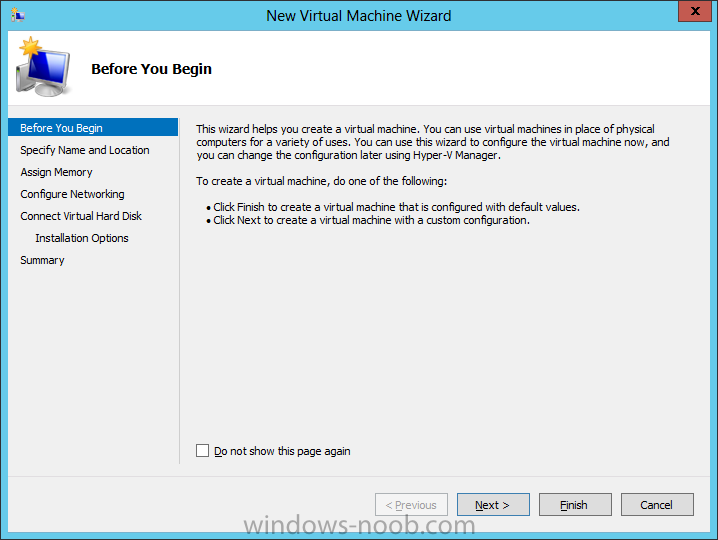
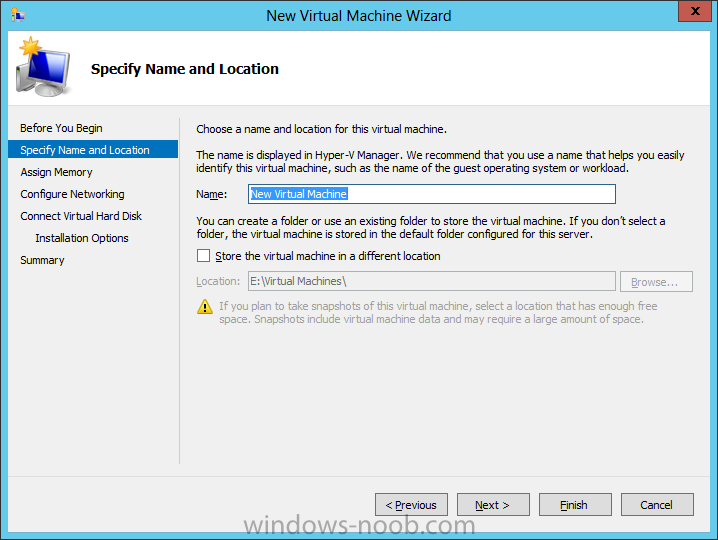
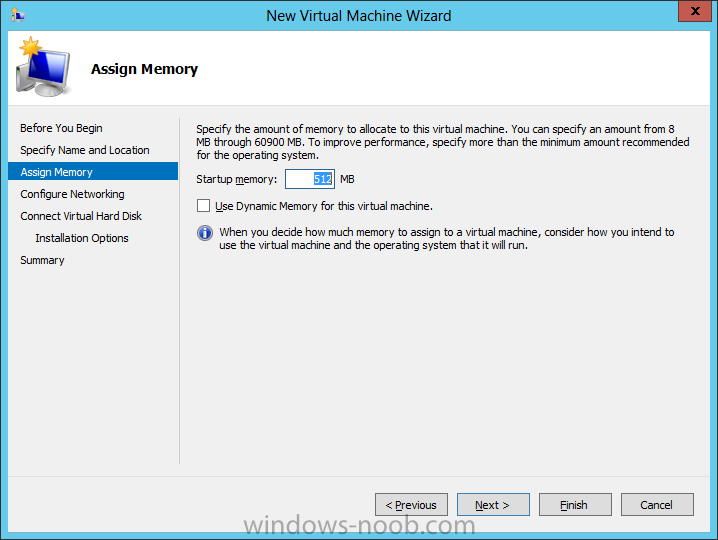
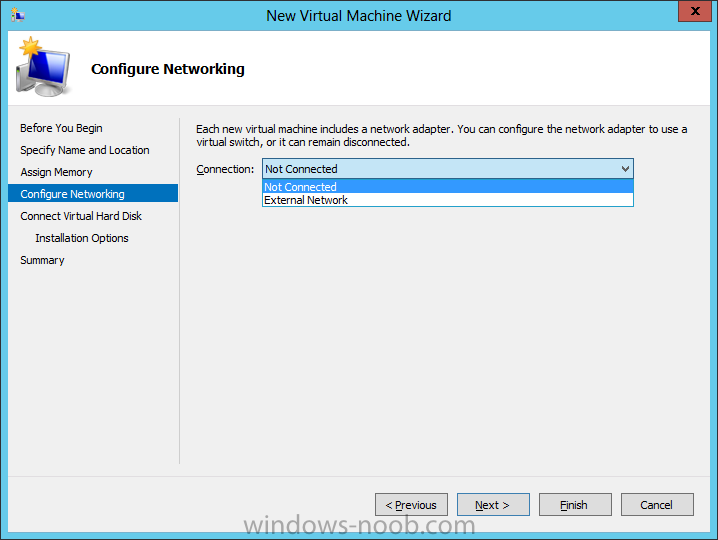
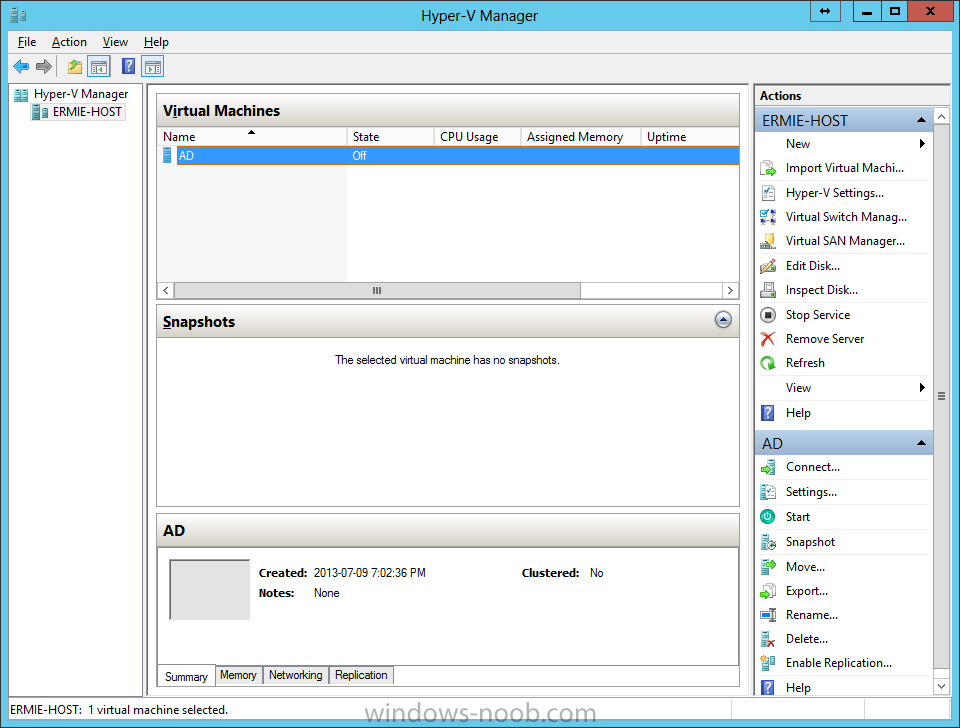
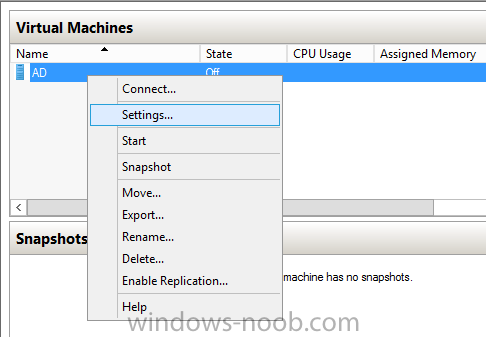
SCOM 2012 SP1 in a LAB – Installation (Part A – Create The Lab Environment) TechNet Recommended Reading: Release Notes for the System Center 2012 Operations Manager SP1: http://technet.microsoft.com/en-us/library/jj656651.aspx Deploying System Center 2012 - Operations Manager: http://technet.microsoft.com/en-us/library/hh278852.aspx System Requirements: http://technet.microsoft.com/en-us/library/jj656654.aspx Getting Started with System Center 2012 - Operations Manager: http://technet.microsoft.com/en-us/library/hh509025.aspx What’s New in Operations Manager: http://go.microsoft.com/fwlink/p/?LinkID=223462 Key Concepts for Operations Manager: http://go.microsoft.com/fwlink/p/?LinkID=224022 Operations Manager Release Notes: http://go.microsoft.com/fwlink/?LinkID=221147 Operations Manager for System Center 2012 Supported Configurations: http://go.microsoft.com/fwlink/p/?LinkId=223642 Deployment Guide for Operations Manager: http://go.microsoft.com/fwlink/p/?LinkID=213291 Operations Guide for Operations Manager: http://go.microsoft.com/fwlink/p/?LinkID=207751 Hardware Requirements Note: The following page on TechNet describes the recommend hardware requirements for the Management Server(s) along with other features. Use this information to help plan for hardware requirements for your Management Server(s). Management Server Disk space: %SYSTEMDRIVE% requires at least 1024 MB free hard disk space. Server Operating System: must be Windows Server 2008 R2 SP1, Windows Server 2012, or Windows Server 2012 Core Installation. Processor Architecture: must be x64. Windows PowerShell version: Windows PowerShell version 2.0, or Windows PowerShell version 3.0. Windows Remote Management: Windows Remote Management must be enabled for the management server. .NET Framework 4 is required. Installation There are 2 different deployment scenarios that you can use: Single-Server, and Distributed. Microsoft has created 2 diagrams to show the different deployments. In our example, we are going to use the Single-Server type. Single-Server Deployment of Operations Manager Distributed Deployment of Operations Manager For the purpose of our demonstration and simplicity, we are going to use the single server method, and install all features/elements within 1 server, this includes the databases, web console, reporting, ACS, etc. Introduction: I use Hyper-V in my LAB and that's what all these virtual machines will be running on. In my lab, I have Windows Server 2012 Datacenter installed as the server OS on the host machine. All other virtual machines will be running Windows Server 2012 Standard edition, with the graphical user interface (GUI). My hardware consists of the following: § Intel Xeon E5-2620 § Asus P90X79 WS § 64 GB G.Skill Ripjaws Z Series § 2 x 256 GB Samsung 840 Pro Series SSD High Level Plan Here is a high level of what we are going to complete in this initial part of the series. 1. Create the Lab Environment 2. Install the Operating System 3. Install Active Directory Domain Services 4. Install SQL Server 5. Install System Center Operations Manager In a later posts, we will also cover installing agents, reporting/dashboards, management packs, ACS, etc. So now let’s start with the first part, creating the lab environment. Create the Lab Environment: Hyper-V Configuration As mentioned, my environment uses Hyper-V. So, we’re going to start by configuring Hyper-V for our needs, and creating the Virtual Machines (VMs) required for our lab. The first thing we need to do is setup a Virtual Switch for the VMs to connect through. Launch Server Manager, click on Tools, and select Hyper-V Manager. When Hyper-V loads, it will have nothing in it. Even if we were to create a VM, it wouldn’t have a network connection to use. So we’ll start with creating a Virtual Switch. As you can from my screenshot, I have 2 LAN ports on my host. One of them has a connection to my home network and the Internet. In the Hyper-V Manager, click the Virtual Switch Manager from the Actions pane. Now, click on the Create Virtual Switch button. From here, you now need to configure the virtual switch that your VMs will use. Give it a name to clearly identify it (in my case I called it ‘External Network’), and choose the connection type. For more information about virtual networks, see the following TechNet article: http://technet.microsoft.com/en-us/library/cc816585(v=ws.10).aspx. Here is an excerpt from the article: External virtual networks. Use this type when you want to provide virtual machines with access to a physical network to communicate with externally located servers and clients. This type of virtual network also allows virtual machines on the same virtualization server to communicate with each other. This type of network may also be available for use by the management operating system, depending on how you configure the networking. (The management operating system runs the Hyper-V role.) For more information, see “A closer look at external virtual networks” later in this topic. Internal virtual networks. Use this type when you want to allow communication between virtual machines on the same virtualization server and between virtual machines and the management operating system. This type of virtual network is commonly used to build a test environment in which you need to connect to the virtual machines from the management operating system. An internal virtual network is not bound to a physical network adapter. As a result, an internal virtual network is isolated from all external network traffic. Private virtual networks. Use this type when you want to allow communication only between virtual machines on the same virtualization server. A private virtual network is not bound to a physical network adapter. A private virtual network is isolated from all external network traffic on the virtualization server, as well any network traffic between the management operating system and the external network. This type of network is useful when you need to create an isolated networking environment, such as an isolated test domain. For our demonstration, we are going to use an External Network so that the VMs can communicate with the Host system. Make all the appropriate selections and so forth, and then press OK. You may encounter the following warning message. This is because we are remotely connecting to the Host machine using the same network connection that we are about to setup as a Virtual Switch (hence selecting the ‘Allow management operating system to share this network adapter’ checkbox). Press ‘Yes’ to the dialog. Now that we have the virtual switch setup, we can start creating VMs for our lab. Create the Virtual Machines Let’s now create the VM’s we will need for the lab, specifically one for Active Directory, and another for SCOM (since we are install all roles within the same server). In Hyper-V Manager, from the Actions pane, click on New and choose Virtual Machine. On the New Virtual Machine wizard beginning screen, click read the information presented and then click Next. Enter a name for the VM. Note that this is NOT the name the VM will have within the Operating System (unless you name it the same), but rather, used as an identifier in Hyper-V Manager. After you have entered a name, click Next. Now assign the amount of memory you want your VM to have, and then press Next. This is the screen where you connect your VM to the network that we created, then press Next. This is the screen where you configure how large a hard drive the VM will have. Make the appropriate customizations and click Next. For the Installation Options, choose if you will install an OS later, or if you want to use an ISO, then click Next. On the Summary screen, review your selections and entries, and click Finish. Once the VM is created, it will appear in the Hyper-V Manager. If you want to configure further settings, like the number of CPUs and mounting an OS ISO, right click on the VM and choose Settings or click on Settings from the Actions pane. Repeat these steps for each VM you need to create, in our case one for Active Directory and another for SCOM. Here are the settings I have used for each of the VM’s: Active Directory: Virtual Machine Name: AD Memory: 2048 MB NOTE: Active Directory doesn't need 2 GB of RAM, it will run fine with 512 MB. I just increased the RAM so that the OS would install/respond faster. CPUs: 2 OS: Windows Server 2012 SCOM: Virtual Machine Name: SCOM Memory: 8192 MBNOTE: You may need to increase the amount of RAM this VM has, depending on performance. CPUs: 2 OS: Windows Server 2012 In the next part, we will install the Operating System, so stay tuned.


- 1 reply
-
- 2
-

-
- SCOM
- Operations Manager
- (and 3 more)
-

SCVMM usage and feature set
cobramaster298 posted a question in System Center Virtual Machine Manager
I'm thinking of recommending my team to adopt SCVMM for windows server administration but wanted to know from an IT audience perspective: - Are you using SCVMM today? If not, what other products do you prefer to use? - What are the top 3 features you use within SCVMM that makes system/server administration easy? - How hard was it to make SCVMM a part of your toolset? Thanks, Billy -
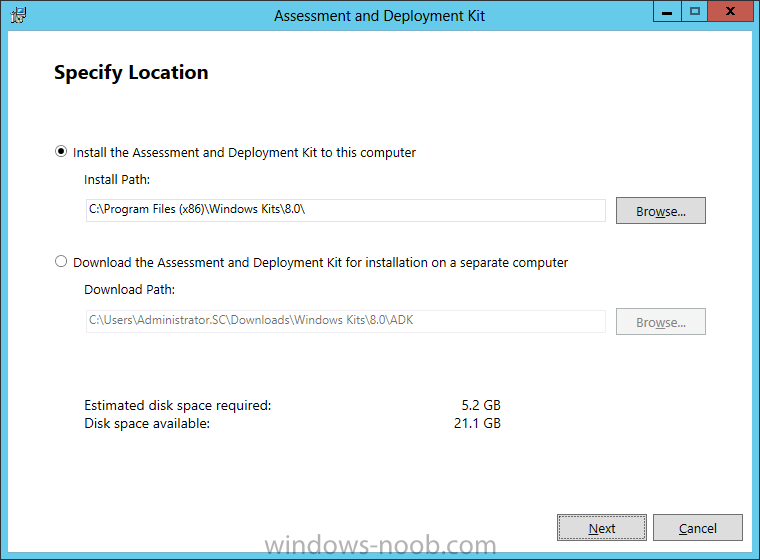
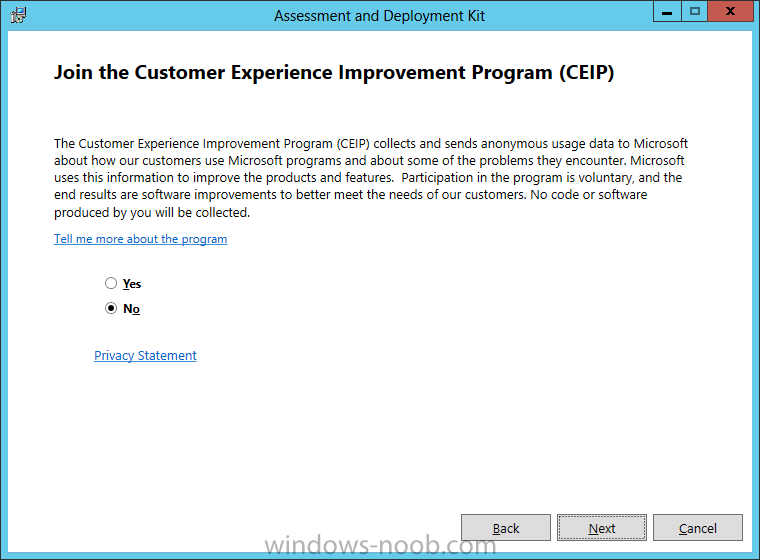
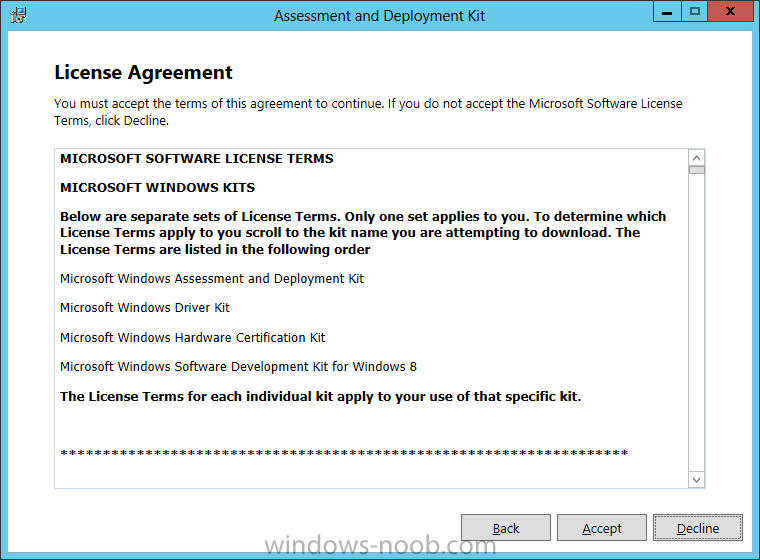
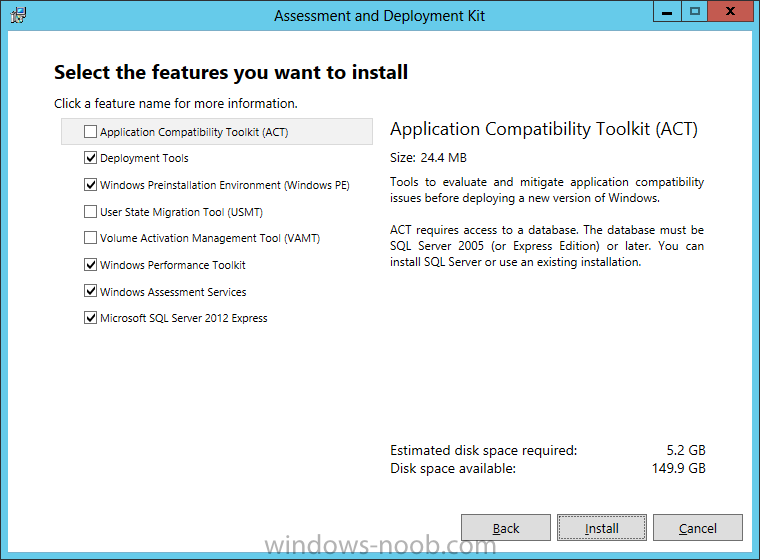
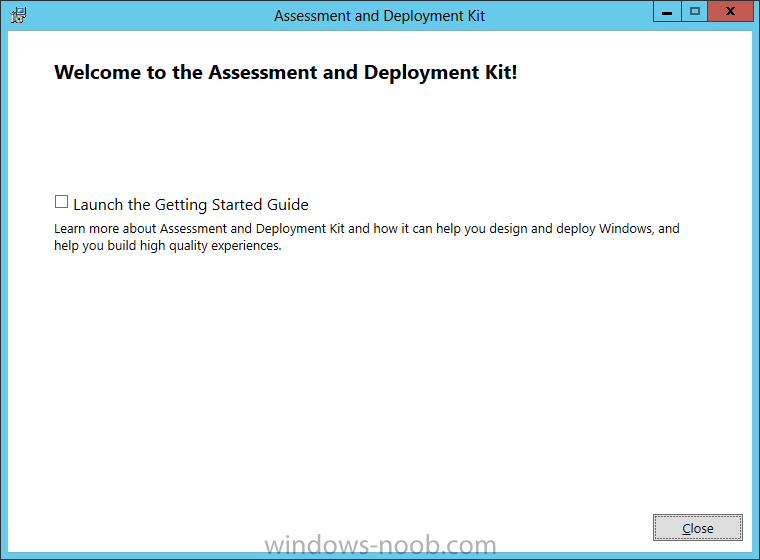
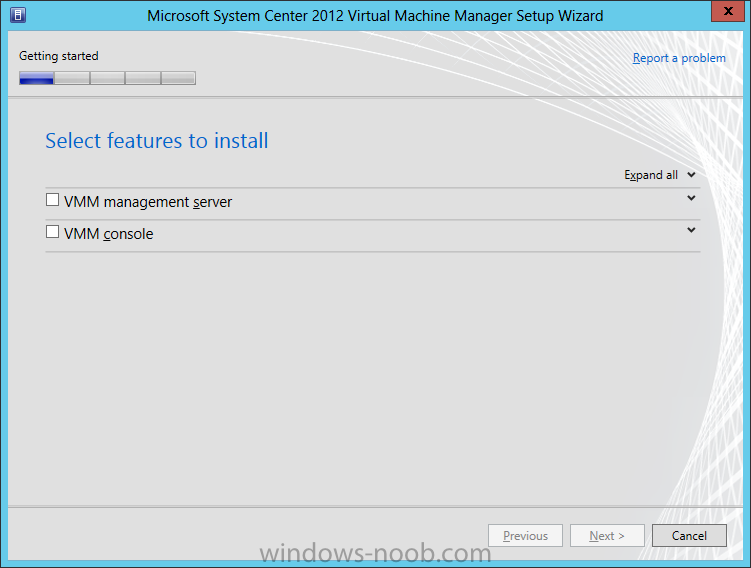
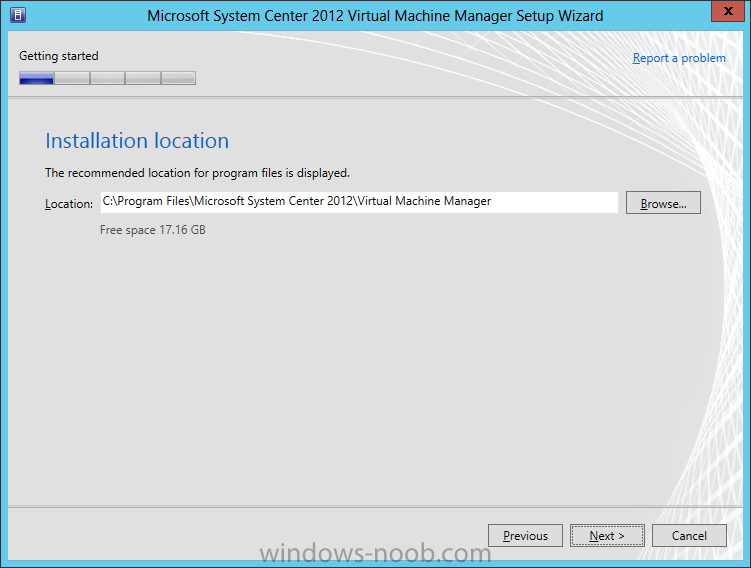
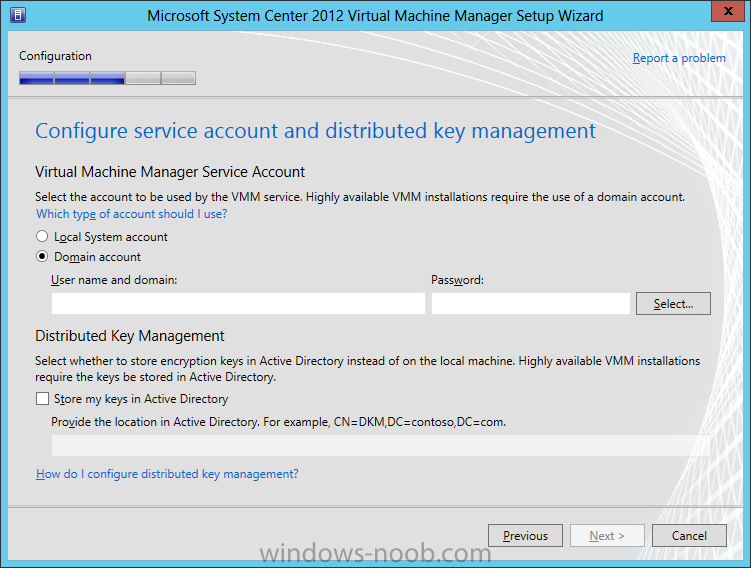
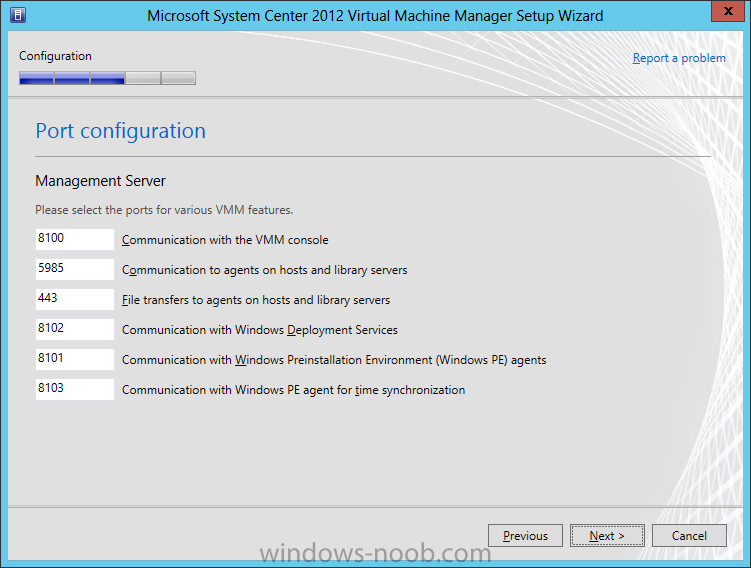
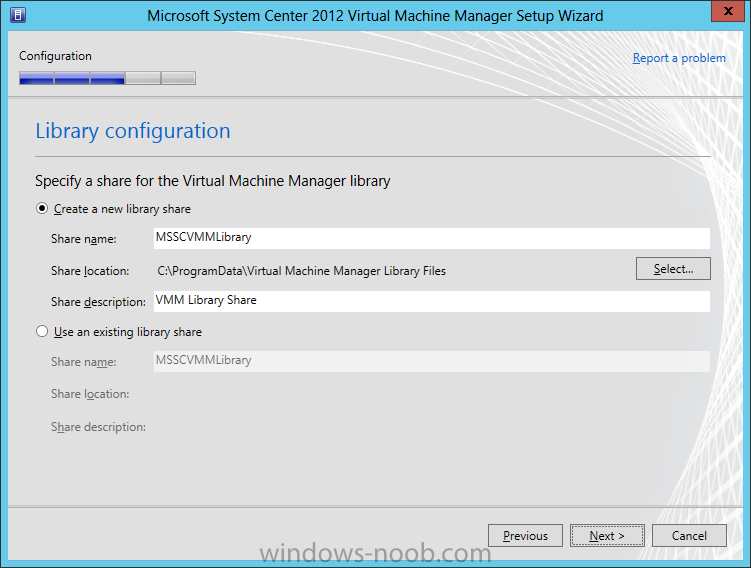
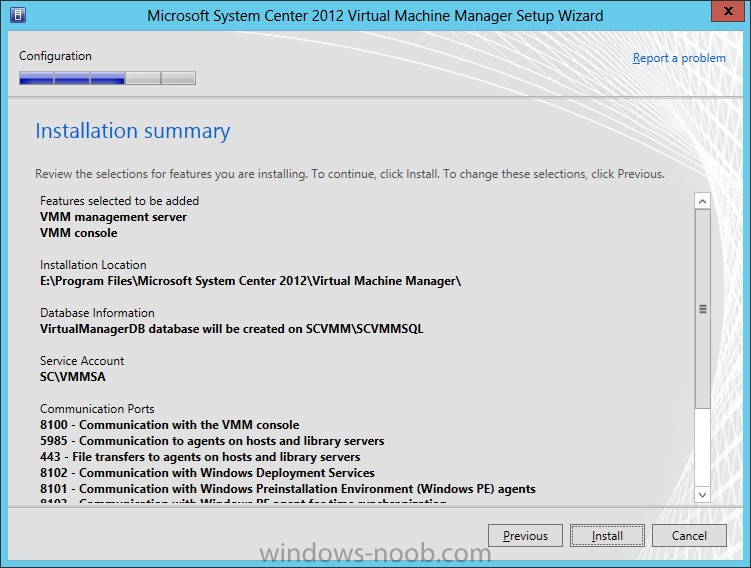
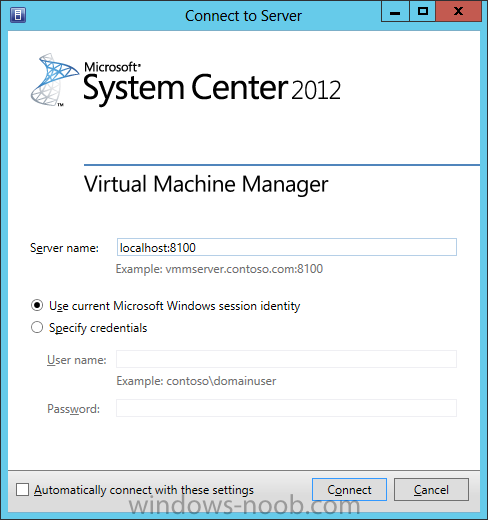
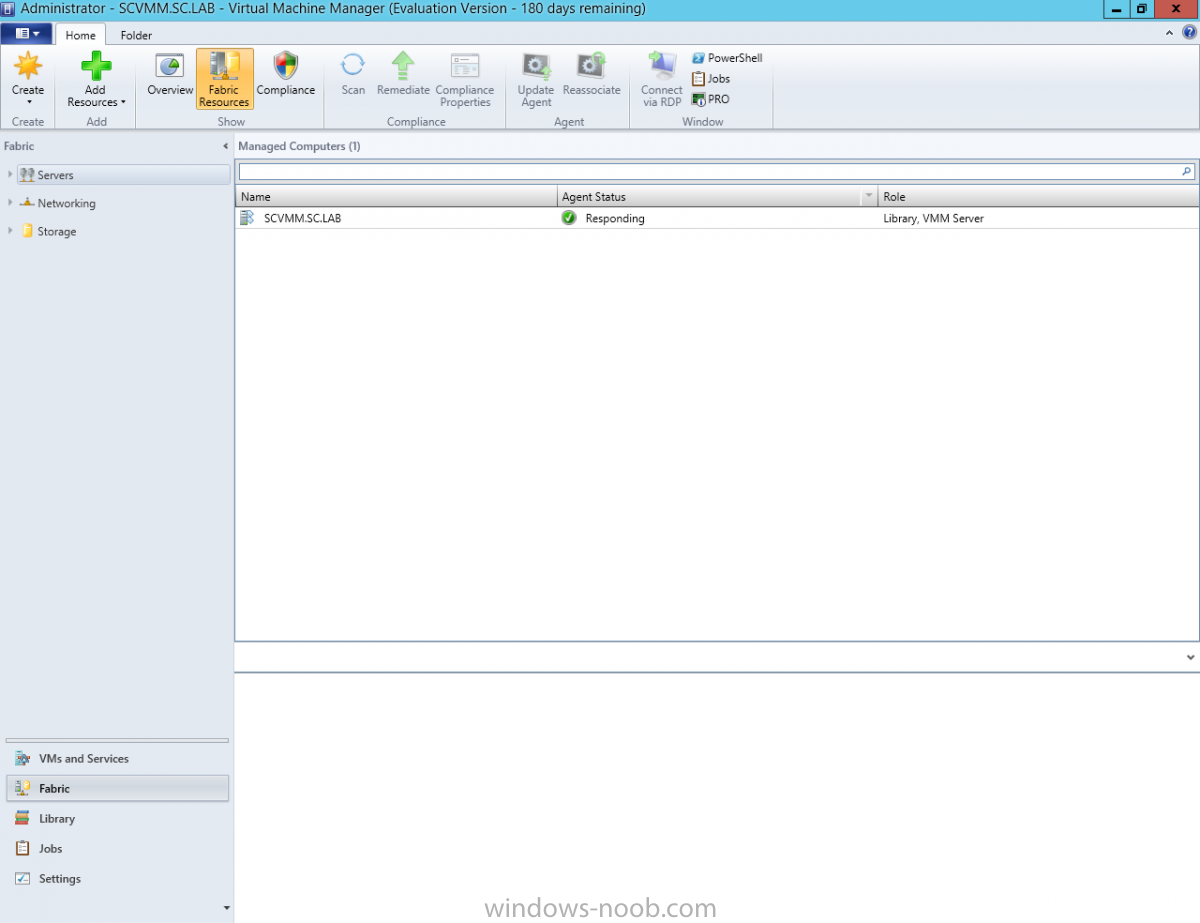
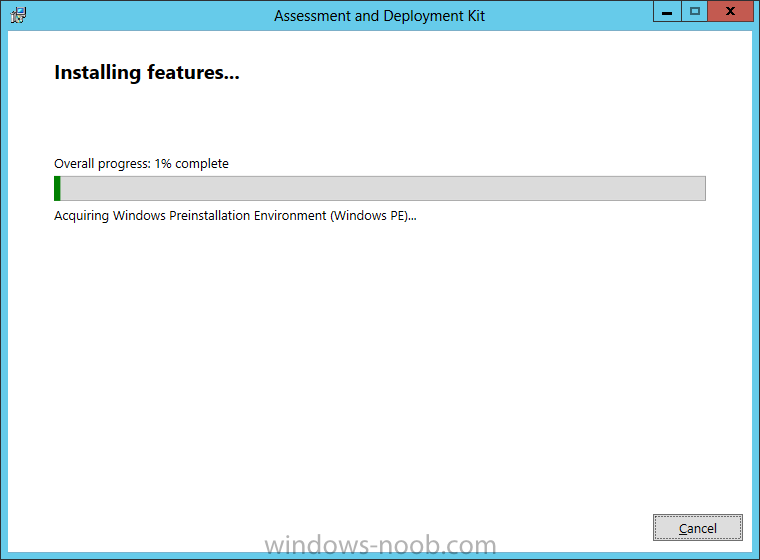
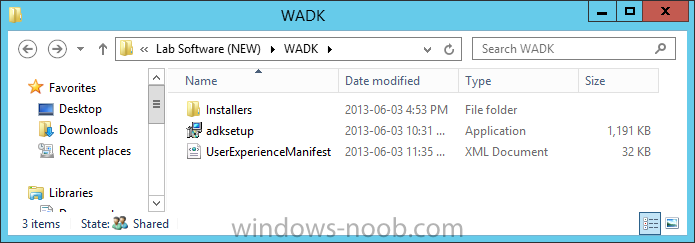
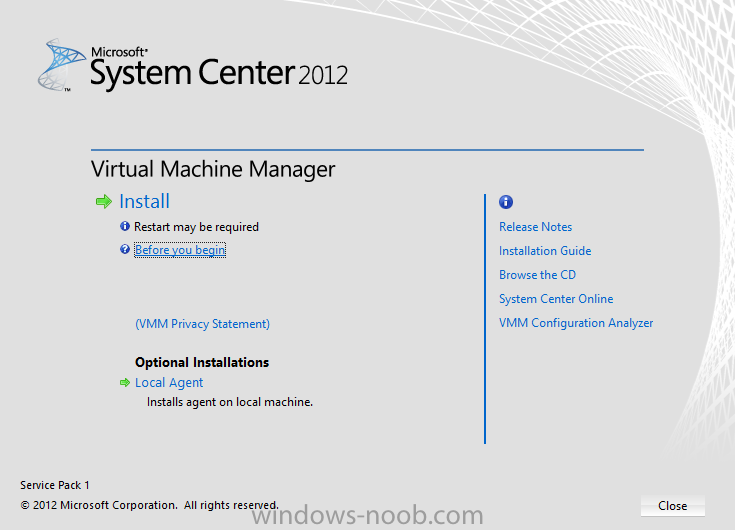
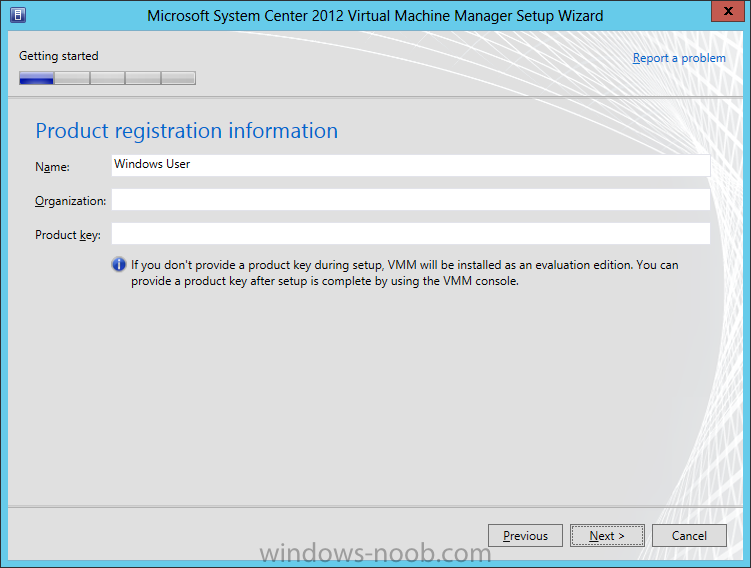
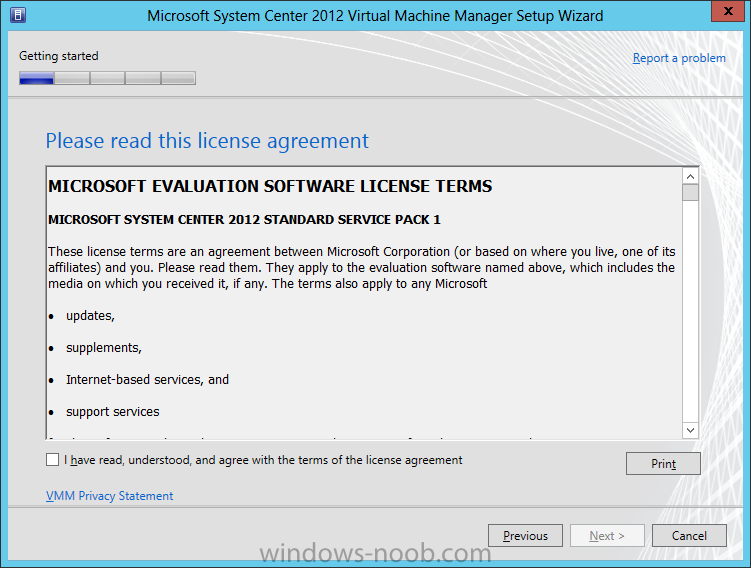
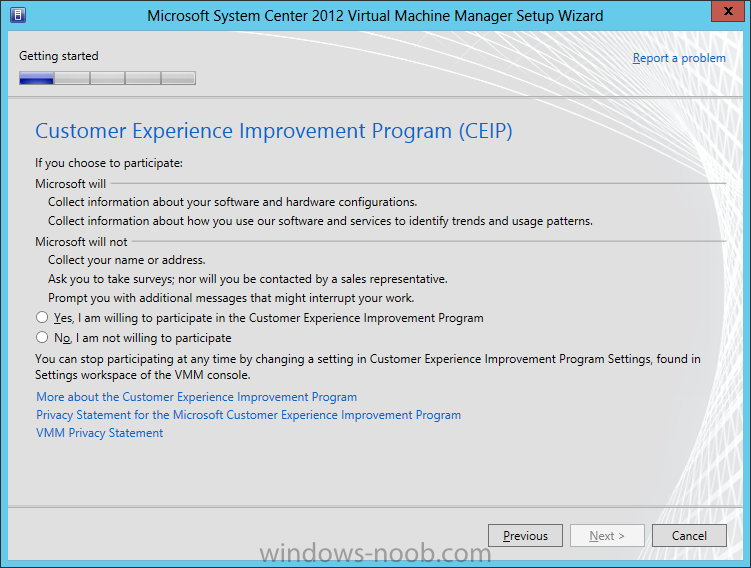
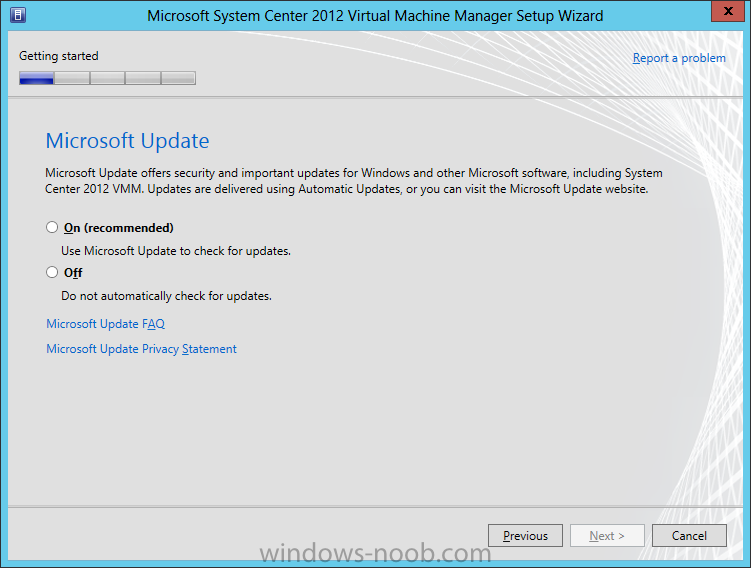
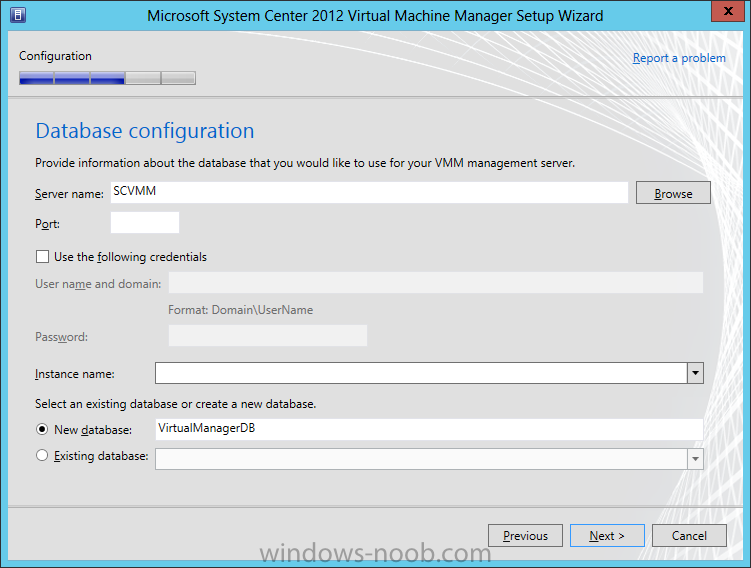
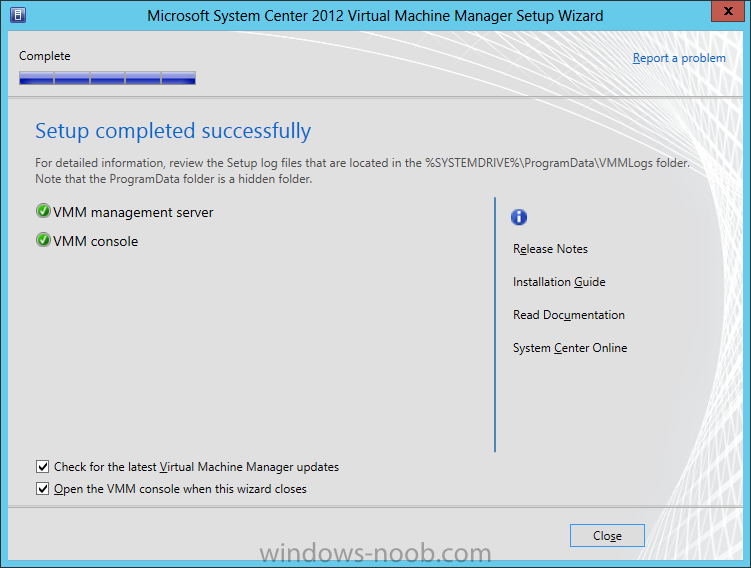
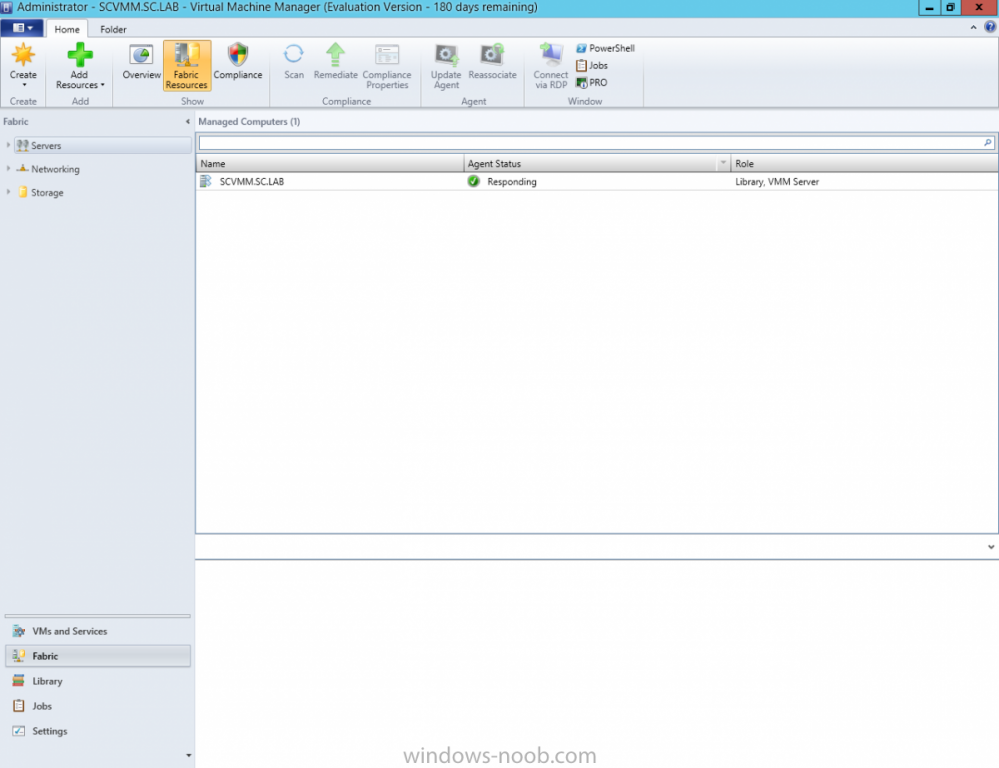
 In our last post we finished installing SQL Server. We are now finally ready to install SCVMM. Install Prerequisites To start, before we will actually be able to install SCVMM, we have to install a few prerequisites. Windows Assessment and Deployment Kit for Windows 8Deployment Tools Windows Preinstallation Environment (Windows PE) WADK Install SCVMM requires the Windows Assessment and Deployment Kit to be installed prior to installing SCVMM itself. Start by downloading the WADK from Microsoft: http://www.microsoft.com/en-us/download/details.aspx?id=30652 Once you have downloaded the WADK, copy it to your SCVMM system. Now run the ADKSetup.exe. You will first be presented with a dialog to specify the location for the install. You will also notice that there is an option to install the ADK or to download the files to install on a different system. If you system does not have an Internet connection then you are going to have to run the ADK installing on a system that does, and choose the ‘Download the Assessment and Deployment Kit for installation on a separate computer’. This will download all of the files required, and you will have a different ADKSetup.exe to run for “offline” installation. Make your appropriate selection and click Next. You can then choose to join the CEIP program or not. Make your selection and click Next. Read the License Agreement, and click Accept to proceed with the installation. On the Features screen, the only features you need to install is the ‘Deployment Tools’ and ‘Windows Preinstallation Environment (Windows PE)’. You can de-select all other options, and then click Install. If you are installing this on a system that has Internet connectivity, and you chose the first option on the initial screen, then the tool will go online and download all the files required. Note that this may take a little time for it to complete, depending on your Internet connectivity. Once the WADK finishes downloading the files required, it will automatically initiate the installation. When the installation is complete, click Close. Now we have everything that we need installed, and are ready to install SCVMM. Install SCVMM Start by either extracting the DVD contents, or mounting the ISO (the TechNet ISO is currently labelled as mu_system_center_2012_virtual_machine_manager_with_sp1_x64_dvd_1348927). Start by running the setup.exe. On the splash screen click the Install link. On the Select Features screen, select the feature you want to install. In our example, we are installing all features on the same server, so we will select all of them and click Next. You may notice that there is no Reporting option in comparison to other System Center product installations. This is because the reporting for SCVMM is actually integrated into the reporting feature of System Center Operations Manager (SCOM). We will go through various configuration steps after the installation is complete. If you are performing this installation in Production, you may want to provide Registration information for your organization along with a valid Product Key. Since this example is in a lab, I am not providing any information. Make applicable entries, and then click Next. Next read the License Agreement, check the applicable checkbox, and then click Next. Now you can choose if you want to be a part of the CEIP program. Make an applicable choice and then click Next. You can choose if you want to find updates for the product by using Microsoft Updates. Depending on your patching/upgrading policies/procedures, make an appropriate choice and then click Next. Next you need to provide an Installation Location. Ensure there is sufficient space and then click Next. You will now be asked to supply the Database Connection information. Enter the applicable information for your environment and then click Next. On this next screen you can specify the Service Account to use, and if you want to use Active Directory for your encryption keys. In a Production environment, this would be more applicable, but for our lab it doesn't matter. If you want to walk through the process/uses of this, then choose to enable the option and then click Next. On the Port Configuration screen, you can change the ports that SCVMM uses. Depending on your environment, you may have to make some modifications, but for our lab example, we will use the defaults. Next you need to specify the location for the SCVMM Library. This is the location that will contain all of your ISO’s, VHDs, etc. Be sure to provide sufficient space. Microsoft recommends 150 GB if you’re running a local version of SQL. In my lab example, since I am running out of space on my SSD drive, I opted to create a second VHD drive attached to the VM strictly for installing SCVMM, SQL, and the Library Share. Setup your environment accordingly, and click Next. Review the information presented on the Summary screen, and click Install. The installation may take some time, so be patient. Once it is complete, you can choose to check for the latest updates and open the console if you wish. Click Close. When SCVMM launches for the first time, you will have to provide a server name to connect to. You can choose to check off the ‘Automatically connect with these settings’ checkbox so that you don’t have to continue to enter the server name. Enter your server information and click Connect. The SCVMM console will launch. Navigate around the various areas. Congratulations, you have now successfully installed SCVMM. But if you look, something is missing; i.e. Reporting. Let’s configure that next.


-
Hi guys.. we have a server (08r2) that does all. wsus, eset rac, pdq inventory, print server , etc .. we only have this one box.. I was wondering if i could house SCCM within a VM inside this server to play with package deployment and stuff or if i would need a separate box (no budget). server is pretty robust and fast and its currently managing about 100pc's . please let me know thank you
-
We recently upgraded to SCCM 2012 and we are trying to figure out if it is possible/a good idea to put the SCCM client on virtualized machines that boot fresh from a single VHD file. We are using Citrix PVS 6.1 for about half of our computers. It would be really nice to have the client on those machines for inventory and remote control. With SCCM 2007, we decided to keep the client off the machines to prevent software from getting pushed out to those machines every time they boot, but with the ability to use different clients in 2012, would this be the way to go? Thanks for any insight!