anyweb
-
Posts
9271 -
Joined
-
Last visited
-
Days Won
371
Everything posted by anyweb
-

How do I limit the list of Task Sequences shown?
anyweb replied to jgass0001's topic in Configuration Manager 2012
well you could create a collection query to limit the collection to All Unknown Computers but containing a query matching specific criteria... such as ip subnet, try it -
is this problem related to your .local lab name I wonder or did you change it ?
-
great news ! patience is important it will show up within 24 hours (it should at least) can you update the technet thread also with the solution and link back to here so others will learn.
-
How do I limit the list of Task Sequences shown?
anyweb replied to jgass0001's topic in Configuration Manager 2012
simply create one collection for each location and deploy whatever task sequences you want to each collection -
interesting info, do you know what version the driver was (when crashing) and what prompted you to update it ?
-
why not just use capture media as described here ? CM12 in a Lab - How can I capture an image using Capture Media in Configuration Manager 2012 ?
-
you need to include the smsts.log file from your actual deployment, the error you quoted means as follows:- so you are trying to do something that is unsupported \ post the log and we'll take a look cheers niall
-
I havn't tried it that way, can you not create a simple example.com test lab and verify that?
-
in my example windowsintunenoob.com does match a public domain name with the same name even though it's just a lab
-
all i can recommend is you try another domain name, i'm not 100% sure it's the issue but i wanted to mention it at least, the log files don't really tell me enough to determine the source of the failure
-
"MDMServer2012R2.konfig.local" <----- that might be your problem ! I had to rebuild my lab and use a 'real' FQDN to get things flowing so for example, my working Windows Intune+ConfigMgr lab has CM12 server has an FQDN of CM12.windowsintunenoob.com, the non-working Windows Intune+configmgr lab was sccm.server2008r2.lab.local I think .local FQDN's will cause problems with iOS, I had no success with iOS and .local in my first lab.
-
let's stick to one problem at a time please - ok i asked you to state WHEN the problem occurred so I can reference it in your logs, can you tell me when that was ? (i.e. you signed in and then it failed at WHAT time) ?
-
yup like so How can I password Protect a Task Sequence ? Password Protecting a Task Sequence
-
you didn't say if you tried any other user yet, if not please do try, as regards your logs i've had a look and it's hard to tell when the failure occured so can you please go through the login process again and when you see the failure take note of the exact time, then attach the new logs here stating WHEN the failure occured ok ?
-
ok is the device managed by any other mobile device management solution (airwatch for example), if so then those MDM certificates need to be uninstalled first before trying the above, also have you tried using any other user ?? have you verified the user you are testing with is in the Windows Intune Users collection ?
-
well you have to decide what is more important, security or zero touch, if you want zero touch then remove the password on the DP and instead insert it into the task sequence
-
i'ts possible via switches when you install the client - see http://technet.microsoft.com/en-us/library/gg699356.aspx /skipprereq:<filename> Specifies that CCMSetup.exe must not install the specified prerequisite program when the Configuration Manager client is installed. Examples: CCMSetup.exe /skipprereq:silverlight.exe or CCMSetup.exe /skipprereq:dotnetfx40_client_x86_x64.exe;Silverlight.exe Note This property supports entering multiple values. Use the semicolon character ( to separate each value.
-
hmm ok, did you try enrolling more than once ? have you tried signing out of the app and trying again ?
-
setting the PXE password should only prompt for the password once, where are you seeing it prompt for a password again ?
-
Error migration SCCM 2007 to SCCM 2012
anyweb replied to noliti's topic in Configuration Manager 2012
can you post your logs please -
did you follow all the steps in my guide above ? what user account did you use, was it a user@yourpublicdomain.com account or a user@yourpublicdomain.onmicrosoft.com account ?
-
The CM12 BitLocker FrontEnd HTA
anyweb replied to anyweb's question in Frontends, HTA's and Web Services
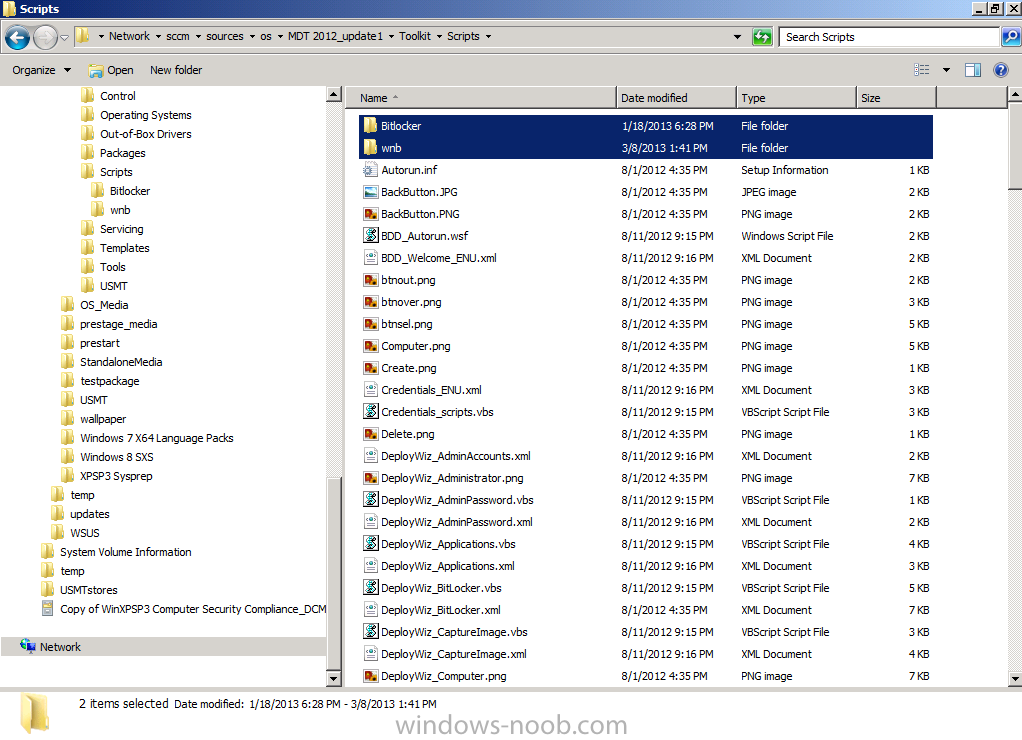
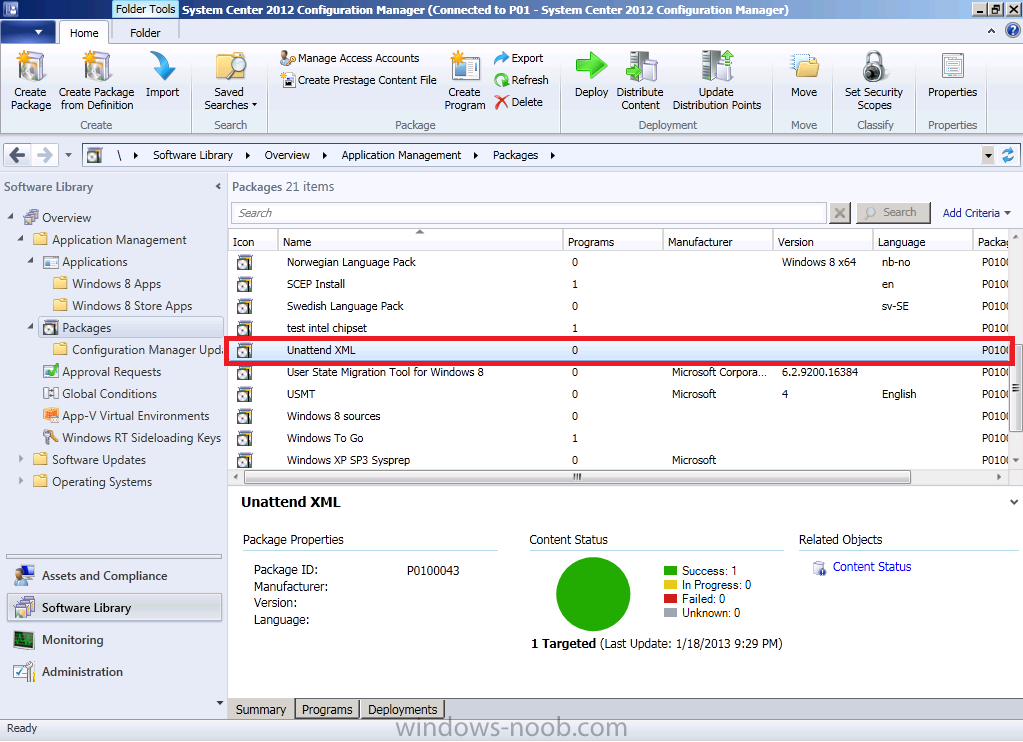
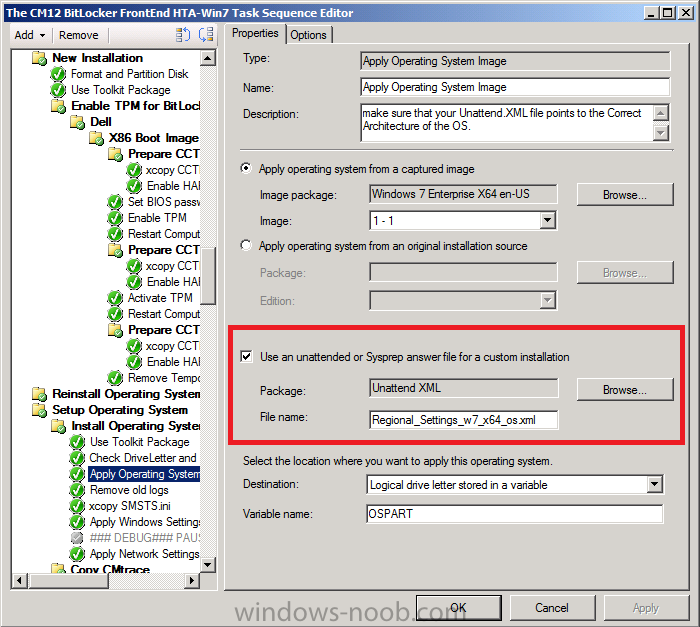
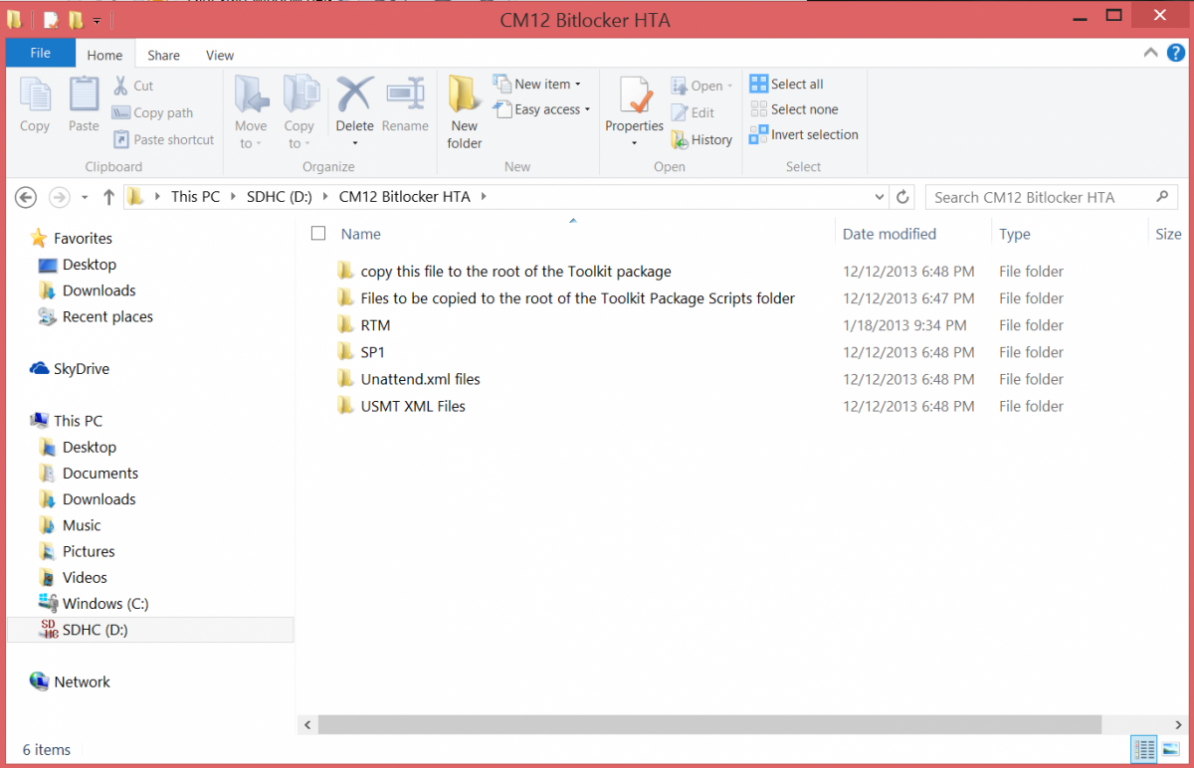
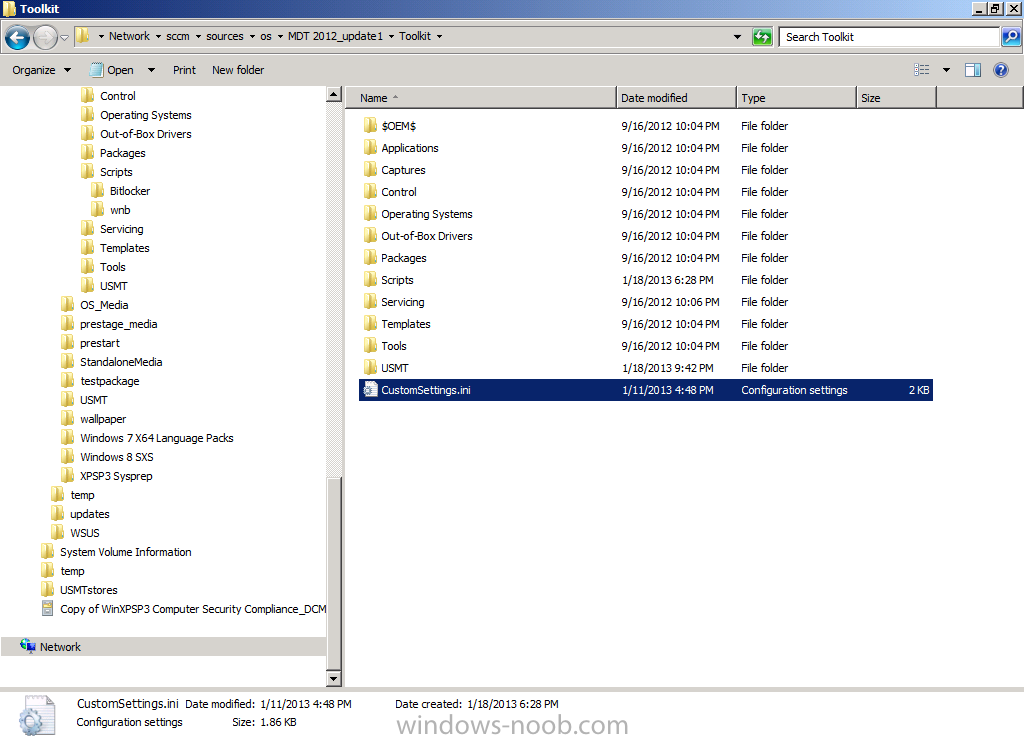
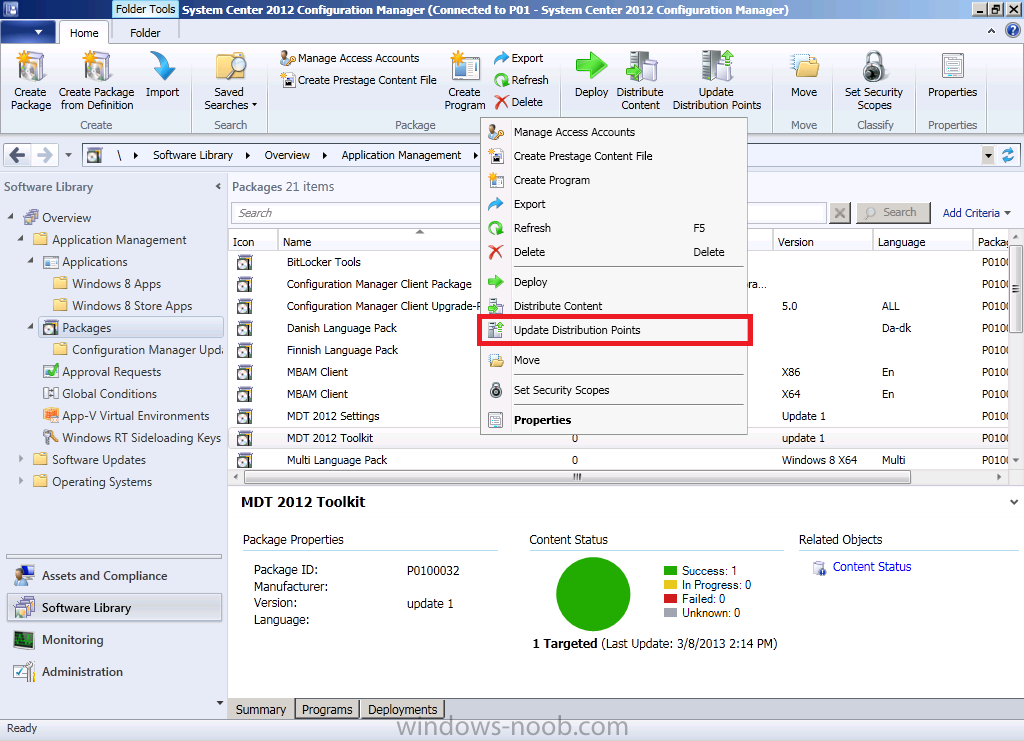
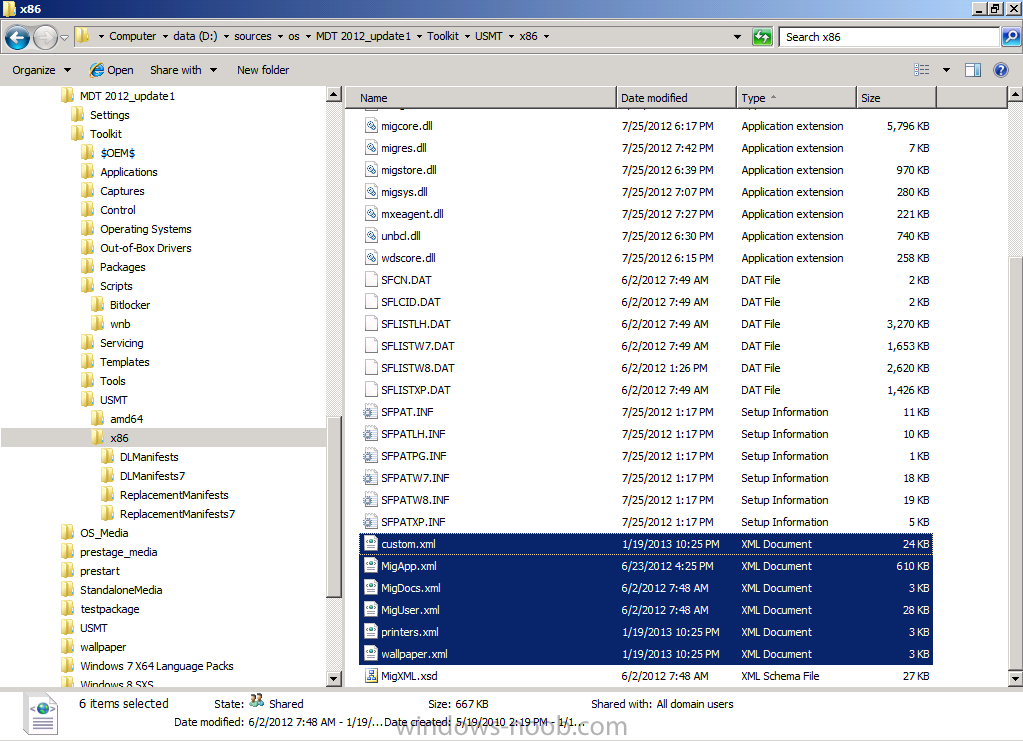
ok i'll try and make it easier, Installation Instructions 1. download the zip above, extract to a temp folder on your computer so that they are like so... 2. copy the the file in tbe folder called "copy this file to the root of the Toolkit package" to the root of your MDT Toolkit package (you must have installed MDT and Integrated it with Configuration Manager prior to this and created your MDT Toolkit and MDT Settings packages. 3. next copy all the files/folders in the folder called "Files to be copied to the root of the Toolkit Package Scripts folder" to the scripts folder in your MDT Toolkit package 4. Then in configuration Manager update the MDT Toolkit package to your distribution points. In the configuration manager console, import the Task Sequence zip file located in the SP1 or R2 folder in the Task Sequences section of OSD. the unattend xml samples need to be stored in a standard package without any program which are in turn referenced in the task sequence Apply Operating System step and USMT xml files are samples for the imported task sequence and can be placed in the root of the respective USMT architecture folders like below don't forget to update whatever package contains the USMT binaries and xml files to your distribution points after this...


-
i've replied there, p.s. there are two 'L' s in Niall.
-
do you have internet access on that ios device ? it doesnt look like it in the screenshot, have you tried shaking the ios device and reading the logs ?
-
Problems adding new Operating system
anyweb replied to jheideman's topic in Configuration Manager 2012
have you verified that at this point that it has an IP address and can ping the FQDN of your MP ?