anyweb
-
Posts
9270 -
Joined
-
Last visited
-
Days Won
371
Everything posted by anyweb
-
the log reveals why see here <![LOG[Content location request for S020015D:1 failed. (Code 0x80040102)]LOG]!><time="16:04:43.349+-60" date="08-02-2011" component="TSPxe" context="" type="3" thread="1088" file="tspolicy.cpp:1635"> <![LOG[pTSPolicyManager->GetContentLocations( m_sPackageID, m_lSourceVersion, m_dwContentSourceFlags, slistContentLocations, slistHttpContentLocations, slistMulticastContentLocations, m_dwContentPackageFlags ), HRESULT=80040102 (e:\nts_sms_fre\sms\framework\tscore\tspolicy.cpp,2330)]LOG]!><time="16:04:43.349+-60" date="08-02-2011" component="TSPxe" context="" type="0" thread="1088" file="tspolicy.cpp:2330"> <![LOG[(*iTSReference)->Resolve( pTSPolicyManager, dwResolveFlags ), HRESULT=80040102 (e:\nts_sms_fre\sms\framework\tscore\tspolicy.cpp,2862)]LOG]!><time="16:04:43.349+-60" date="08-02-2011" component="TSPxe" context="" type="0" thread="1088" file="tspolicy.cpp:2862"> <![LOG[m_pSelectedTaskSequence->Resolve( m_pPolicyManager, TS::Policy::TaskSequence::ResolvePolicy | TS::Policy::TaskSequence::ResolveSource, fpCallbackProc, pv, hCancelEvent), HRESULT=80040102 (e:\nts_sms_fre\sms\client\tasksequence\tsmbootstrap\tsmediawizardcontrol.cpp,1208)]LOG]!><time="16:04:43.359+-60" date="08-02-2011" component="TSPxe" context="" type="0" thread="1088" file="tsmediawizardcontrol.cpp:1208"> <![LOG[Failed to resolve selected task sequence dependencies. Code(0x80040102)] so a couple of questions 1. did you configure the Network access account ? 2. what is this package S020015D:1 and is it distributed to your distribution points (package status should say Installed)
-

any ong has the guide about report services
anyweb replied to liuyanshare's topic in Configuration Manager 2012
although for Beta 1 this should cover it -
if you go into IIS do you see the websites created ? in Configmgr, check your component status, any problems reported ?
-
did you follow all the steps in my build and capture Windows 7 guide ? using SCCM 2012 beta2 in a LAB - Part 7. Deploying Windows 7 Enterprise Create the Build and Capture Task Sequence using SCCM 2012 beta2 in a LAB - Part 8. Deploying Windows 7 Enterprise Configure the Network Access Account and PXE boot the VM to capture our image
-
errors on install SCCM2012, need help.
anyweb replied to liuyanshare's topic in Configuration Manager 2012
because you have to log off and log back on again to gain the new permissions -
errors on install SCCM2012, need help.
anyweb replied to liuyanshare's topic in Configuration Manager 2012
is your account a member of Domain Administrators ? also double check that that account has Schema Admins listed in the Member Of tab -
PXE OSD always available to all computers?
anyweb replied to Adam K's question in Deploy software, applications and drivers
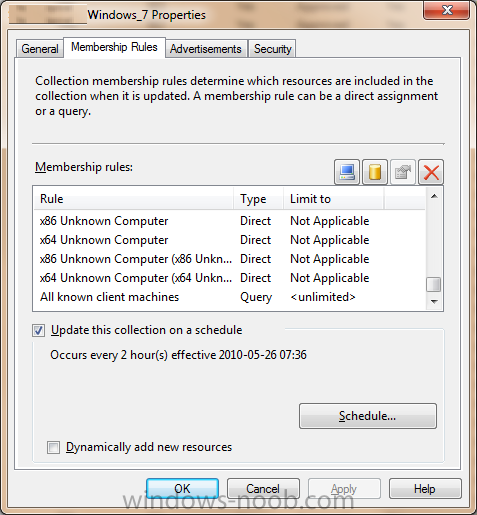
create a deployment collection, say 'Deploy Windows 7 to ALL known and Unknown' using direct membership add All Known client Machines (Windows xp and Windows 7) and add All Unknown computers to that collections direct membership rules the All Known client Machines query will be something like this select SMS_R_SYSTEM.ResourceID,SMS_R_SYSTEM.ResourceType,SMS_R_SYSTEM.Name,SMS_R_SYSTEM.SMSUniqueIdentifier,SMS_R_SYSTEM.ResourceDomainORWorkgroup,SMS_R_SYSTEM.Client from SMS_R_System where SMS_R_System.OperatingSystemNameandVersion like "Microsoft Windows NT Workstation%" or SMS_R_System.OperatingSystemNameandVersion like "%Windows 7%" be aware that if you DONT want the task sequence to appear in RAP (run advertised programs) to limit it to an OS you are NOT using in your organistation like Windows Vista X64. cheers niall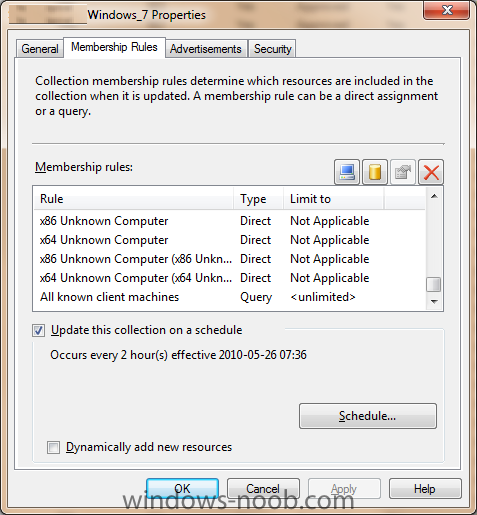
-
right, well for us the criteria means we must do it in WinPE and that was the reason for my post online patching is working fine, are you having issues ?
-
Software Center shows Software that's not there
anyweb replied to DE_FreD_S's topic in Configuration Manager 2012
could it be the same software you mentioned here ? -
Problem Install Update in task sequence build and capture
anyweb replied to benbuz's topic in Configuration Manager 2012
what collection did you add this computer to ? and did you target any updates to that collection ? how is your setup windows and configmgr step looking ? -
supersedence is for applications, not packages, have you tried looking at applications instead ? it's covered here on Technet
-
Introducing the windows-noob.com FrontEnd HTA ver 1.0
anyweb replied to anyweb's question in Frontends, HTA's and Web Services
no new hardware needed, just download mdt 2010 update 1 and integrate it with SCCM and enjoy the benefits of MDT integrated into sccm, you'll have to create your MDT Toolkit and MDT Settings packages, but that is beyond the scope of this post (which is about the windows-noob.com FrontEnd HTA ver 1.0), if you need help with integrating mdt and creating the packages, then create a new post -
Introducing the windows-noob.com FrontEnd HTA ver 1.0
anyweb replied to anyweb's question in Frontends, HTA's and Web Services
there's no easy way to do it, why don't you just integrate MDT with SCCM ? what is stopping you from doing so ? -
as this is a useful post i'm going to pin it ! thanks
-
what is the MAC address of the computer youa re having issues with ?
-
Introducing the windows-noob.com FrontEnd HTA ver 1.0
anyweb replied to anyweb's question in Frontends, HTA's and Web Services
you could probably script your way around it but why bother, MDT offers you scripts and additional functionality that benefits any SCCM installation, -
and the winners are ! 1. Todd Smetanka 2. David Moravec I need both of you to provide me with a postal address to send the DVD's to and i'll send them along ASAP, if you decide not to accept the DVD's let me know so that I can send them to someone else who entered, The answers that I accepted were and the two people above were picked at random out of those who took part, congratulations ! a. Washington b. vNext c. September 2006 cheers niall
-
we are using a script to enable bitlocker as we do not have a backend for it in AD yet, we are planning on managing our bitlocker clients via MBAM when it's finally released, no WinRE on these boxes as they are bare metal/new computer only did you update your boot.wim images with the cctk ? if I leave out the Enable HAPI step in the task sequence then an error is generated (Not enough resources are available to process this command (Error: 00000093; Source: Windows))
-
Deplopying AutoLogin reg key in OSD TS
anyweb replied to glen8's question in Deploy software, applications and drivers
take a look at this post http://www.windows-noob.com/forums/index.php?/topic/1543-how-can-i-capture-windows-7/ that covers the very same thing cheers niall -
well sp2 is the level you need to be at to support deploying Windows 7 and Windows server 2008 R2, sp1 is no longer supported, sp2 contains the latest WAIK as part of the install also, cheers ! niall
-
What if I update my boot.wim images with CCTK ? for those of you wanting a task sequence to enable bitlocker on Dell's in a bare metal (new computer scenario) after updating your boot.wim images using the CCTK then use the following, bitlocker when using CCTK enabled boot wims.xml
-
what version of SCCM are you using ? and what version of WAIK is installed ?
-
Looking for MSI Packaging Tool
anyweb replied to Boggot's question in Deploy software, applications and drivers
I'd recommend you look at Wise Package Studio, but it's not free, cheers naill -
is this computer domain joined ? in the configmgr actions tab on the client how many actions are listed ? on your site server are the component logs complaining about anything in relation to awebsvc or portal ?
-
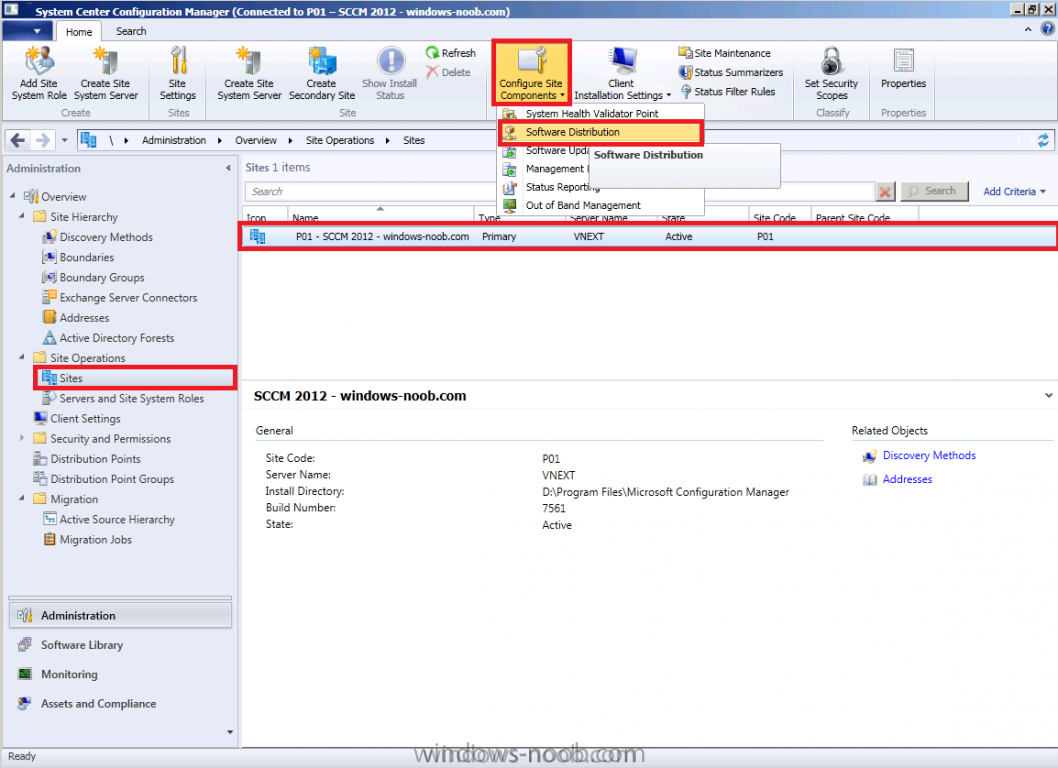
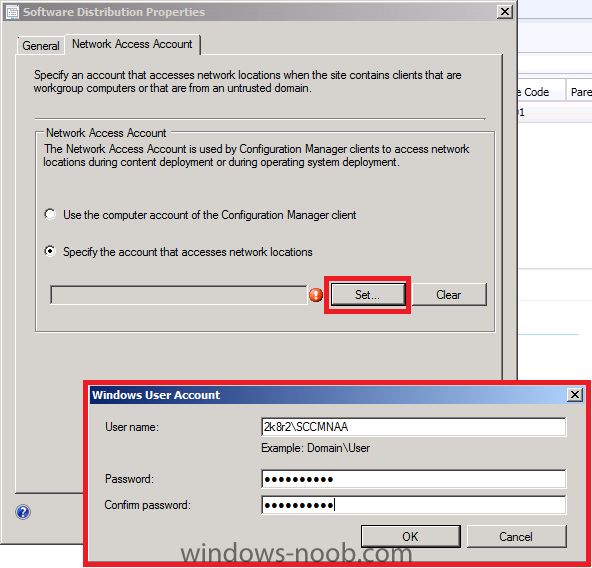
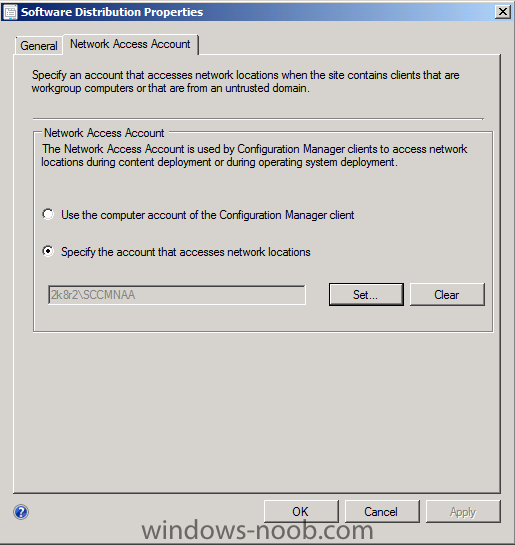
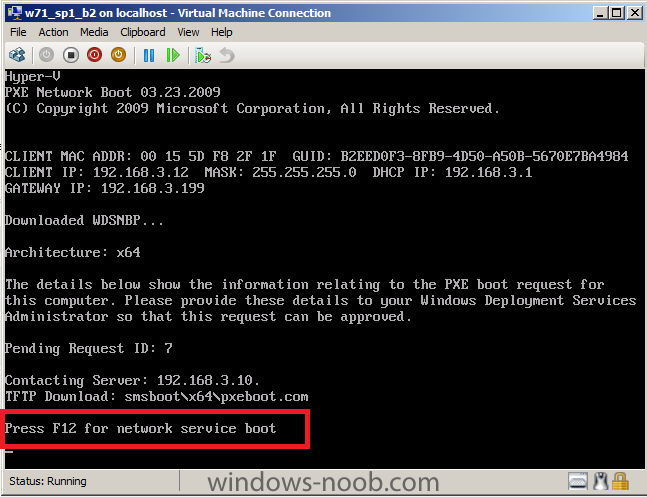
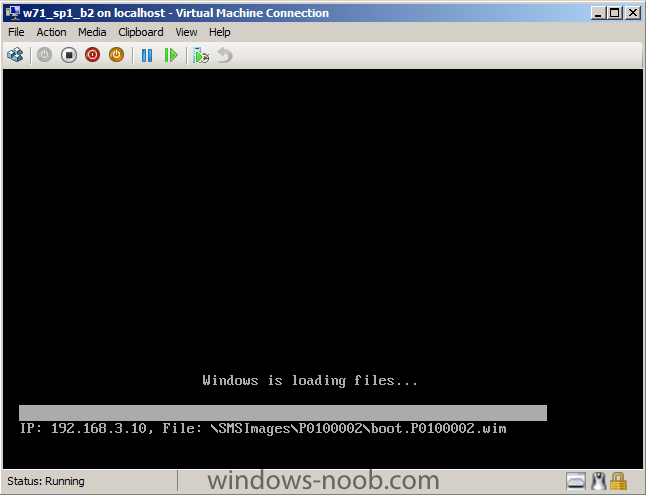
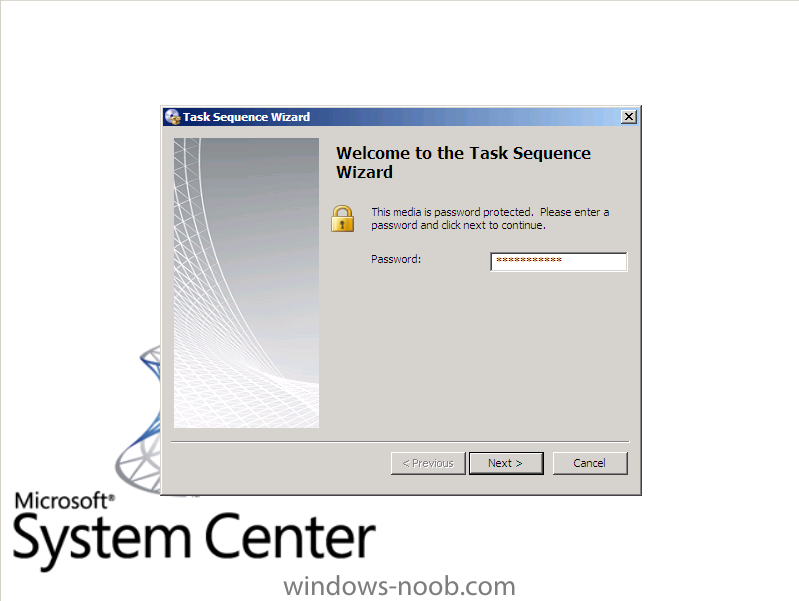
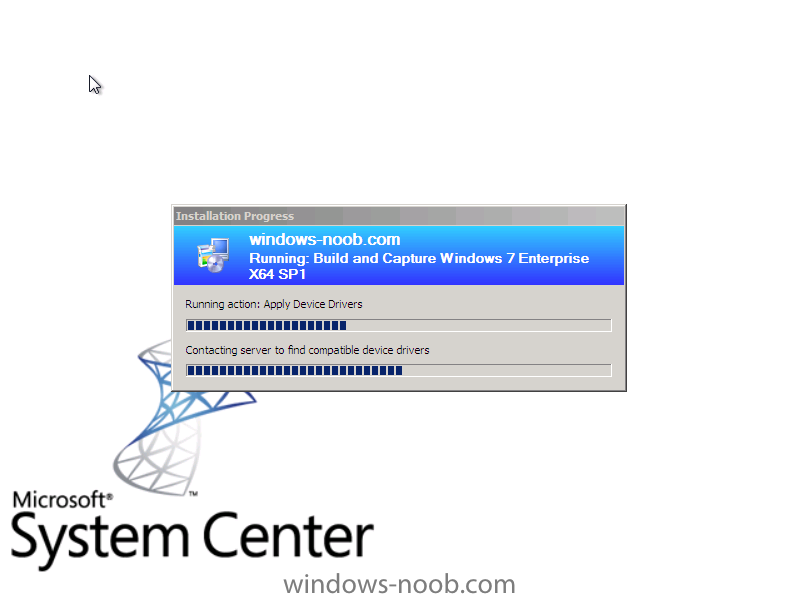
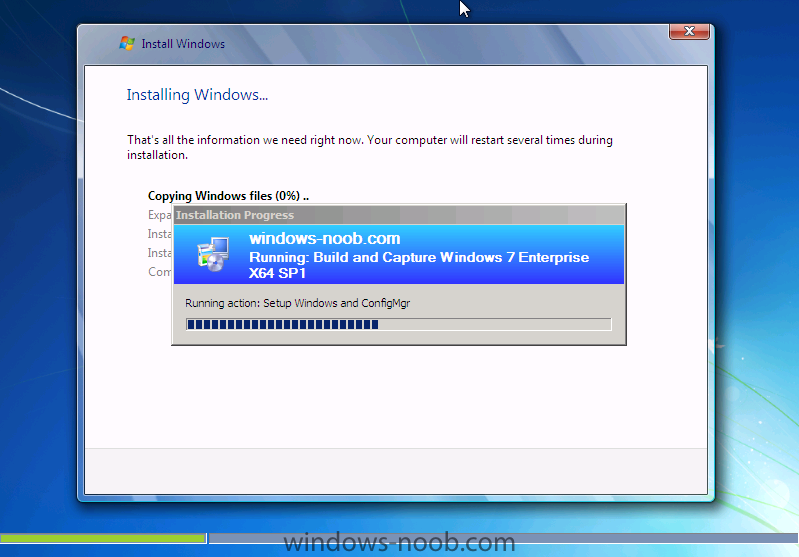
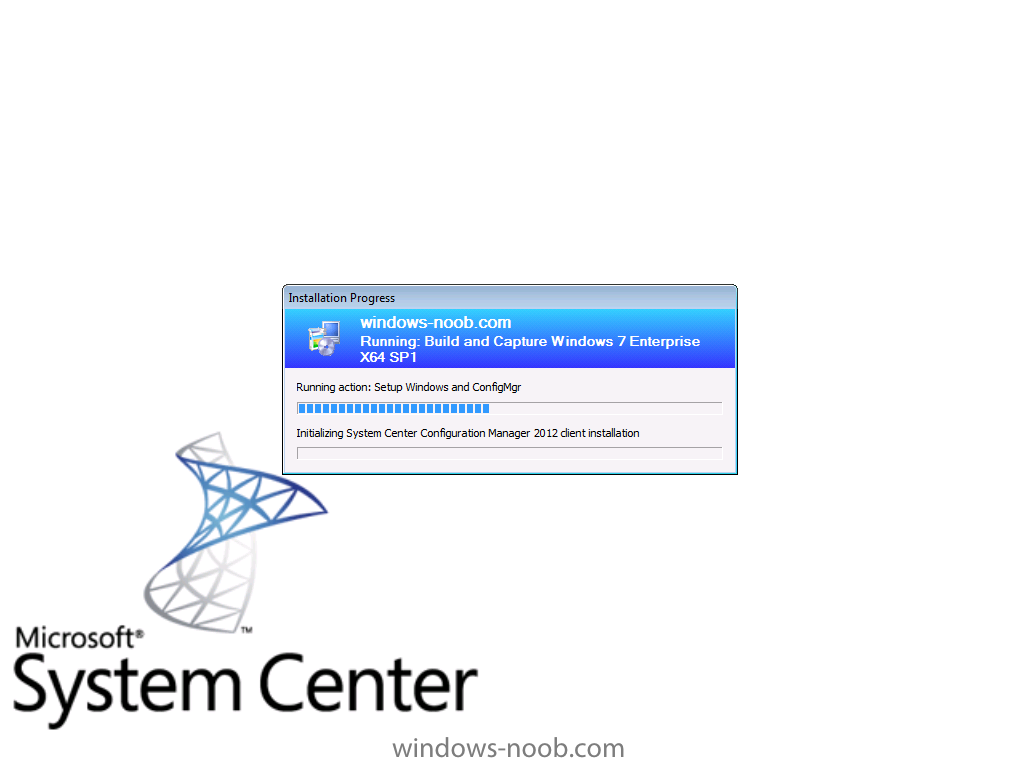
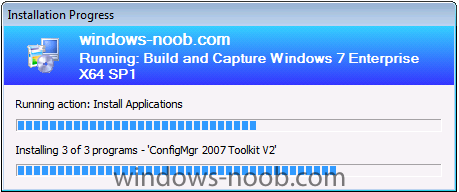
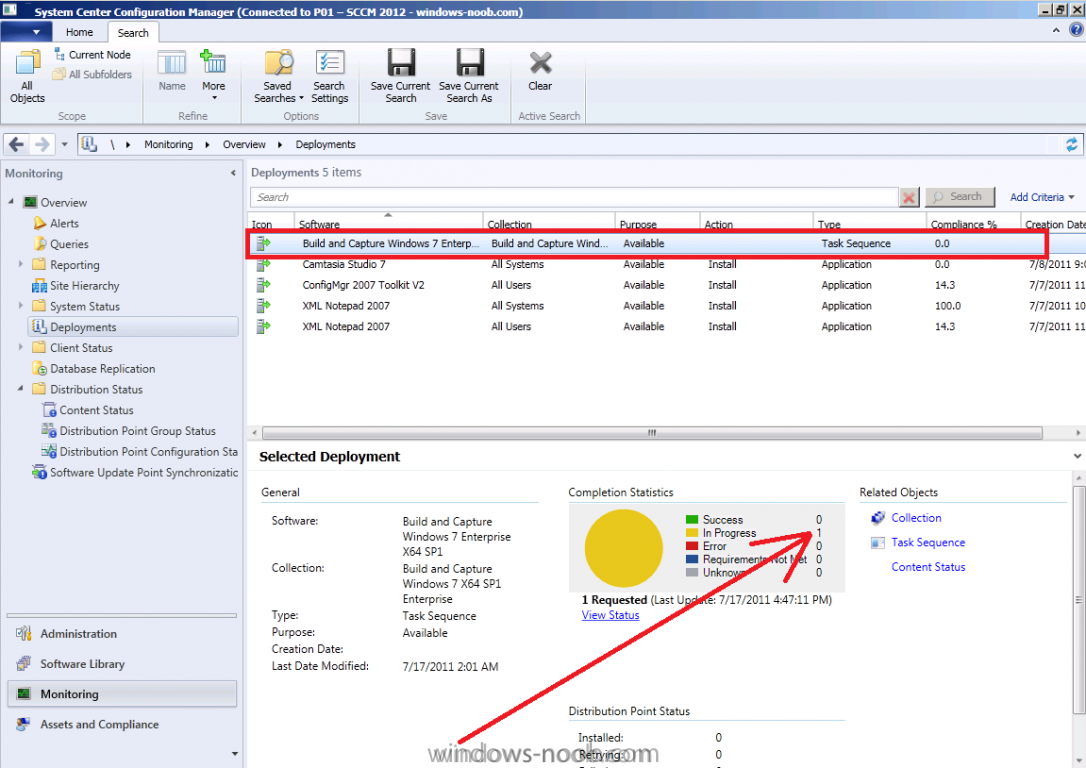
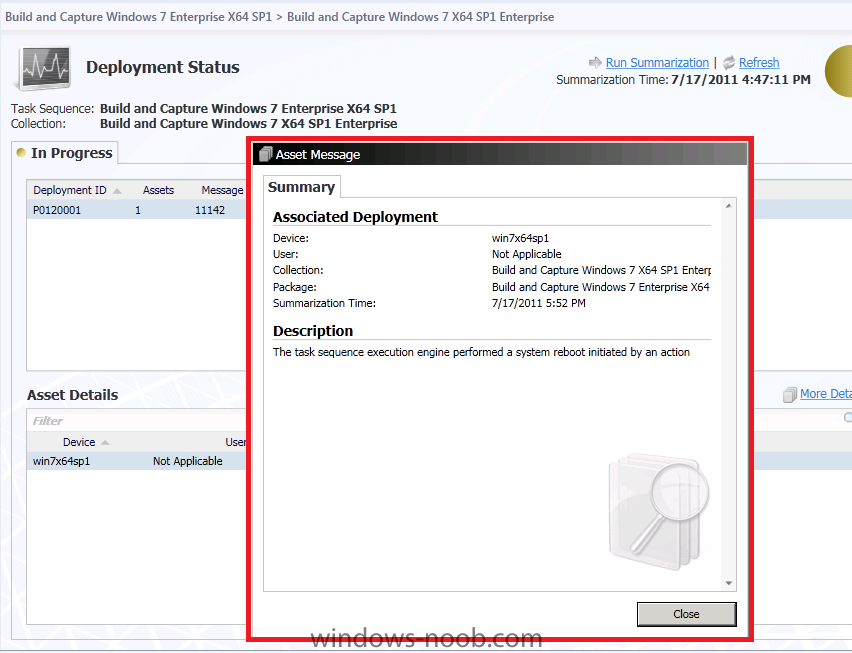
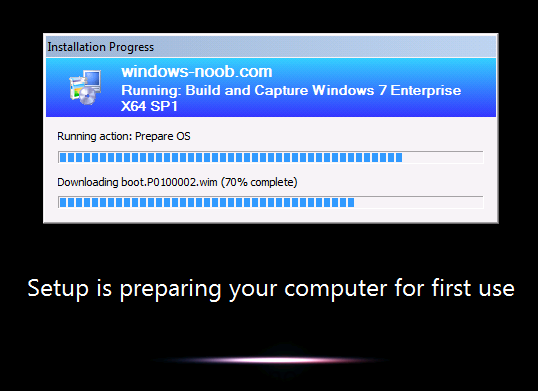
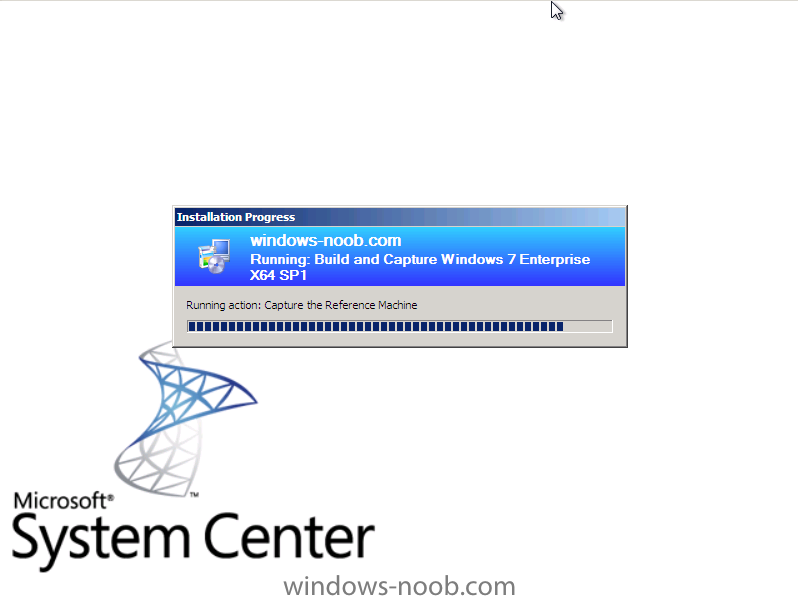
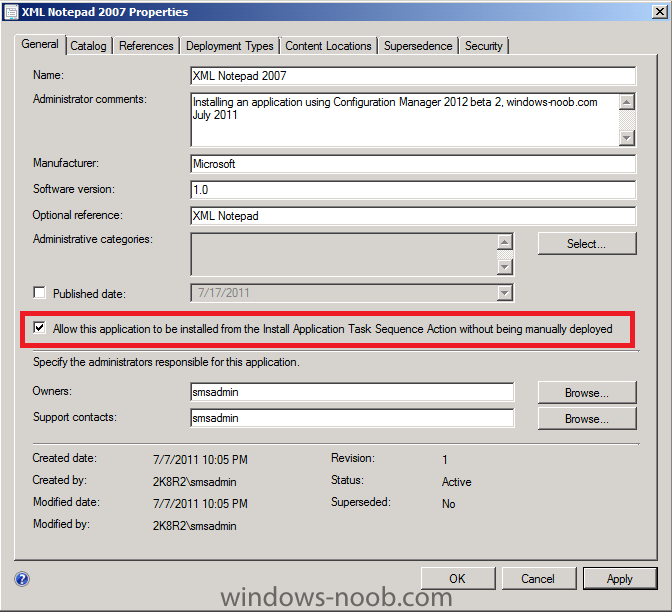
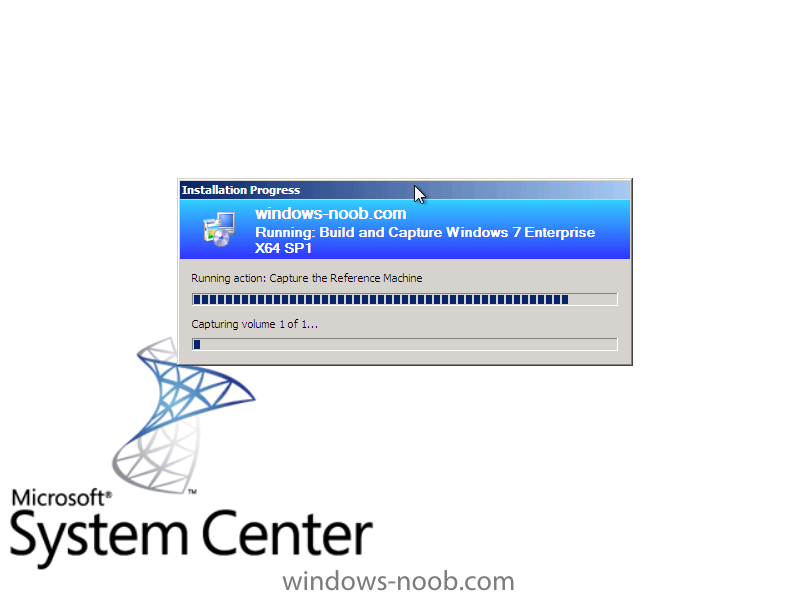
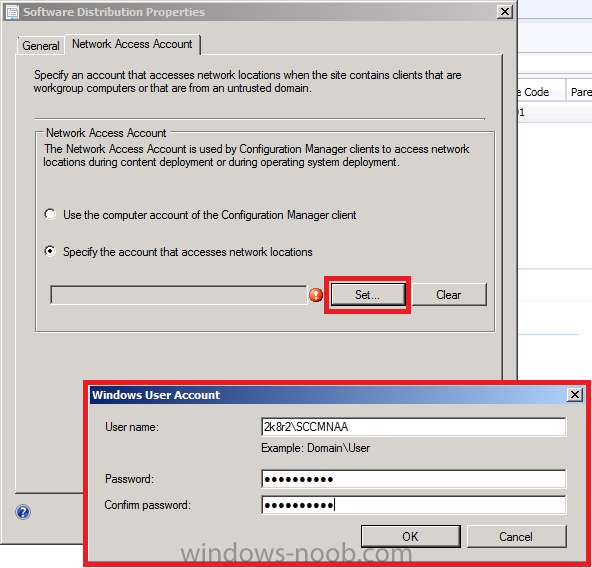
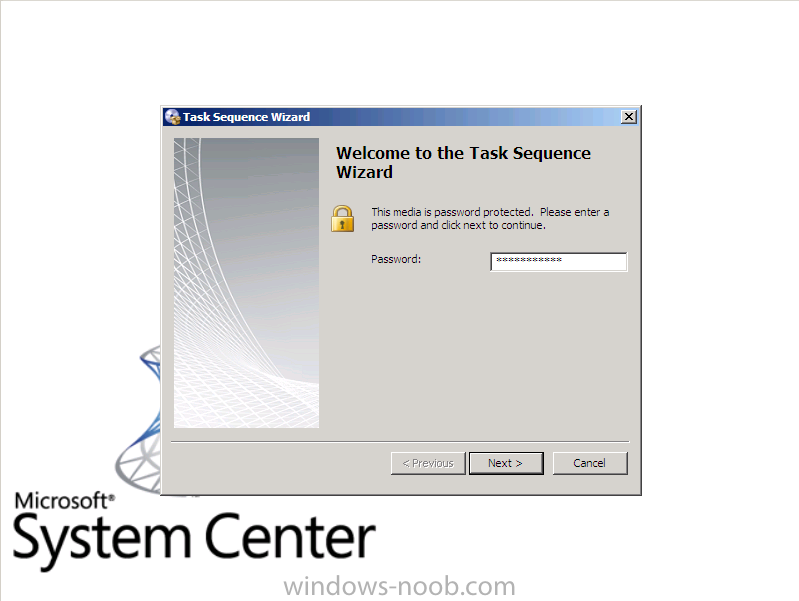
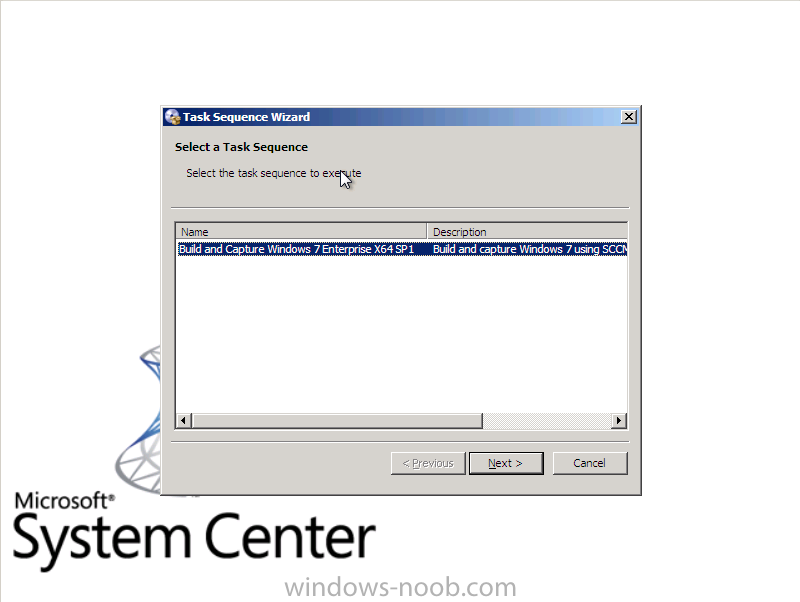
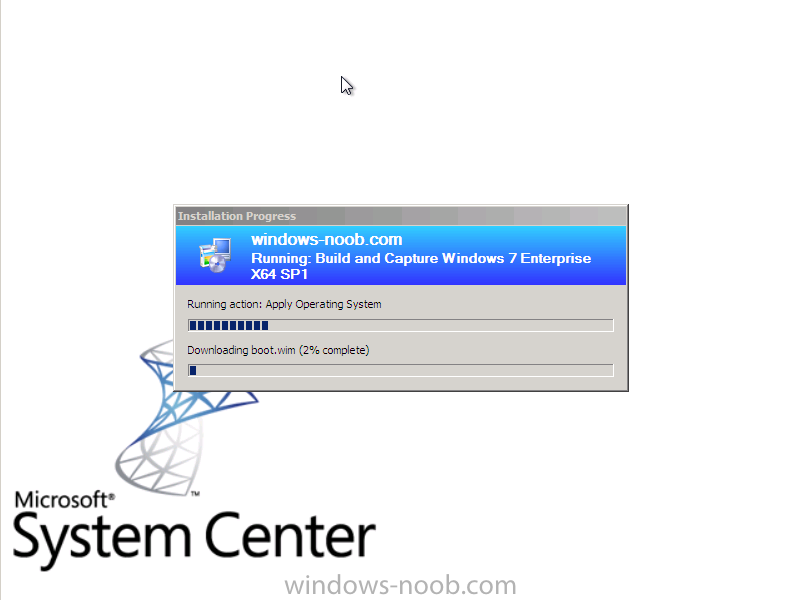
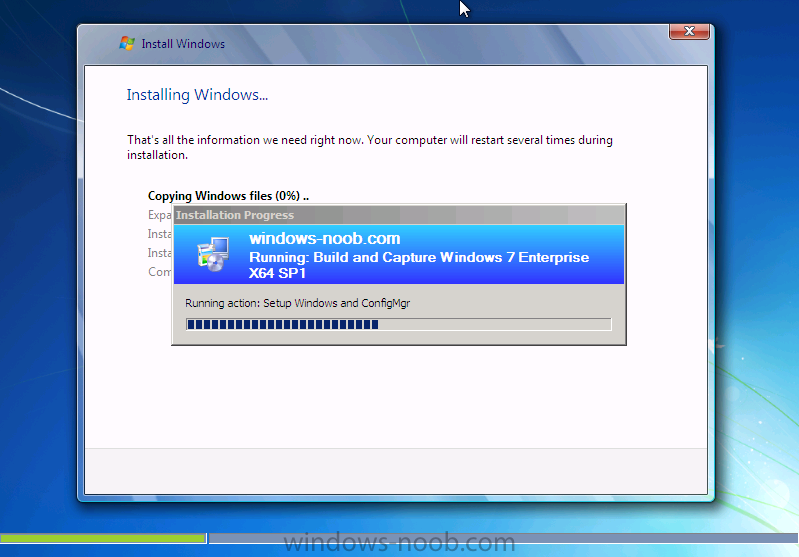
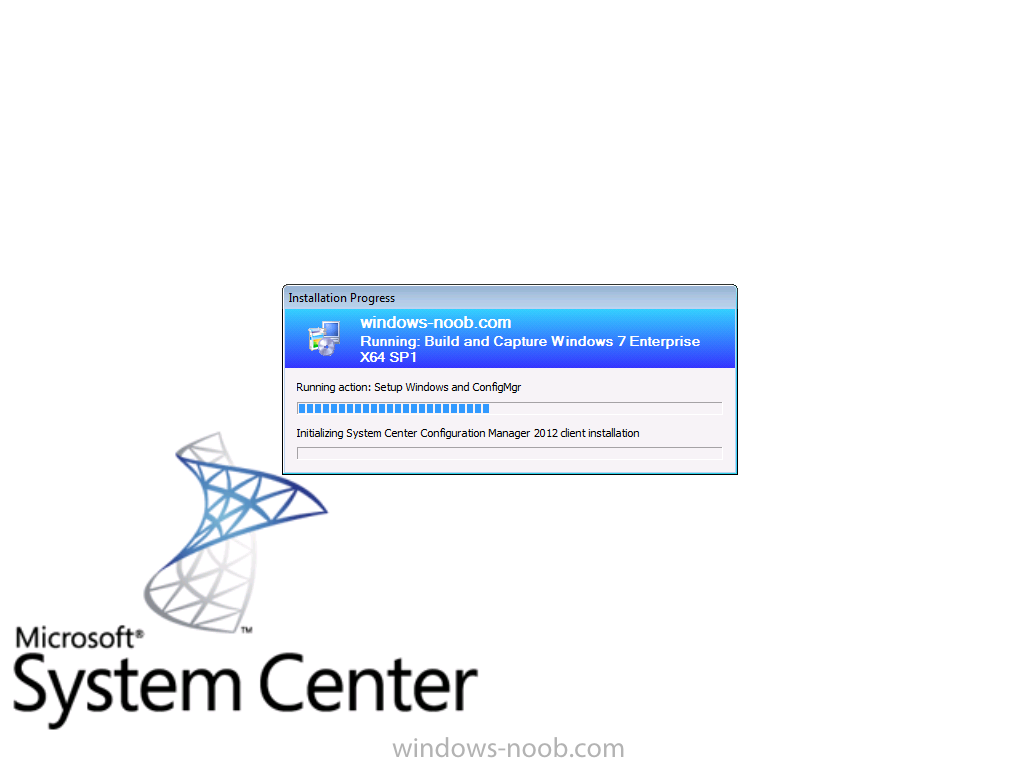
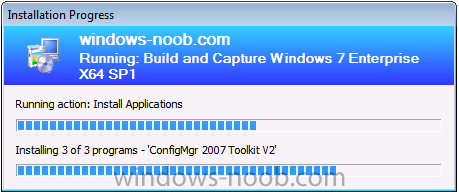
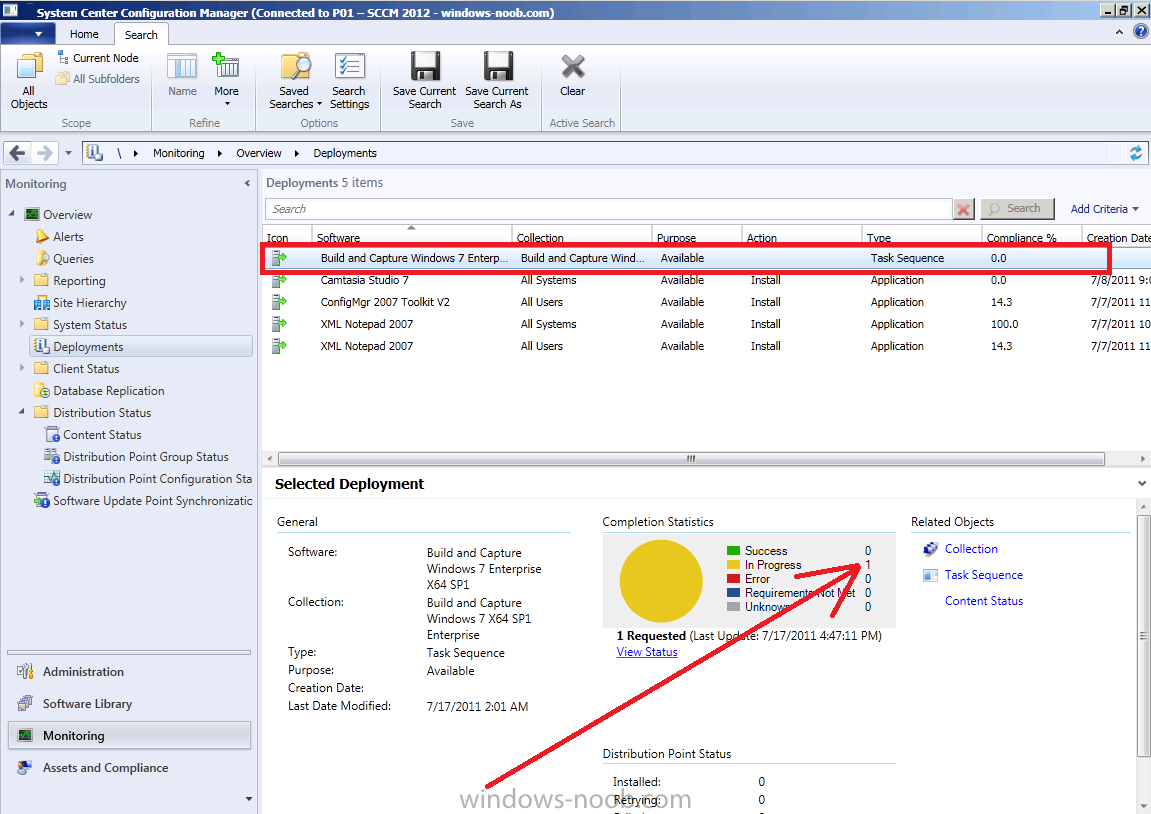
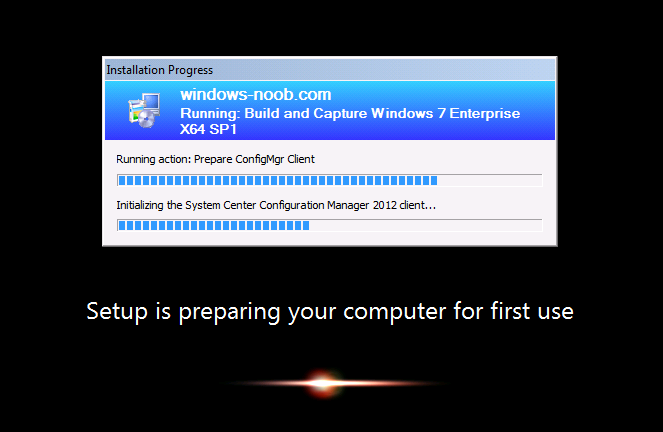
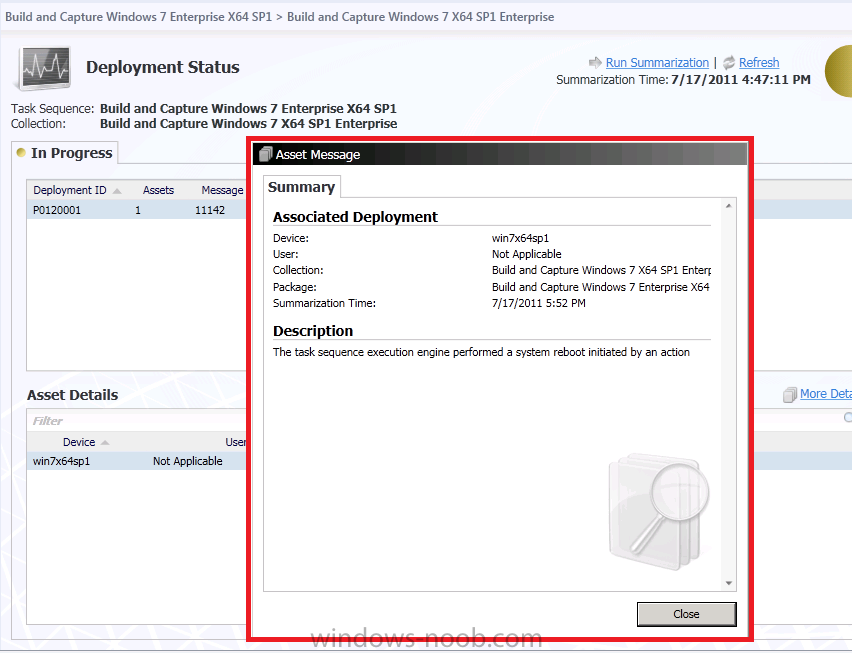
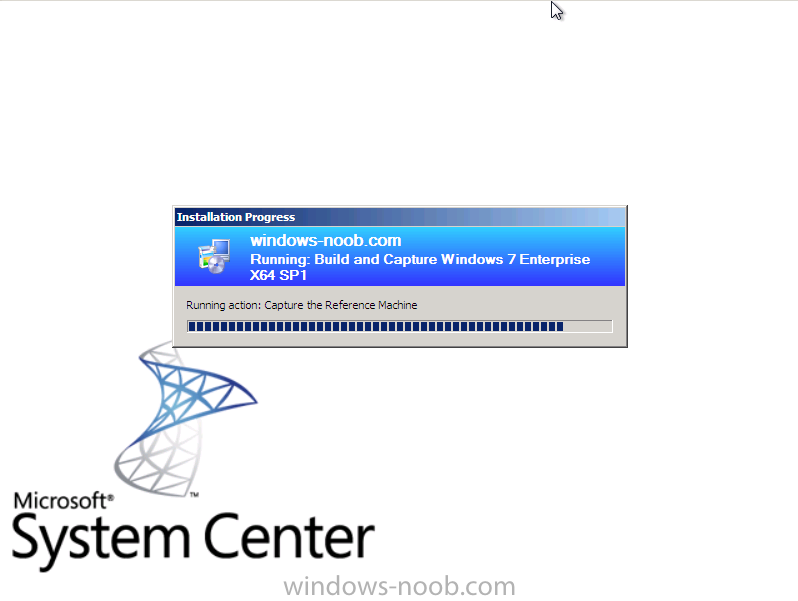
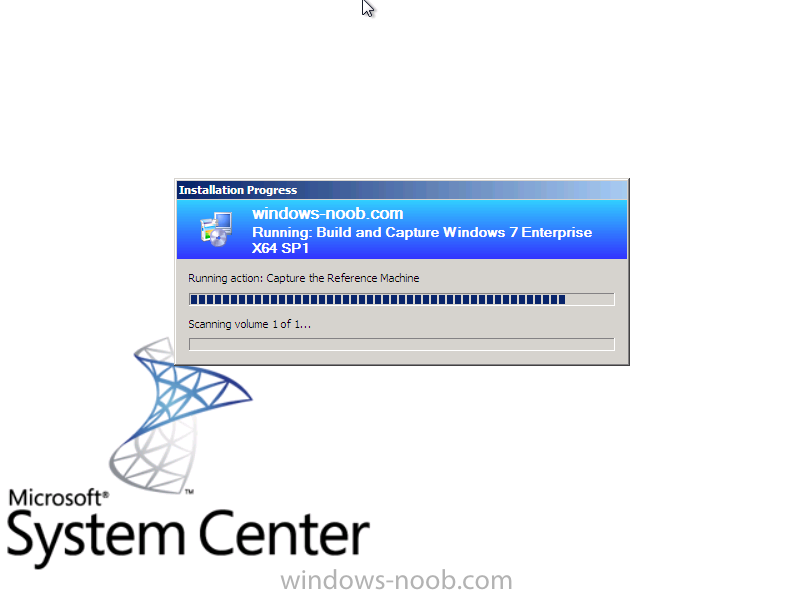
In Part 1. of this series we Installed SCCM 2012, in Part 2 we started to configure it. In Part 3, we configed Beta 2 some more by enabling Active Directory discovery methods, adding some site system roles, configuring the computer client agent and client push settings and finally doing a manual client installation to verify it all worked, in Part 4 we looked at installing an application using Application Management and the Software Catalog and the Software Center features of SCCM 2012, and in Part 5, we added the FSP, SLP, SMP, SUP. In Part 6 we got our SCCM 2012 server ready for Deploying Windows 7 Enterprise SP1 so that we can start deploying some Windows 7 clients to enhance our LAB, then in Part 7 we created a Build and Capture Task Sequence and deployed it to our Build and Capture collection. Now we will configure the Network Access Account because it is needed during the Build and Capture task sequence to access network resources (the Local System Account won't have access to these network resources and if you have not configured your Network Access Account you'll see Authentication failure 401 error messages in your SMSTS.log file). In addition to configuring the Network Access Account, we'll PXE boot our Virtual Machine and observe the Build and Capture process, we will also look at how we can monitor our Build and Capture Deployment while it's happening on our SCCM 2012 server. Step 1. Configure the Network Access Account Perform the following on our vNext server as SMSADMIN. In the ConfigMgr console, select Site Operations, Sites and right click on our P01 site, choose Software Distribution (alternatively in the ribbon click on Configure Site Components, Software Distribution) when the Software Distribution window appears, click on the Network Access Account tab, and input your Network access account credentials, we will use the user called SCCMNAA which we created in Part 1 of this series. click Apply Step 2. Boot our Virtual Machine We have already created a new VM for our Build and capture process, and now we will PXE boot it and observe the process. Press F12 when prompted the PXE boot process begins, windows is loading files... we get prompted for the PXE password click next, and the list of available task sequences appears select our previously created Build and capture task sequence and click next after partitioning and formatting the disc, the apply operating system step begins... Apply Windows Settings, Apply Network Settings, Apply Device Drivers... and it starts to Setup Windows the next step involves rebooting the computer which allows Windows setup to continue (adding drivers etc) before another reboot...and then setting up the Configmgr client, followed by installing updates and then applications TIP: If your applciations are not installing check the following setting in your application allow this application to be installed from the Install Application Task Sequence Action without being manually deployed We have not created any Update deployments so nothing will happen in the Install Updates step (we'll come back to that later in this series). After it's done with the Applications, it will continue on to another reboot Tip: while you are waiting you can click on Monitoring, Deployments, select our Build and Capture Task Sequence to see an overview of the Deployment in process, click on View Status followed by More Details to get more info about what is happening Meanwhile, the task sequence continues by Initializing the Configuration Manager 2012 client *slow* before doing the Prepare OS step and finally after rebooting into WinPE, we being capturing our Windows 7 X64 SP1 image, success ! if you entered your capture account correctly in the task sequence, then it'll start scanning volume one of one followed by the Capture itself, in the next part of this series, we'll deploy this captured image to another Virtual Machine. job done