anyweb
-
Posts
9259 -
Joined
-
Last visited
-
Days Won
371
Everything posted by anyweb
-
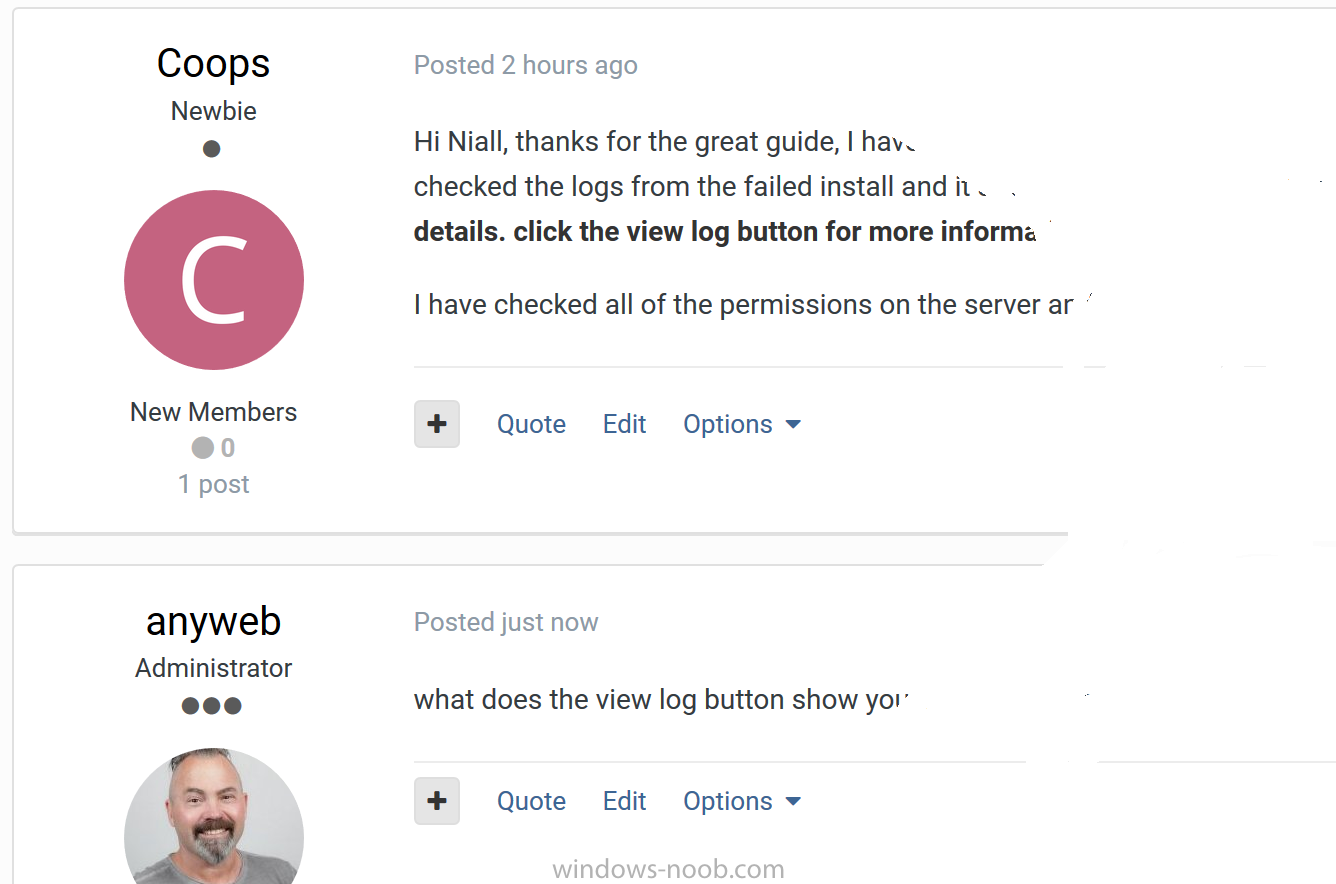
 hi Coops i'm happy it's working for you now, sorry i couldn't feedback on the logs but i'm at the Global MVP summit in Seattle right now so kinda busy
 -
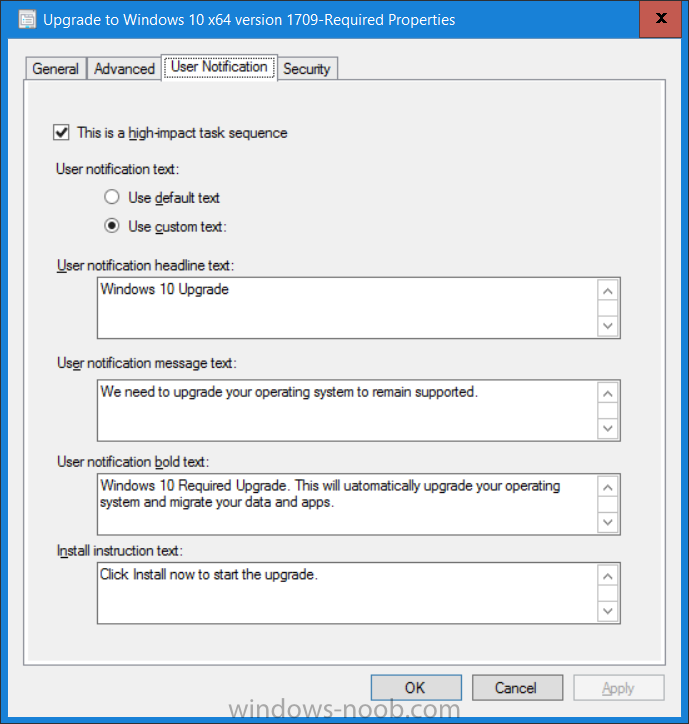
also check your User Notification settings on the task sequence properties, here's an example. It will only display IF the user launches the required upgrade from the software center
-
have you tried modifying your client agent settings, you can make custom client settings for these specific collections if needed
-
upgrade using task sequences here's a start...https://www.windows-noob.com/forums/topic/15202-how-can-i-forcefully-upgrade-windows-10-to-the-latest-version-using-system-center-configuration-manager-current-branch/
-
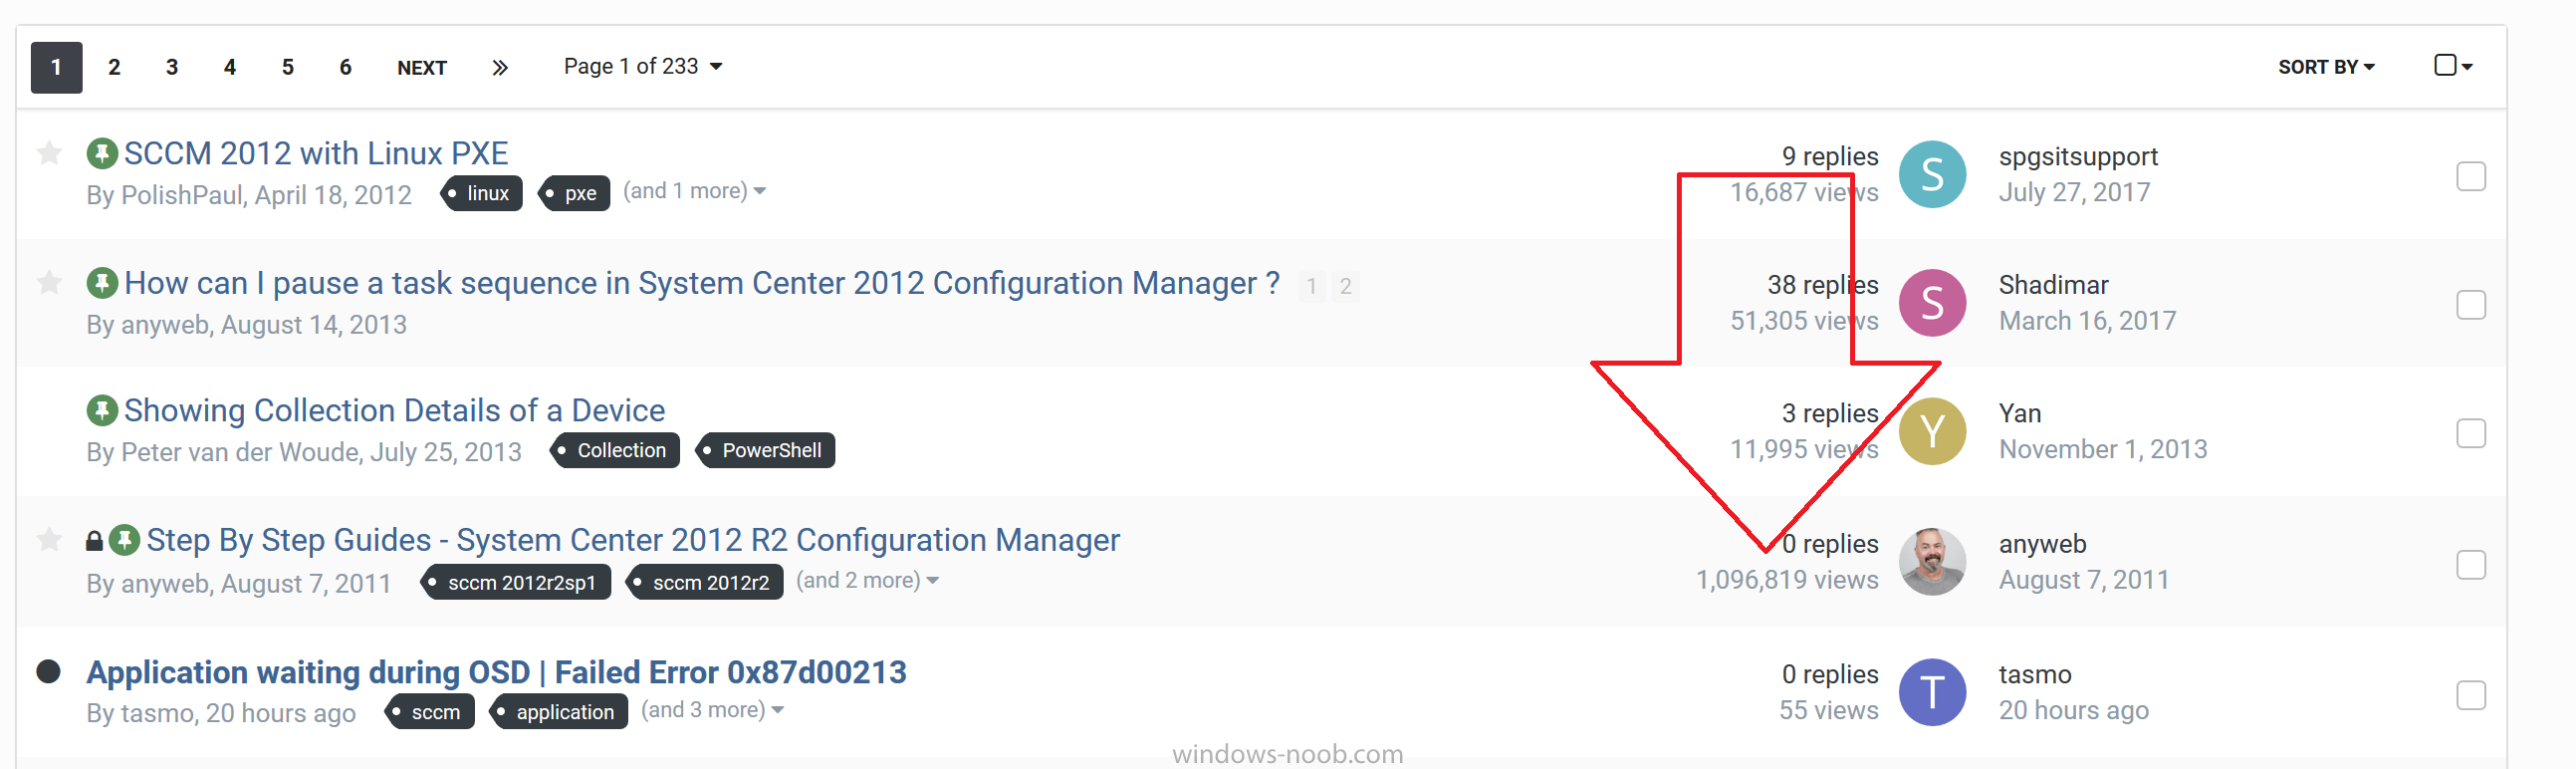
windows-noob.com has been around for many years, and during that time I’ve written hundreds of step-by-step guides with screenshots. You may not be aware, but I’ve created indexes of these guides that cover multiple versions of System Center Configuration Manager (SCCM), Microsoft Intune and Microsoft Deployment Toolkit (MDT). These indexes are popular as you can see below. The indexes sort the guides into an easy to read format so that you can quickly find content that matches topics you are interested in learning more about. The guides themselves are detailed and include tips, PowerShell scripts and advice to get the job done and to teach you how to become a guru in no time. I spend a lot of time and effort to ensure the quality and content of these guides and always try to respond to feedback and questions about the content. If you are working with Enterprise technologies and are looking for step-by-step guides about SCCM Current Branch, Technical Preview, Microsoft Intune or even MDT then please do yourself a favor and check out (and bookmark) the indexes of guides listed below: Configuration Manager (Current Branch) step by step guides: https://www.windows-noob.com/forums/topic/13288-step-by-step-guides-system-center-configuration-manager-current-branch-and-technical-preview/ Microsoft Intune (standalone) in Azure step by step guides: https://www.windows-noob.com/forums/topic/15558-microsoft-intune-standalone-in-azure-step-by-step-guides/ Microsoft Intune (hybrid) step by step guides: https://www.windows-noob.com/forums/topic/10905-the-windows-noob-microsoft-intune-mobile-device-management-guides-now-available-to-download/ Configuration Manager 2012 step by step guides: https://www.windows-noob.com/forums/topic/4045-step-by-step-guides-system-center-2012-r2-configuration-manager/ Microsoft Deployment Toolkit step by step guides: https://www.windows-noob.com/forums/topic/15559-mdt-step-by-step-guides/ Please also feel free to share this post on FaceBook, Twitter, Reddit or whatever platform you use so that others can benefit from this content. cheers ! niall

-
- 1
-

-
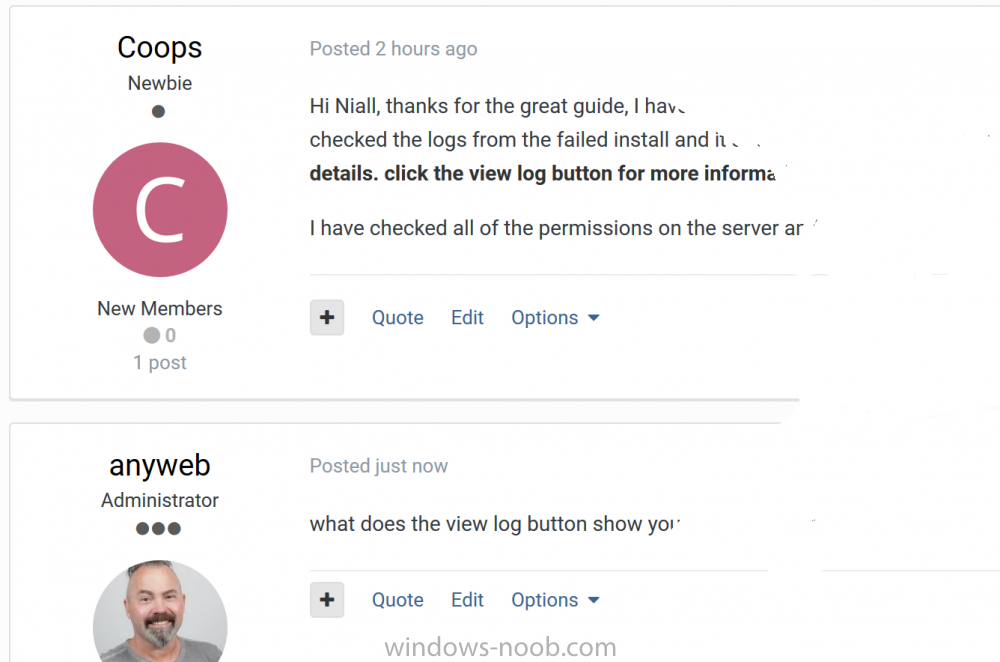
what does the view log button show you, can you please zip up and attach the logs here ?
-
so you followed my guide exactly ? what does the unattend.xml file reveal (check the troubleshooting section of my guide to see what it's writing to that file during the task sequence)
-
you can set the variables in lots of ways, on a collection (as per my example), on the computers them selves (more work), in the task sequence (based on some other variable or setting), it's up to you how you set them
-
have you followed my guide here ?
-
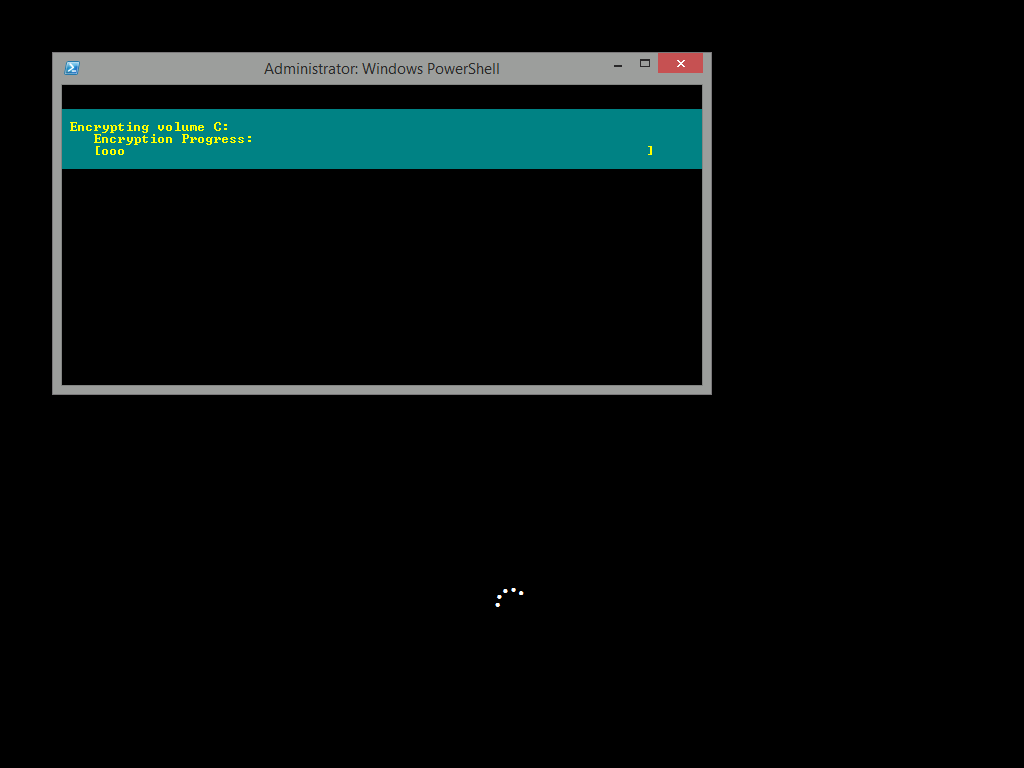
the easiest way would be the same way i do in this post about enabling bitlocker on hyperv virtual machines back before they had a virtual TPM and here's what i mean it does involve using a cmd prompt to show the progress though...

-
nice job thanks for sharing Marcin
-
yes, however any changes you make to the task sequence (for example adding new steps, removing steps) won't apply to any running task sequences as those computers have already download the task sequence policy (the instrucitons containing what to do in the task sequence), If you update the distribution points of any driver package that is referenced in a running task sequence then any computer that is running that task sequence may fail due to missing the content, so plan updating the content by creating v1, v2 etc driver packages and once the content is on the dp's you can switch the driver package step in the task sequence with the new version of the same (or newer) package
-
Green Field implentation ? what on earth is that ? and please tell me you are not installing SCCM on a production domain controller, have you had any training with SCCM ?
- 17 replies
-
- 1
-
-
- current branch
- sccm cb
- (and 7 more)
-
with what exactly, it's as clear as mud.
-
sccm WinPE reboots at "Preparing Network Connections"
anyweb replied to Naro's topic in Configuration Manager 2012
are you sure it has the right ip address, looks to me like it's using the vmware workstation dhcp server (192.168) instead of your actual ip range (10.x.x.x) -
yeah ok, then go with upgrading to 1606cb first...
-
you can upgrade from SCCM 2012 SP2 directly to the 1702 CB baseline. In-place upgrade paths Upgrade to version 1702 When you have version 1702 baseline media, you can upgrade the following to a fully licensed version of System Center Configuration Manager version 1702: An evaluation install of System Center Configuration Manager version 1702 System Center 2012 Configuration Manager with Service Pack 1 System Center 2012 Configuration Manager with Service Pack 2 System Center 2012 R2 Configuration Manager System Center 2012 R2 Configuration Manager with Service Pack 1 Once done with the upgrade to 1702, you can upgrade the Operating System of the server.
-
you should not upgrade the server os until SCCM can support it, and that means SCCM needs to be at version 1602 or later When you use Configuration Manager version 1602 or later, it is also supported to upgrade Windows Server 2008 R2 to Windows Server 2012 R2 (See additional details. more details below https://docs.microsoft.com/en-us/sccm/core/servers/manage/upgrade-on-premises-infrastructure#bkmk_from2008r2 Upgrade Windows Server 2008 R2 to Windows Server 2012 R2 This operating system upgrade scenario has the following conditions: Before upgrade: Uninstall WSUS 3.2. Before you upgrade a server operating system to Windows Server 2012 R2, you must uninstall WSUS 3.2 from the server. For information about this critical step, see the New and changed functionality section in Windows Server Update Services Overview in the Windows Server documentation. After upgrade: Ensure the Windows Deployment Service is started and running for the following site system roles (this service is stopped during upgrade): Site server Management point Application Catalog web service point Application Catalog website point Ensure the Windows Process Activation and WWW/W3svc services are enabled, set for automatic start, and running for the following site system roles (these services are disabled during upgrade): Site server Management point Application Catalog web service point Application Catalog website point Ensure each server that hosts a site system role continues to meet all of perquisites for site system roles that run on that server. For example, you might need to reinstall BITS, WSUS, or configure specific settings for IIS. After restoring any missing prerequisites, restart the server one more time to ensure services are started and operational. Unsupported upgrade scenarios The following Windows Server upgrade scenarios are commonly asked about, but not supported by Configuration Manager: Windows Server 2008 to Windows Server 2012 or later Windows Server 2008 R2 to Windows Server 2012
-
try this, it should help https://www.niallbrady.com/2016/05/17/introducing-the-windows-10-uefi-bitlocker-frontend-for-system-center-configuration-manager-current-branch/
-
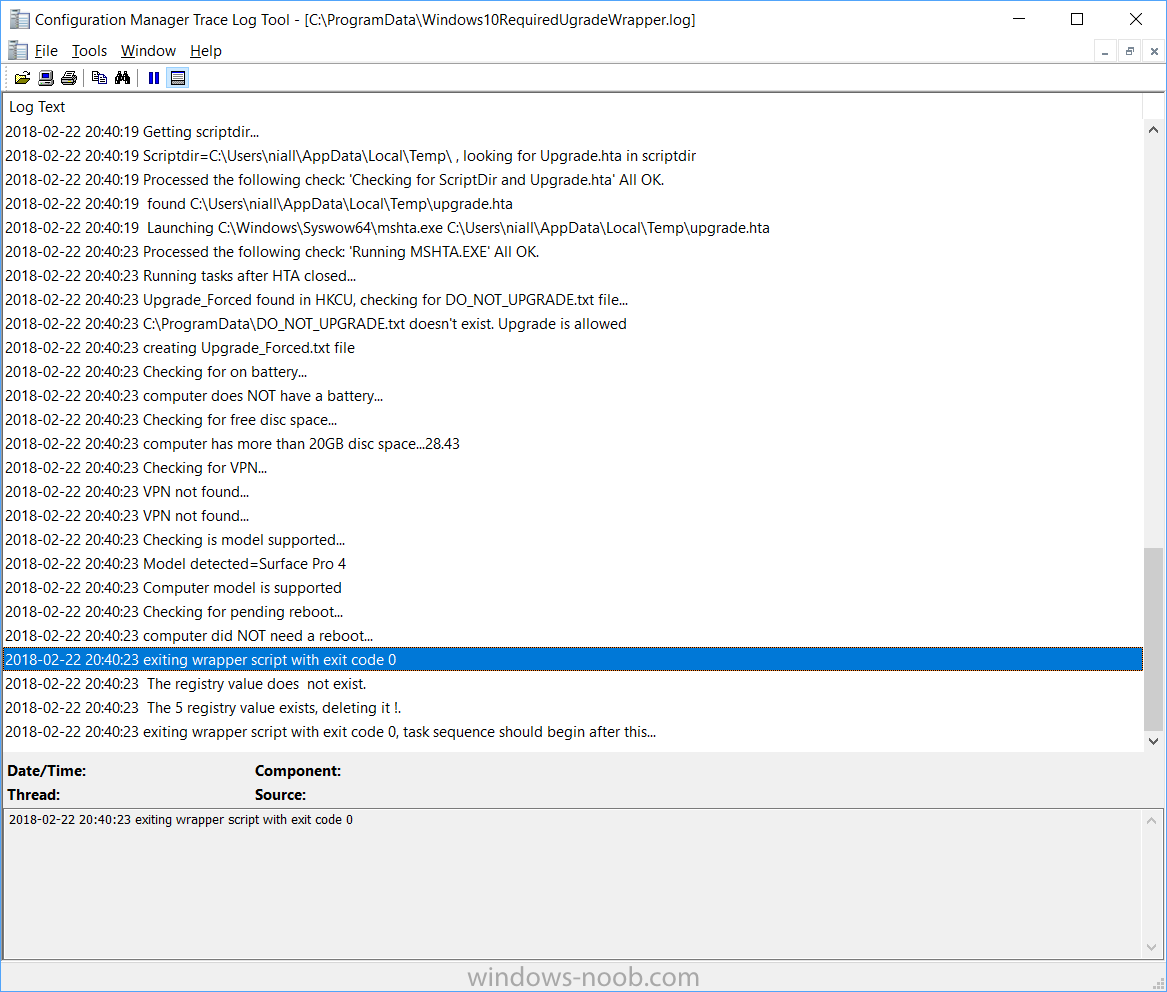
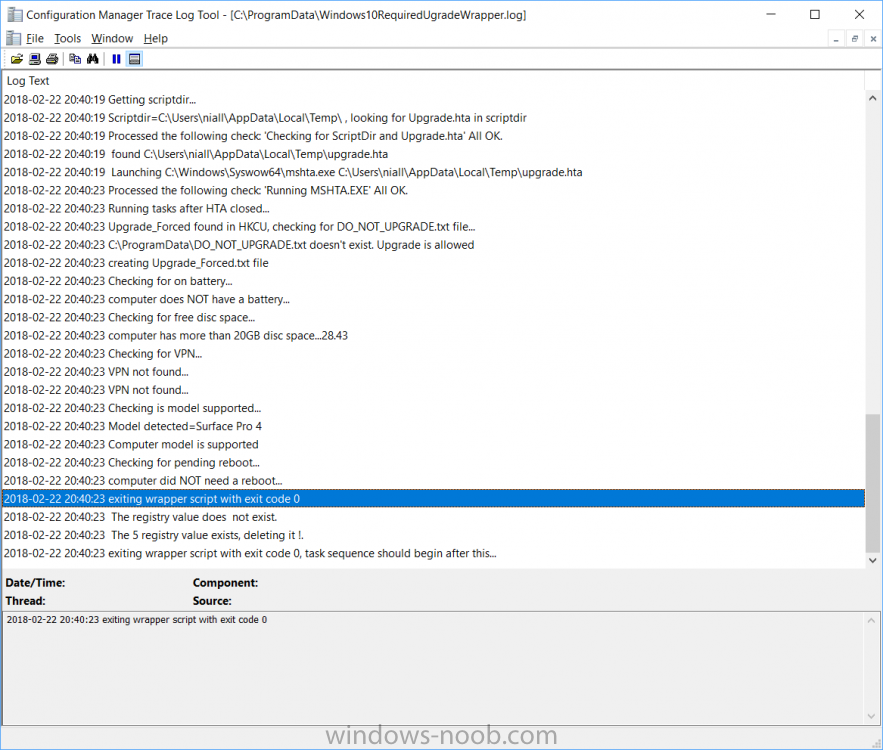
Curious I see that for the pending reboot you returned it to Exit99 I thought you said for the task sequence to kick off after the reboot it would have to be Exit0. Either way I will test and adjust. yes, i tested it some more and decided it's the best option for now, however i have some ideas to improve upon it going forward, and if i get time i'll script the, but for now this will have to do I will suggest for sanity of the end user to do the hardware check before disk space, vpn, etc. no sense having them clean up disk space, connect power or disconnect from VPN if they are then going to be told their hardware is not compatible with the upgrade. Just a thought. good point, i've modified it again so that the check if model supported is the first check, i've uploaded the modified scripts thanks.
-
ok bug found and fixed, please re-download the scripts, retest and let me know is it ok for you
-
i've changed the code order so it performs the checks like this, i'll upload the updated code shortly
-
gotcha ! thanks for posting this i'll modify the code shortly
-
good thoughts, i'll look at it and possibly reorder things, thanks for the comments check for power, vpn and disk space will endlessly prompt the end user until resolved, so that leaves hardware support, but i'll look at it again
-
the user must login, and no the wrapper won't run again, the ts should start after the user logs in, please test, verify and report any issues