anyweb
-
Posts
9277 -
Joined
-
Last visited
-
Days Won
371
Everything posted by anyweb
-
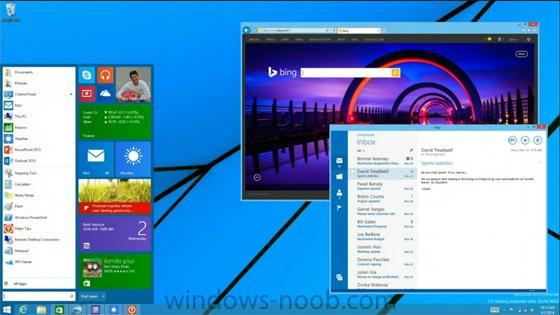
Microsoft is aiming to deliver a "technology preview" of its Windows "Threshold" operating system by late September or early October, according to multiple sources of mine who asked not to be named. And in a move that signals where Microsoft is heading on the "servicability" front, those who install the tech preview will need to agree to have subsequent monthly updates to it pushed to them automatically, sources added. Threshold is the next major version of Windows that is expected to be christened "Windows 9" when it is made available in the spring of 2015. Threshold is expected to include a number of new features that are aimed at continuing to improve Windows' usability on non-touch devices and by those using mice and keyboards alongside touch. Among those features — according to previous leaks — are a new "mini" Start Menu; windowed Metro-Style applications that can run on the Desktop; virtual desktops; and the elimination of the Charms bar that debuted as part of Windows 8. Cortana integration with Windows Threshold is looking like it could make it into the OS, as well. I've asked Microsoft officials for comment. To date, Microsoft execs have declined to comment on what will be in Threshold, when it will be available, how much it will cost or what it will be named. When Microsoft was working on Windows 8, the company delivered three external "milestones" before making the operating system generally available in October 2012. First there was a Windows 8 developer preview, which Microsoft released on September 13, 2011, followed by a Windows 8 "consumer" preview on February 29, 2012. The operating system was released to manufacturing on August 1, 2012. read the rest @ ZDnet > http://www.zdnet.com/microsoft-to-deliver-windows-threshold-tech-preview-around-late-september-7000032668/
-
that is UEFI network boot you are seeing and not legacy network boot, normally after "Succeed to download NBP file." you'd see WDS kick in with a message to press Enter to start network boot, what OS is your server running on (the one hosting Windows Deployment Services)
-
 if you use teamviewer i can connect and take a look, drop me a mail at niall@windows-noob.com if you want me to do so note: this task sequence is designed to run from WinPE not from within Windows.
 -
no worries glad you are sorted now
-
well if they are installing during the build then you are most likely deploying a different wim file, verify what wim file is actually being deployed did you make sure to redistributed it after adding the captured wim ?
-
the windowsupdate.log in c:\windows will show you what updates are applied or not, how do you know it's patched ? have you verified by logging in and checking ? you could disable the capture part for testing and let the build complete, then login and have a look, are 97 updates installed or not ? are you sure the updates arnt installing AFTER you've captured the image, for example via windowsupdate itself instead of via Configuration Manager
-
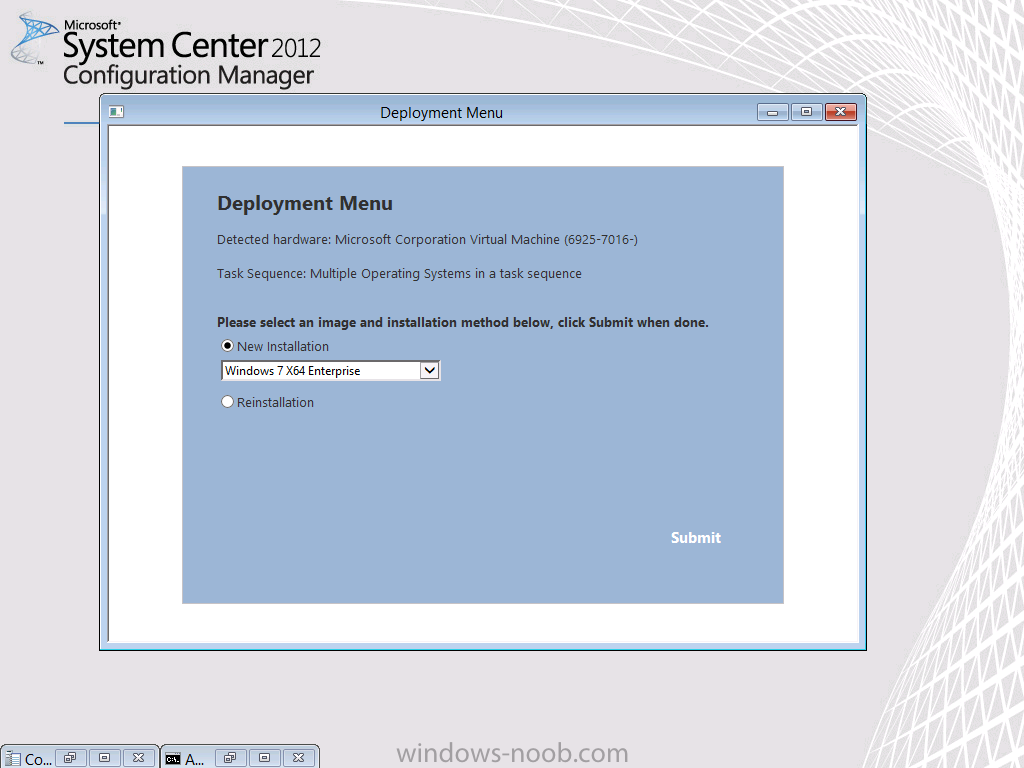
if you want to start with all those things then checkout the CM12 BitLocker FrontEnd HTA, don't worry about the bitlocker part, all the data migration ability is contained in the task sequence and associated scripts, you can check it out here. CM12 in a Lab - The CM12 BitLocker FrontEnd HTA - video CM12 in a Lab - The CM12 BitLocker FrontEnd HTA
-
is your issue in the build and capture (for installing updates) or the deploy task sequence, if it's a build issue, it's in a workgroup therefore what boundary have you defined ? it needs to be an ip range boundary containing an ip that matches the machine you are building, if it's an AD based boundary it won't work as the machine is not in AD it's in a workgroup. what collection have you deployed these updates to ? is it a collection that the computer is in during build and capture ?
-
System Center Configuration Manager 2012 R2
anyweb replied to Muhammad's topic in Configuration Manager 2012
for most installs I'd recommend you select a standalone primary, the CAS guides are more up to date in terms of versions of software but you should only use a CAS if you are supporting 100,000 clients or more. -
Offline Servicing Failing
anyweb replied to wschenk's question in Troubleshooting, Tools, Hints and Tips
sorry can't read the text, can you either attach the log or show a better screenshot -
a few errors from your earlier log have you defined your network access account ? have you made ANY change to the original HTA files i provided here ? if so can you try the ones i supplied instead, just as a test
-
correct it's not, you have some other issue, i've just booted from my standalone media and it displays just fine
-
System Center Configuration Manager 2012 R2
anyweb replied to Muhammad's topic in Configuration Manager 2012
i presume you are setting up a lab? hopefully, otherwise there's no real need for a CAS unless you are going to be managing 100,000 clients. -
you shouldnt delete the deployment, just disable it (more info here) what you could try is removing the boot wim attached to the task sequence, that way those systems wont be able to boot if they have received the policy, also, consider changing the PXe Password or setting one if one is not already set. Many things you can do, but once the computers have the policy they'll try to act on it....
-
ok i will create some standalone media here and test it.
-
System Center Configuration Manager 2012 R2
anyweb replied to Muhammad's topic in Configuration Manager 2012
ok so initially you said you were setting up a primary, so are you infact installing a primary AFTER having setup a CAS first, is that correct ? having SQL remote from a primary is not recommended as it increases complexity and increases the likelihood of failure, always have SQL on box if possible. -
System Center Configuration Manager 2012 R2
anyweb replied to Muhammad's topic in Configuration Manager 2012
ok there are manyerrors in the log above, such as these sql errors CSql Error: Cannot find data for connection type: CCAR_DB_ACCESS, cannot get a connection. $$<Configuration Manager Setup><08-14-2014 09:17:03.752-60><thread=4148 (0x1034)> INFO: SQL Connection failed. Connection: CCAR_DB_ACCESS, Type: Unsecure $$<Configuration Manager Setup><08-14-2014 09:17:03.752-60><thread=4148 (0x1034)> CSql Error: Cannot find data for connection type: CCAR_DB_ACCESS, cannot get a connection. $$<Configuration Manager Setup><08-14-2014 09:17:06.768-60><thread=4148 (0x1034)> INFO: SQL Connection failed. Connection: CCAR_DB_ACCESS, Type: Unsecure $$<Configuration Manager Setup><08-14-2014 09:17:06.768-60><thread=4148 (0x1034)> CSql Error: Cannot find data for connection type: CCAR_DB_ACCESS, cannot get a connection. $$<Configuration Manager Setup><08-14-2014 09:17:09.784-60><thread=4148 (0x1034)> INFO: SQL Connection failed. Connection: CCAR_DB_ACCESS, Type: Unsecure $$<Configuration Manager Setup><08-14-2014 09:17:09.784-60><thread=4148 (0x1034)> CSql Error: Cannot find data for connection type: CCAR_DB_ACCESS, cannot get a connection. $$<Configuration Manager Setup><08-14-2014 09:17:12.800-60><thread=4148 (0x1034)> INFO: SQL Connection failed. Connection: CCAR_DB_ACCESS, Type: Unsecure $$<Configuration Manager Setup><08-14-2014 09:17:12.800-60><thread=4148 (0x1034)> CSql Error: Cannot find data for connection type: CCAR_DB_ACCESS, cannot get a connection. $$<Configuration Manager Setup><08-14-2014 09:17:15.815-60><thread=4148 (0x1034)> INFO: SQL Connection failed. Connection: CCAR_DB_ACCESS, Type: Unsecure $$<Configuration Manager Setup><08-14-2014 09:17:15.815-60><thread=4148 (0x1034)> CSql Error: Cannot find data for connection type: CCAR_DB_ACCESS, cannot get a connection. $$<Configuration Manager Setup><08-14-2014 09:17:18.831-60><thread=4148 (0x1034)> INFO: SQL Connection failed. Connection: CCAR_DB_ACCESS, Type: Uns how did you install this primary and describe your setup please, is sql local or remote, is there a cluster, did you follow any of the guides here ? -
System Center Configuration Manager 2012 R2
anyweb replied to Muhammad's topic in Configuration Manager 2012
i normally wait until all Setup tassk are complete and green in that wizard before clicking close, did you ? -
looks ok for that step at least, what did you create exactly, standalone media ? is the boot image x86 or x64 ?
-
i'll need your smsts.log file to see why it's skipping the display hta
-
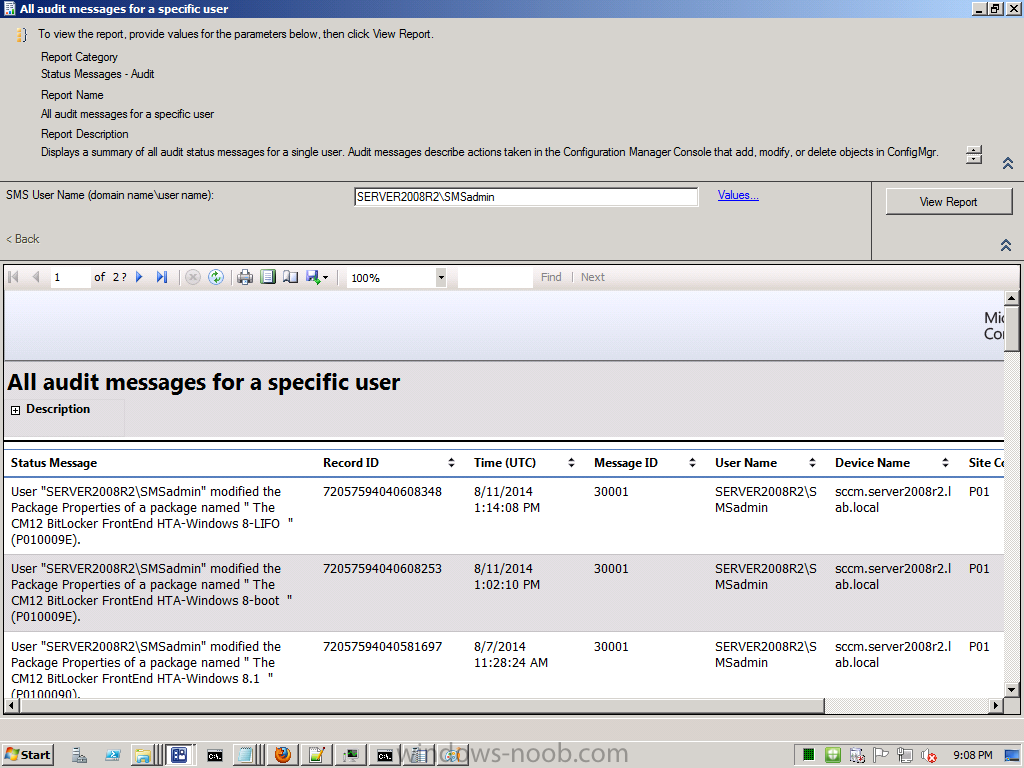
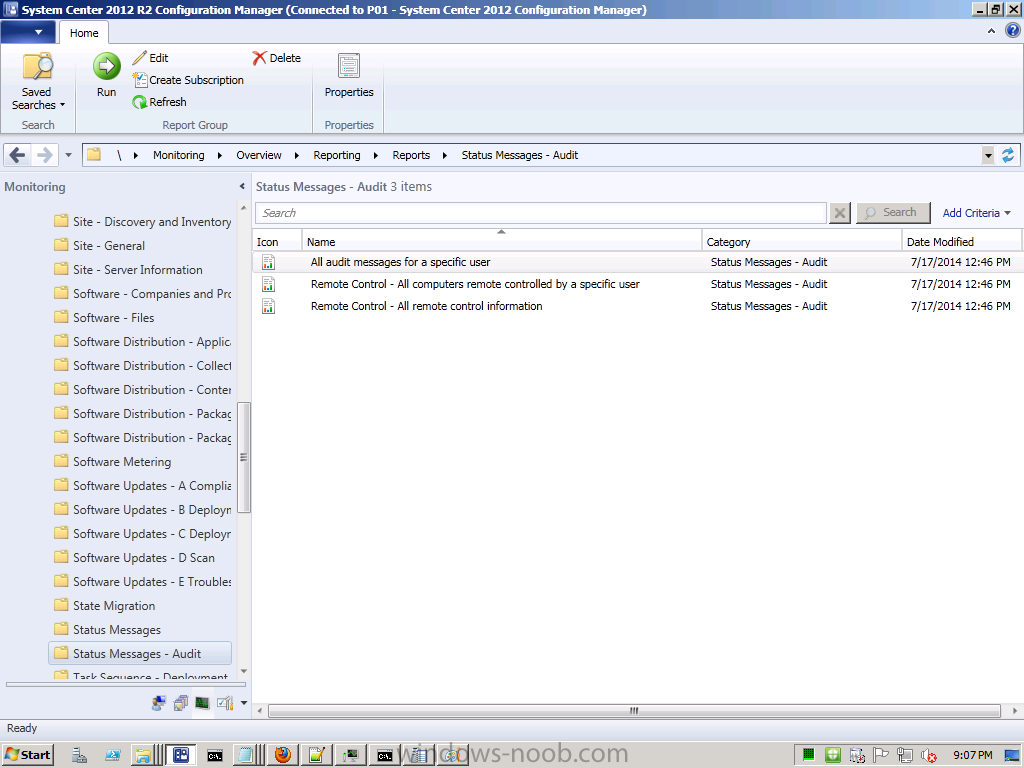
you can use reporting in configmgr to find out, check out the report category Status Messages - Audit, it will let you see what administrative users have done recently. like below

-
System Center Configuration Manager 2012 R2
anyweb replied to Muhammad's topic in Configuration Manager 2012
how long did you wait and what 'was not installed' ? -
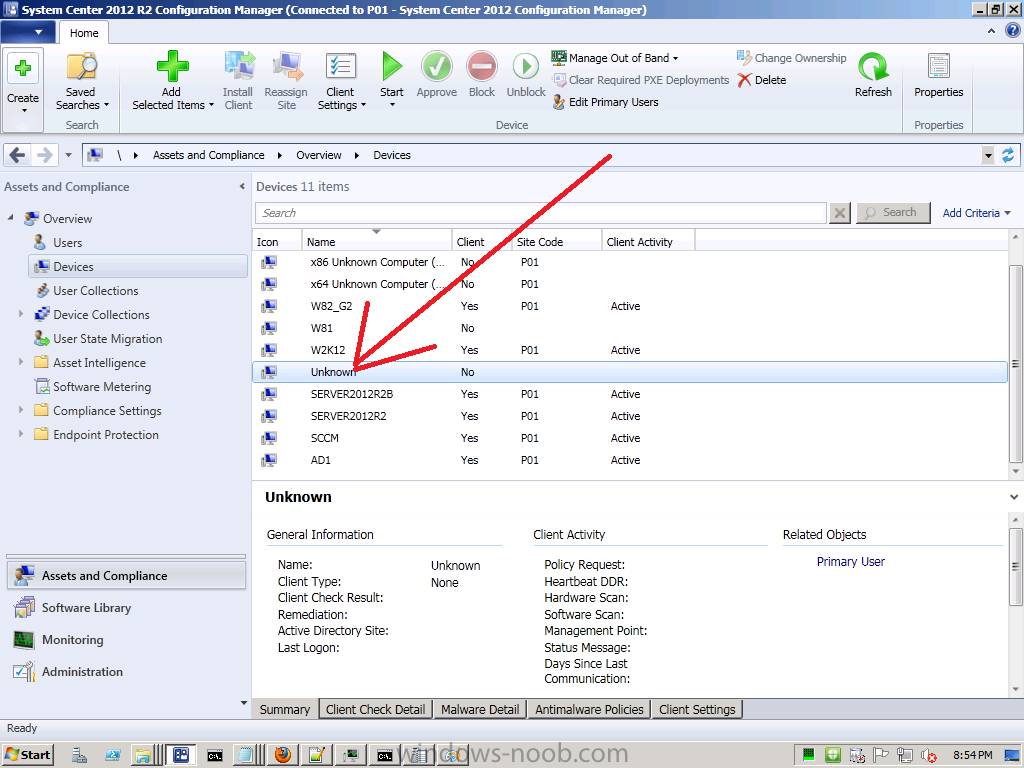
check Devices under assets and compliance, do you see a whole bunch of UNKNOWN objects (please do NOT delete the UNknown Computers collections) you can delete all the unknown devices (not the collections) then try again, 1 shown below but i've seen up to 91 in our production environment....

-
show me your display hta step
-
there you go ! so is this computer in a collection targeted by that depoyment above and is the deployment deployed with a purpose of hidden