anyweb
-
Posts
9277 -
Joined
-
Last visited
-
Days Won
371
Everything posted by anyweb
-
during the install did you add BOTH ASP and ASP.NET, or just one.. ? uploads are working correctly now, fyi
-
i had to update the forum software to a newer version and it seems stable now, i will keep monitoring it of course... if you have any problems please post them here or drop me a mail uploads are now working again...
-
first of all I want you to know that I am aware of site problems causing downtime, i don't know what is causing it yet but it seems that the server gets overloaded and dies, I am investigating....
-
add ASP.NET and please just upload the screenshots here instead of linking to some site that posts a popup advertisement as soon as i click on it
-
could it be a firewall issue ?
-
check your PSP role certificate (pxe support point role) http://www.windows-noob.com/forums/uploads/monthly_09_2008/post-1-1222340737.jpg is the date valid or expired ? this is how to set it up
-
ok just to let you know that the server relocation and reinstallation is now complete the server was moved from amsterdam to sweden on friday, then reinstalled on saturday, and reconfigured today, Sunday and you are now viewing the site back in it's original server. 0 downtime and all data retained ! cheers niall
-
The Chris123NT blog thought it had found a critical bug in Windows 7's chkdsk utility. Run the tool with the /r switch (locate and repair bad sectors), and you should see memory usage for chkdsk eat up all your memory, or it crashes your machine with a blue screen of death. The original report only called it "critical", but people like Randall Kennedy (who else) labelled it as a "showstopper". As it turns out, this was all way overblown. First of all, this bug will not be seen when running chkdsk on your system drive, because Windows will offer to run chkdsk before booting the system. If you run it on a non-system drive, Windows will ask to unmount it and continue the check, or do it during the next boot. The bug will not appear in any of these cases. When running chkdsk on an external drive, for instance, memory usage can indeed spike, but an actual blue screen of death is very hard to reproduce. There are indications that certain outdated drivers may cause a BSOD to appear, and that updating said drivers to the latest versions fixes this behaviour. The eating of RAM is actually by design, as Sinofsky has explained: We haven't reproduced the crash and we're not seeing any crashes with chkdsk on the stack reported in any measurable number that we could find. We had one beta report on the memory usage, but that was resolved by design since we actually did design it to use more memory. But the design was to use more memory on purpose to speed things up, but never unbounded — we request the available memory and operate within that leaving at least 50M [reading other people's reports, this should most likely be 500MB] of physical memory. Our assumption was that using /r means your disk is such that you would prefer to get the repair done and over with rather than keep working. more > http://www.osnews.com/story/21964/Chkdsk_Bug_Anything_But_a_Showstopper
-
fyi, had some minor issues with php this afternoon (memory_limit) which are hopefully now resolved, and my server hoster has informed me that while they were reinstalling my server in amsterdam there was a hardware failure... so let's hope they provide me with a new one soon, i'll update here when i know more cheers niall
-
hmm have you tried importing the client computer into SCCM using computer associaton and see what happens then ?
-
should be fixed now, please test
-
ok i have now completed the first phase of the server reinstallation the mirror is created *this is it*, and dns is now pointing to the backup server, I will update this post later today cheers niall
-

Clients can not Download any Packages (Message ID: 10051)
anyweb replied to Wussel's topic in Configuration Manager 2007
is the timezone on the clients the same as the configmgr server ? -
how can I setup Application Virtualization 4.5 CU1
anyweb replied to anyweb's question in Application Virtualization
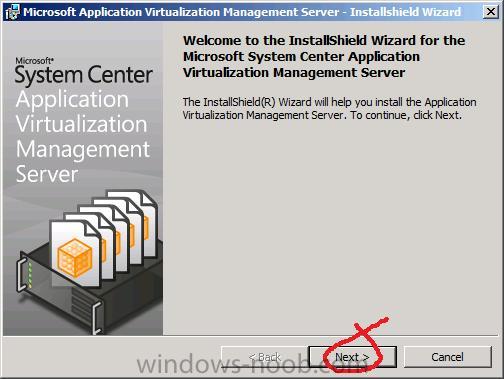
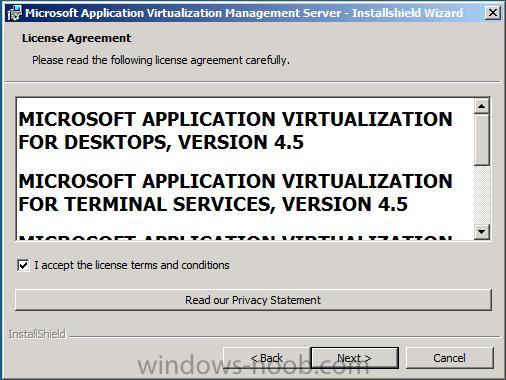
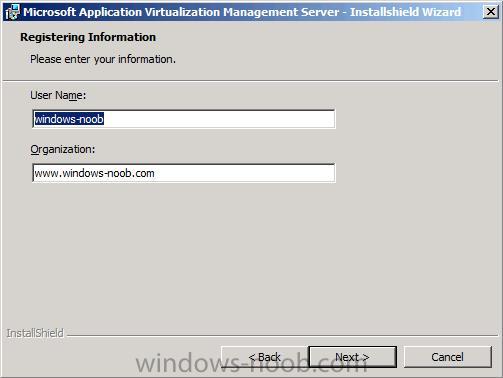
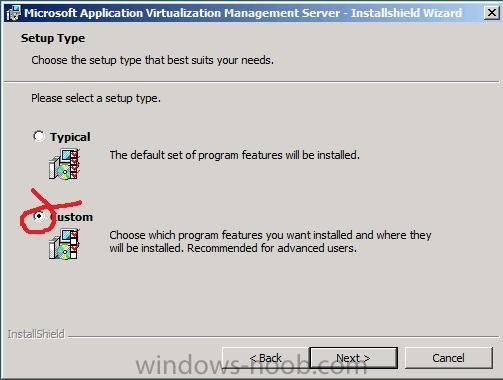
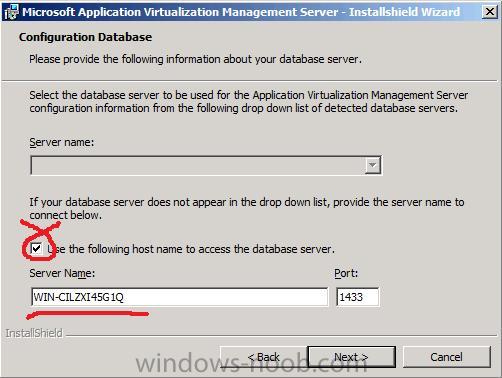
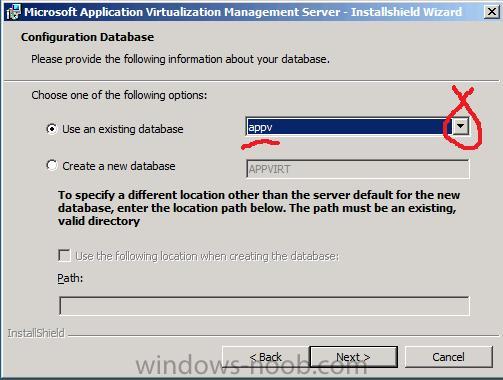
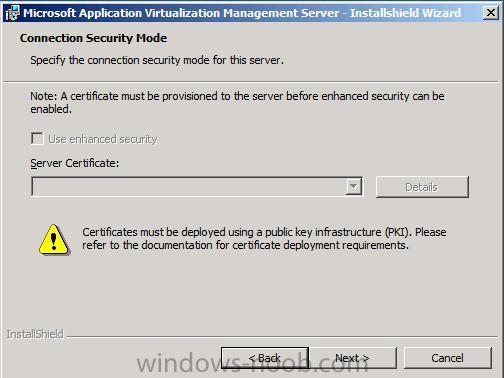
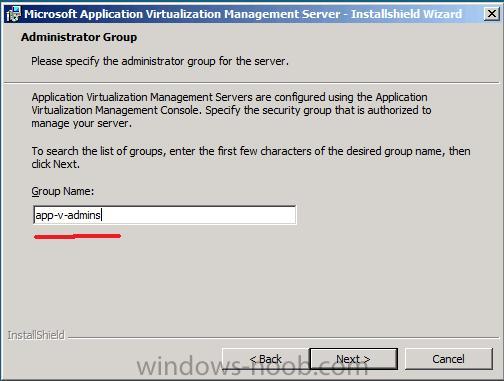
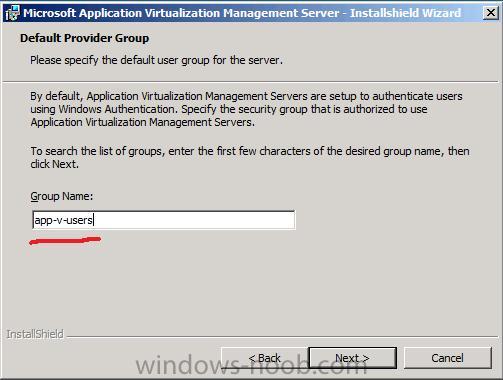
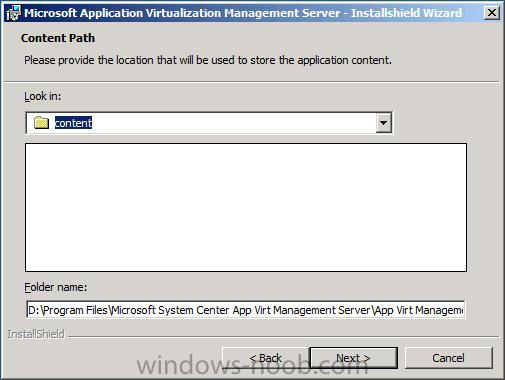
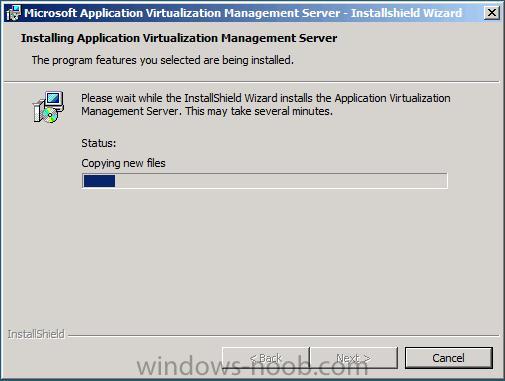
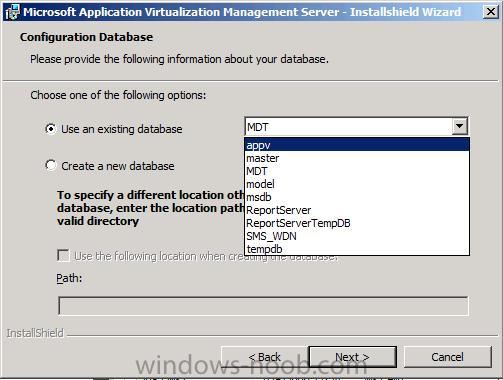
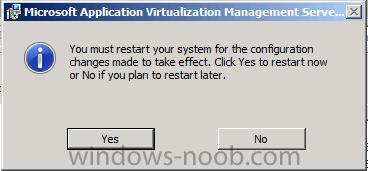
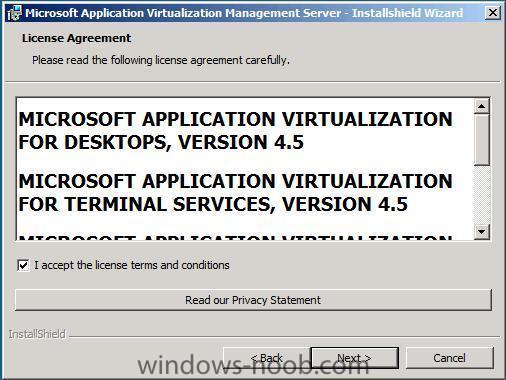
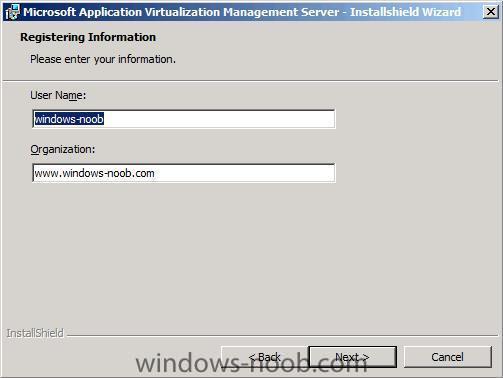
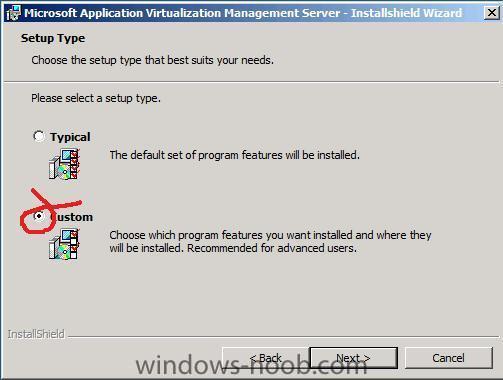
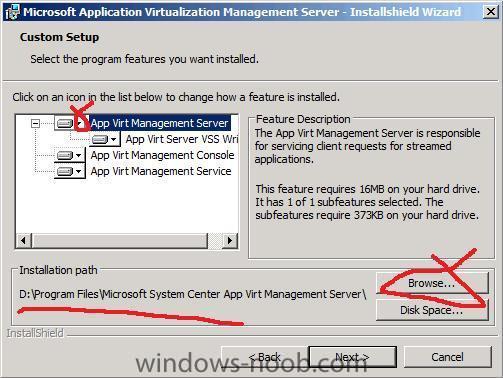
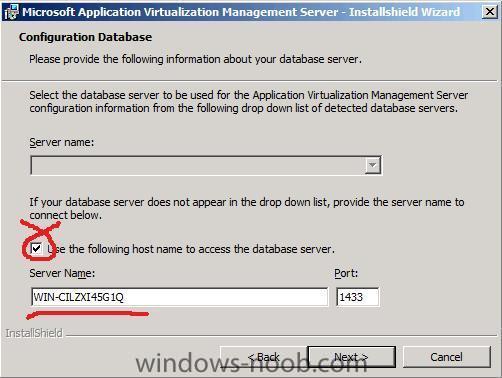
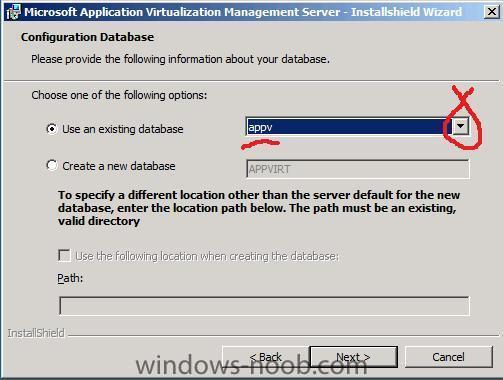
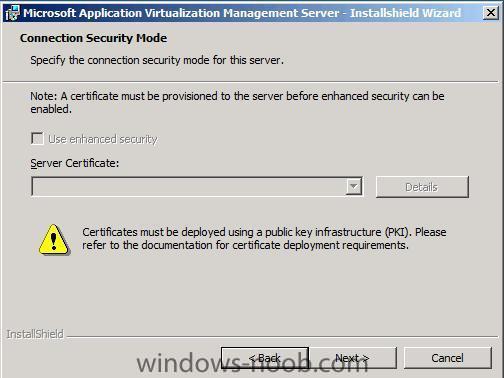
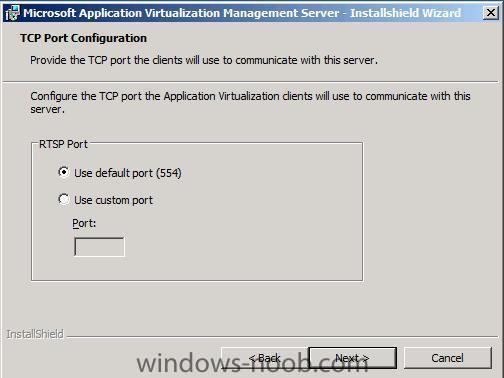
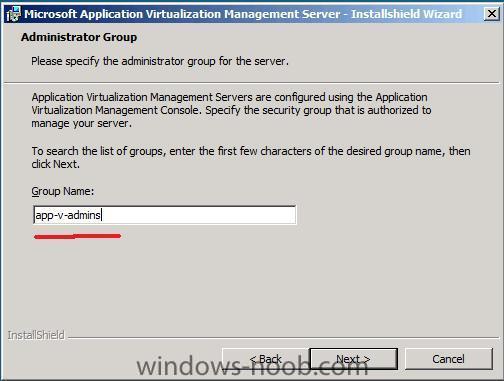
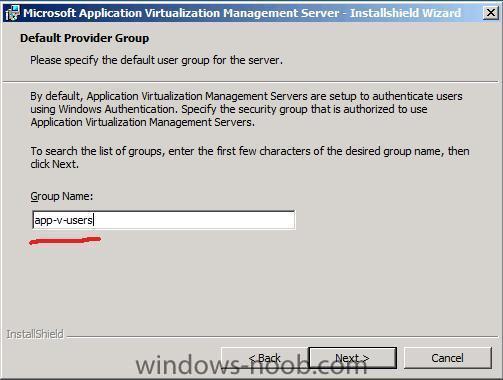
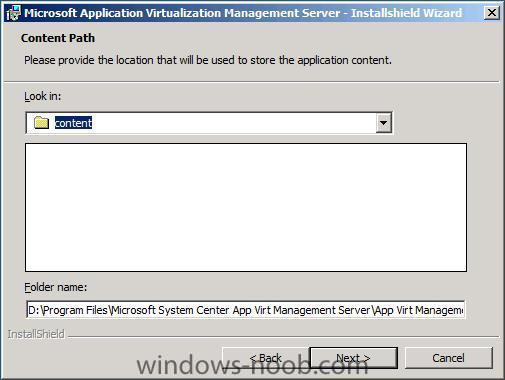
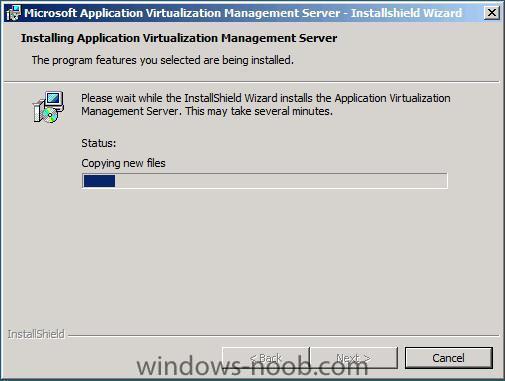
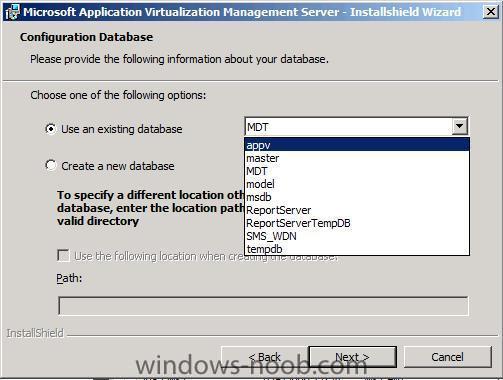
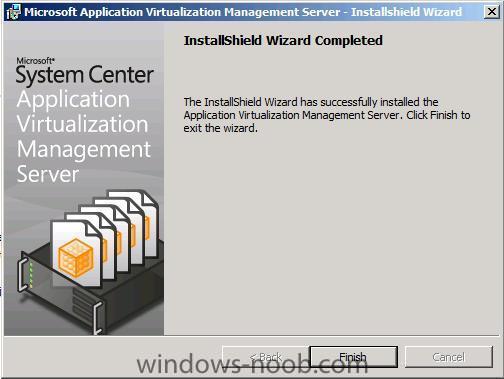
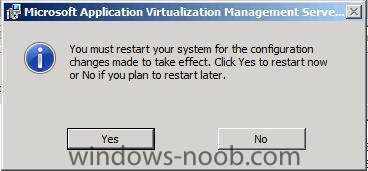
Step 5. Install the Application Virtualization Management Server Perform the following on the APPv Server: Browse the APP 4.5 CU1 cd to INSTALLERS\SERVER\MANAGEMENT and right click on Setup.exe and choose Run As Administrator to start the System Center Application Virtualization Management Server wizard, click next Accept the License Agreement review the Registration Information choose Custom as the type of installation Select the drive and install path you wish to use and verify that This Feature, and all subfeatures, will be installed on local hard drive is selected for each option and click next enter the SQL server name and click next the appv Database should automatically be selected, if not select it from the drop down list We will not be using Secure mode for this Appv server so just click next at the connection security mode screen leave the default port type app-v-admins as the Active Directory Security Group name for administrators of the appV server(or just type app-v and click next, then select app-v-admins from the choices available) and enter app-v-users as the Active Directory Security group name for users of the appV server Note: This is the group to which all users must belong for access to Microsoft Application Virtualization-enabled applications. Accept the default content folder and click next and then click install to start installing the application virtualization Management Server if you get Error 25019, go back into SQL management studio and make your appVadmin user a SysAdmin and try again Once setup completes, click Finish and restart the server as requested


-
problem in installing client agent
anyweb replied to reza's question in Troubleshooting, Tools, Hints and Tips
can you verify that the SMS Agent Host service is started ? -
hi all, as the final part of the server update, I will be reinstalling the server hosting the forums over the next few days, I've prepared a mirror server and I'll make a DNS switch sometime during this time period.... If all goes well you won't notice a thing, but just in case something goes wrong I want you to understand why (i've mirrored the site, will point DNS to the mirror, then reinstall the old server, then restore the forums on the server, then point dns back to the original server) my aim is to keep this as invisible and seemless as possible but who knows what may happen cheers
-
Windows 7 RTM Build 7600.16385 includes a potentially fatal bug that, once triggered, could bring down the entire OS in a matter of seconds: "The bug in question - a massive memory leak involving the chkdsk.exe utility - appears when you attempt to run the program against a secondary (i.e. not the boot partition) hard disk using the "/r" (read and verify all file data) parameter. The problem affects both 32-bit and 64-bit versions of Windows 7 and is classified as a 'showstopper' in that it can cause the OS to crash (Blue Screen of Death) as it runs out of physical memory," reports InfoWorld's Randall Kennedy. Microsoft is claiming the bug is a chipset driver issue, but Kennedy's testing of the latest Intel INF Update Utility driver set and VMware virtualized chipset drivers suggests otherwise. "This is clearly a Microsoft bug - and the fact that it manifests itself via the chkdsk.exe utility makes me wonder if it isn't something intrinsic to the Windows 7 version of the New Technology File System (NTFS) driver stack." Worse still, user comments suggest that Windows Server 2008 R2 suffers from the same flaw. via > http://www.osnews.com/story/21951/Critical_Bug_Could_Derail_Windows_7_Launch
-
what does your SMSPXE.log say ?
-
did you set any dhcp options on the WDS server ? are you absolutely sure you are not prompted to press F12 as part of the pxe process (to gain access to sccm...)
-
is this a virtual machine ?
-
first things first what problems exactly ?
-
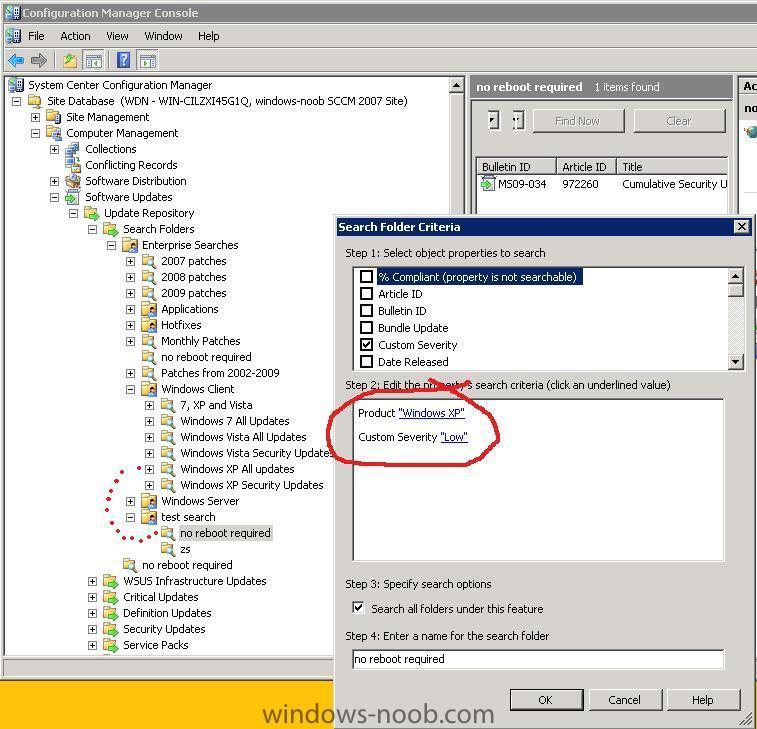
Search Folder for Updates NOT requiring reboots...
anyweb replied to jbhaire2004's question in Software Update Point
you could specify in the custom severity field that it's LOW for example and search for that but then you'd have to do a lot of manual work deciding which updates were 'LOW', however I did a quick test and it seems to work see pic, the update in the pic may require a reboot but I marked the custom severity of it under the All Windows XP Updates search folder as LOW for this test, then created a new search folder as you can see below