anyweb
-
Posts
9277 -
Joined
-
Last visited
-
Days Won
371
Everything posted by anyweb
-
the right click tools now support 64 bit ! download from here > http://myitforum.com/cs2/blogs/rtrent/arch...ls-updated.aspx cheers anyweb
-

Software Updates - The Network path was not found
anyweb replied to Dom's question in Software Update Point
have you read this post yet ? -
i must apologise but there were still problems with this, it seems that some mail receivers were automatically deleting the validation mail because it had a return path of nobody@... I've corrected that now *hopefully* so registering should work properly now apologies again cheers anyweb
-
Resource Explorer Shortcut for sccm 2007
anyweb replied to wmmayms's question in Troubleshooting, Tools, Hints and Tips
cool, but do you need anything installed on the client first like the SCCM Remote Tools -
done, i've added a section called reports under SMS/SCCM 2007 cheers anyweb
-
hi all over the last week emails (including validation and other) were not sending correctly, basically they were going to localhost and no further I have now fixed this problem and it's working now, apologies for any problems this may have caused ! cheers anyweb
-
Automatic removal of applications
anyweb replied to Tobie's question in Deploy software, applications and drivers
great post, pinned ! keep it up -
Deploy Service Pack with SCCM 2007
anyweb replied to Tobie's question in Deploy software, applications and drivers
great post, thanks for sharing ! -
A fully configured virtual machine of System Center Configuration Manager R2 is now available from Microsoft. Evaluate the abilities for SCCM to provide you a solution for operating system deployment, patch management, software distribution, virtual application streaming and more. System Requirements Supported Operating Systems: Windows Server 2003; Windows Server 2008; Windows Vista A virtualization product that supports the VHD format is required to use this virtual machine. Microsoft Virtual PC or Microsoft Virtual Server are provided for free and can be used with these VHD based virtual machines. This VHD is pre-configured to use approximately 10GB of hard disk space and approximately 512MB of memory. More information and download: http://www.microsoft.com/downloads/details...;displaylang=en
-
Software Updates - The Network path was not found
anyweb replied to Dom's question in Software Update Point
the error message means it cannot locate the actual update file from the path you have provided, so are you telling the update process to grab its updates from another WSUS server and path ? or is your SCCM server hosting the wsus sup ? i need to know more about how you are doing this before understanding the reason you are seeing the error -
is the SUP role installed and configured on your SCCM server ?
-
ok finally i understand your problem..... is this XP machine definetly joined to the domain, which domain is it joined to (2k3 or 2k8) ? cheers anyweb
-
ok i see it, so are you saying that you create a task in there as a gp, role it out and it doesnt happen on the XP box ? or am I misunderstanding you ?
-
which GP is it, i've had a quick look on my 2008 dc here and i dont see the one you are referring to...
-
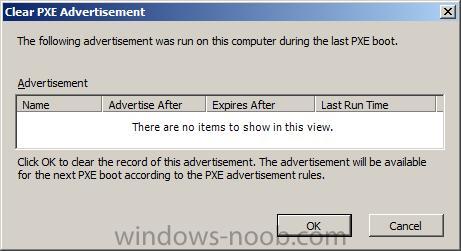
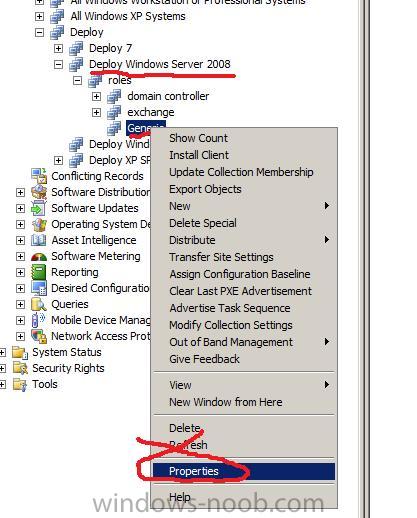
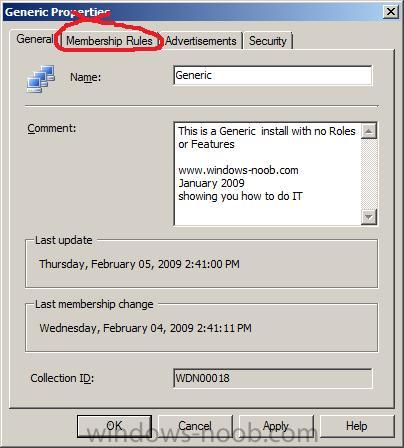
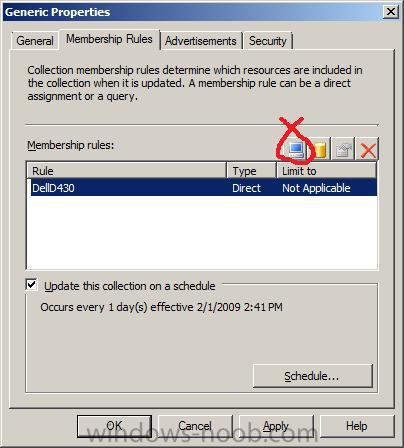
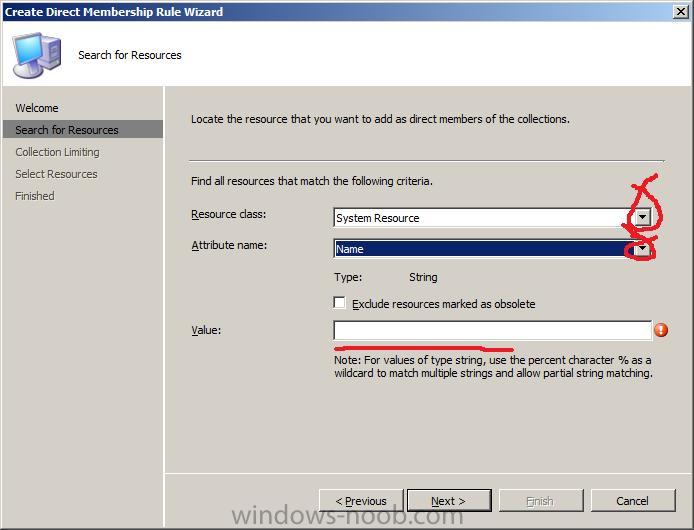
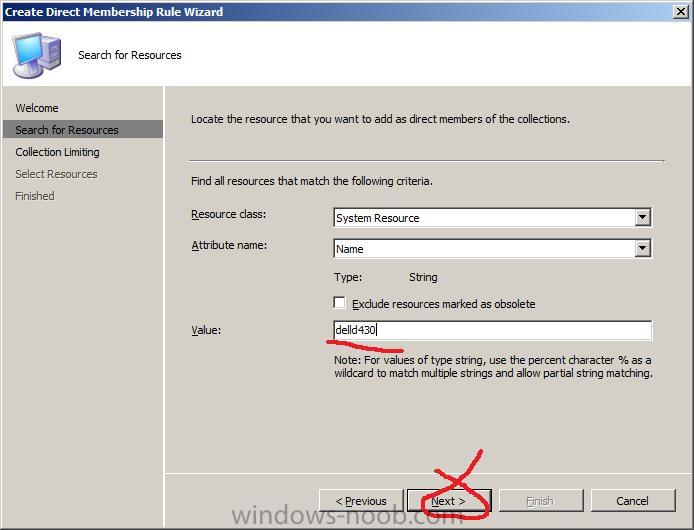
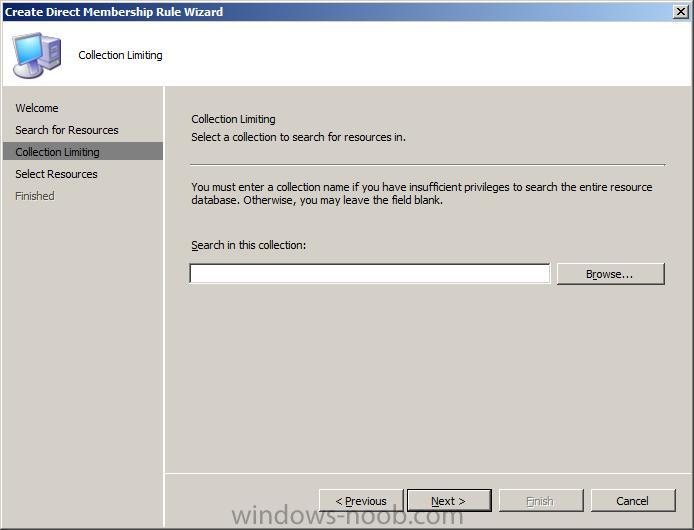
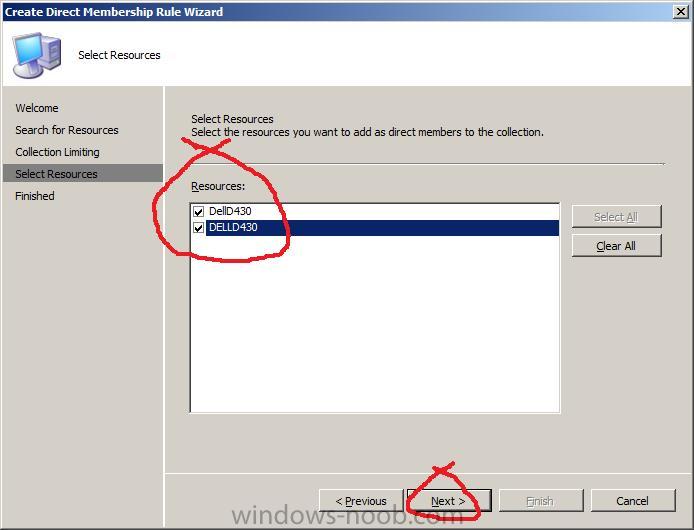
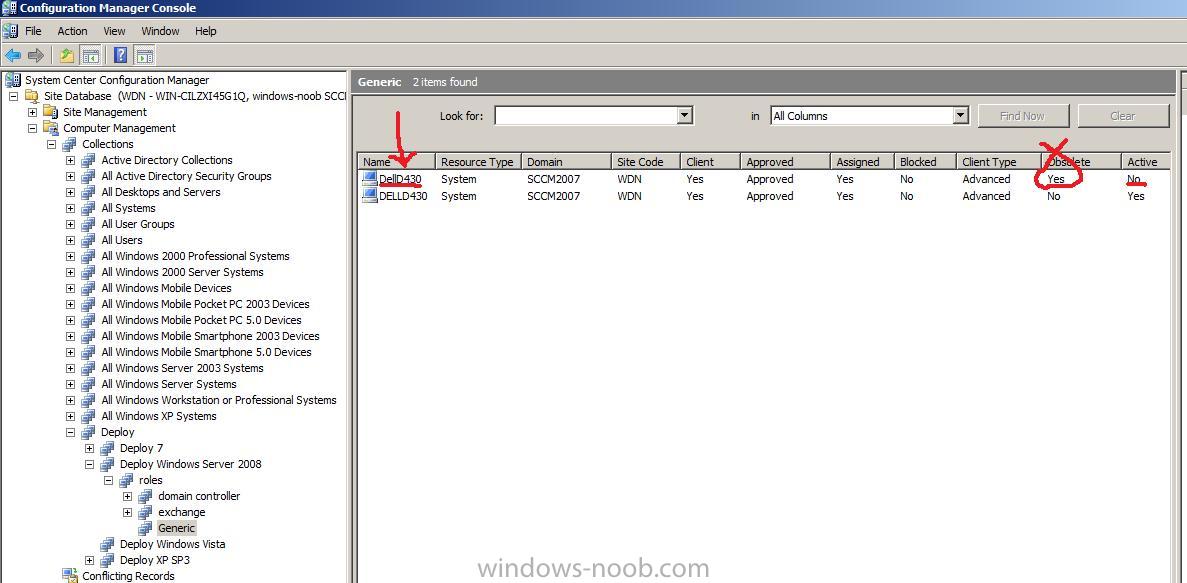
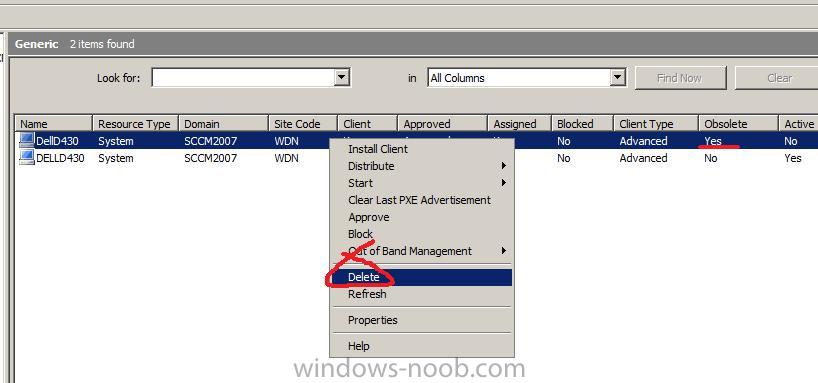
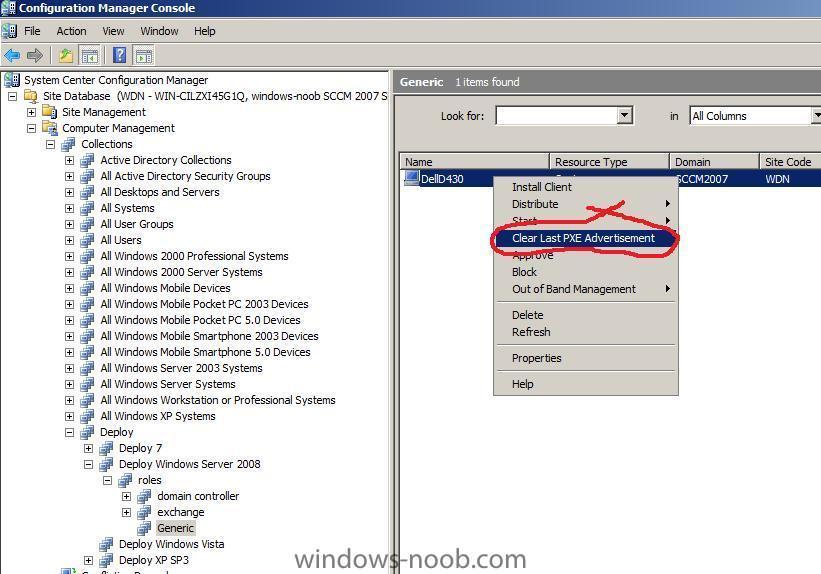
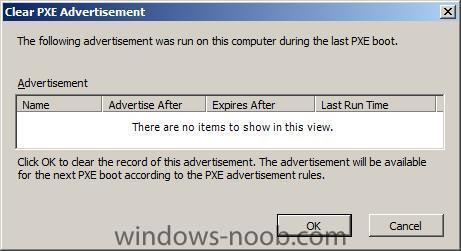
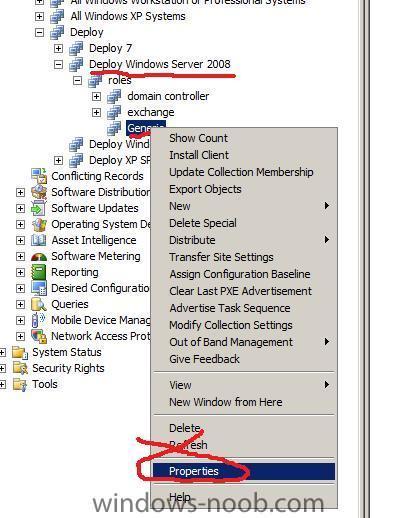
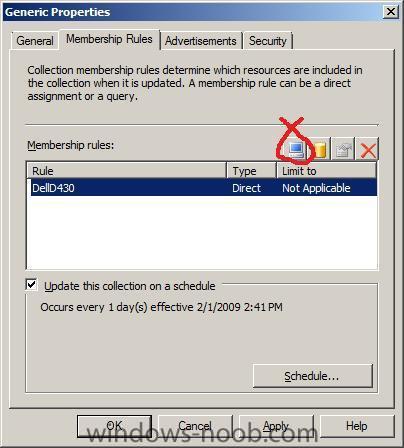
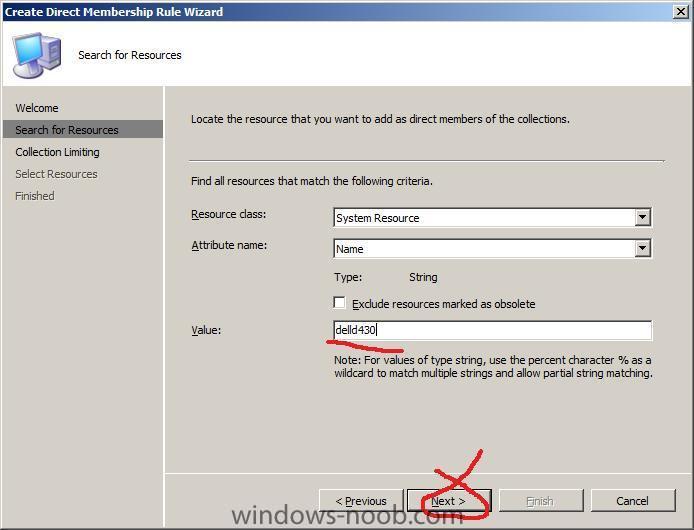
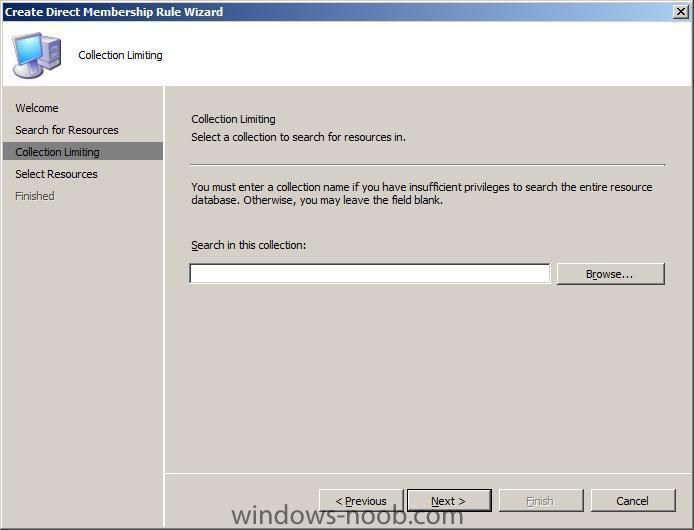
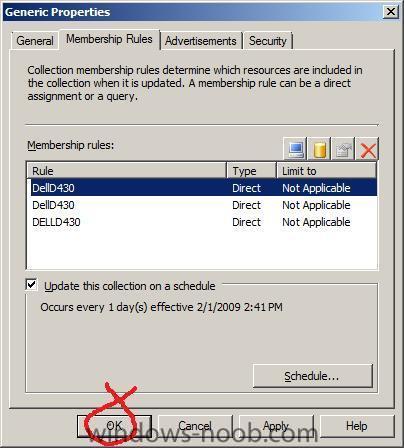
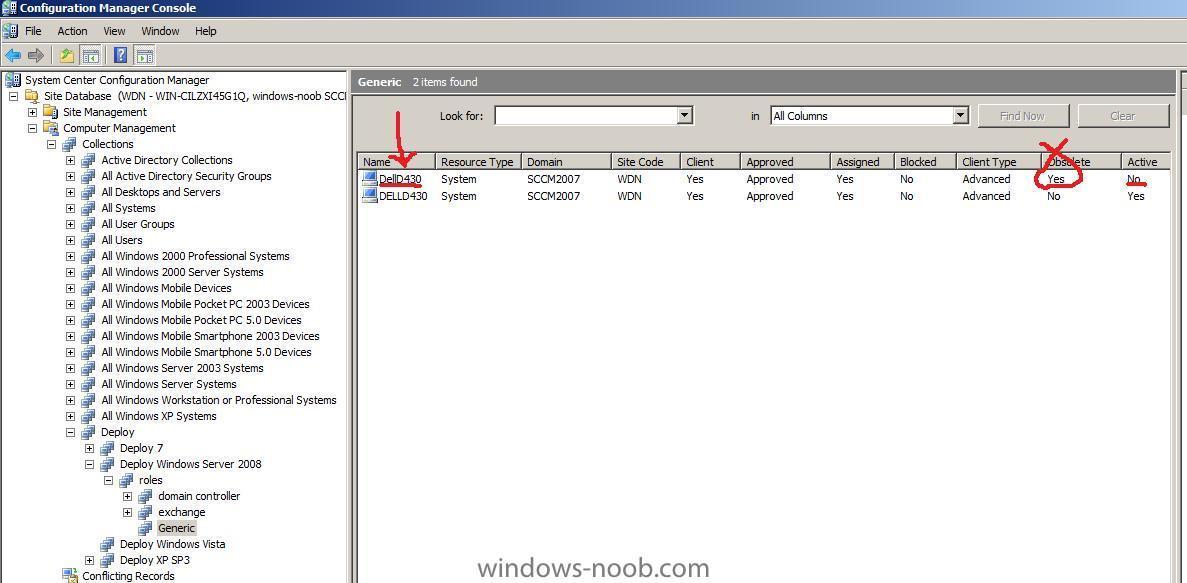
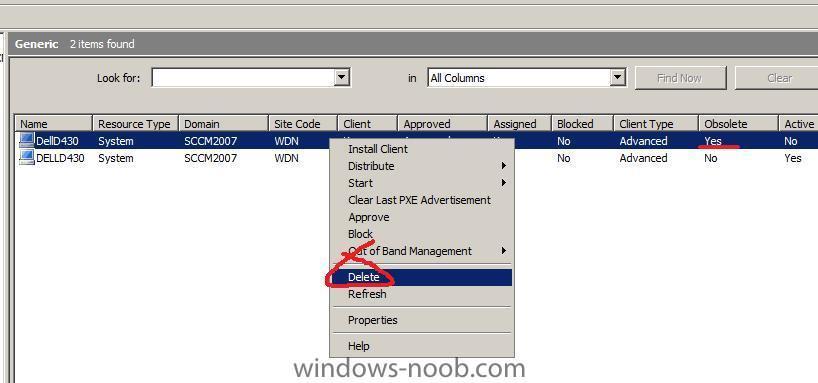
Note: this works for me, your mileage may vary, it's worth a try, let me know if it helps. if you've just started testing with SCCM you'll no doubt see this when imaging a client over and over, after you image the computer you cannot image it again until you right click on the computer in SCCM and choose 'clear last PXE advertisement' when you do that, you should be able to image the computer again, which is great when you are testing clients over and over to get your Task Sequence working... however, after doing this a few times it no longer works, the clear last PXE advertisement no longer works and when you PXE boot the client you still see the abortpxe message Downloaded WDSNBP Architecture: x64 The details below show the information relating to the PXE boot request for this computer. Please provide these details to your Windows Deployment Services Administrator so that this request can be approved. Pending Request ID: 45 Contacting Server: 192.168.3.1. TFTP Download: smsboot\x64\abortpxe.com PXE Boot aborted. Booting to next device... Those lines above have added to my grey hair content many times as I would try all sort of things to resolve this including 1. deleting the advertisement and re-advertising it 2. restarting WDS and DHCP service 3. restarting SCCM server 4. all of the above and then some.... until finally I tried the following method which appears to work just fine, Step 1.Add a rule Add a direct membership rule on the collection you are deploying to by right clicking on it and choose properties. click on the Membership Rules tab click on the blue computer icon to create a direct membership rule when the wizard appears click next change the drop down menus so they are like this Resource Class: System Resource Attribute name: Name *you can choose Netbios Name also* enter your computername that you want to remove the abortpxe.com feature from in lowercase or use wildcards eg: dell% click next and leave the collection blank, click next again and here's the fun part !!! look at the list, theres TWO of the computers with the same name... select them both *or only one if one appears* and click next click finish and then click ok at this screen Step 2. Refresh the collection Refresh the collection by selecting it and hitting F5 you should now see more than one of your original computers listed with the same name... Step 3. You are done ! That's it, your advertisement will begin working again now as now SCCM 'sees' the computer again. If you want you can delete the obsolete computers listed, it really doesn't matter if you leave them there or delete them. that's it abortpxe.com is kaboof ! related reading > http://blogs.msdn.com/b/steverac/archive/2013/10/03/delete-behavior-for-devices-in-configmgr-2012.aspx


-
where are these tasks exactly, what os are they running on now and why are you trying to access them over the network ?
-
hmm try reading these then http://www.myitforum.com/articles/1/view.asp?id=179 http://myitforum.com/cs2/blogs/jgilbert/ar...e-easy-way.aspx any help there ?
-
check firewall settings on the server and client, vista and server have pretty tough firewalls cheers anyweb
-
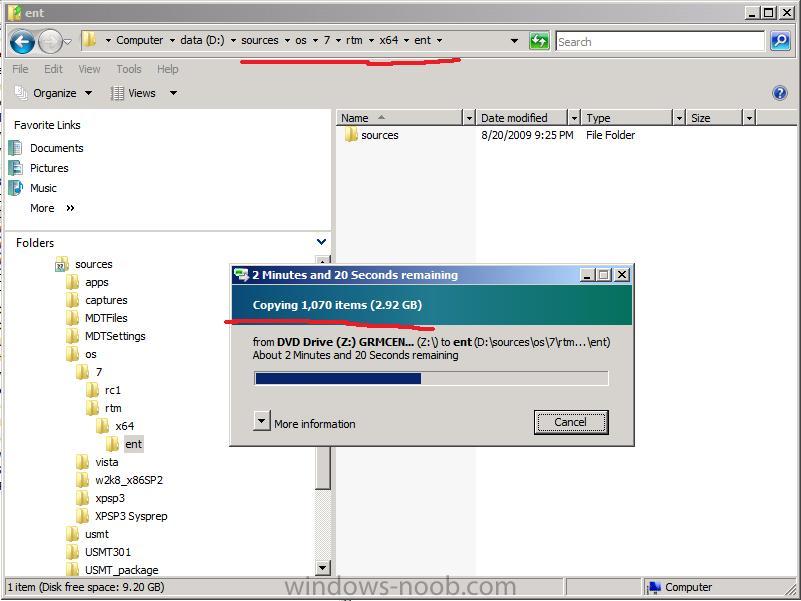
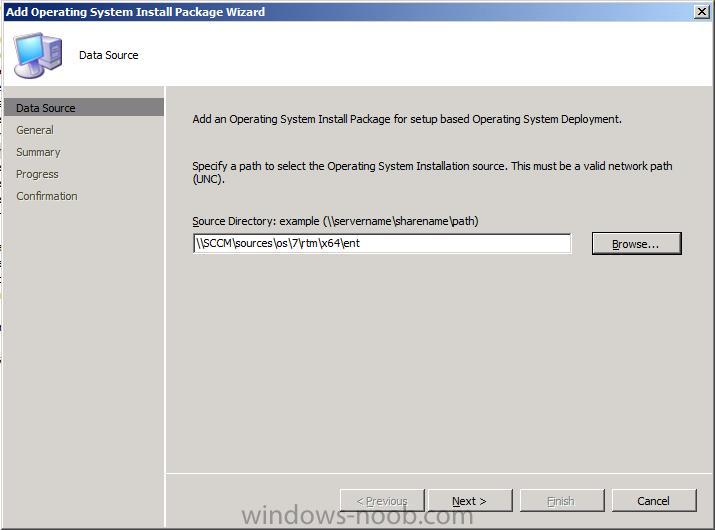
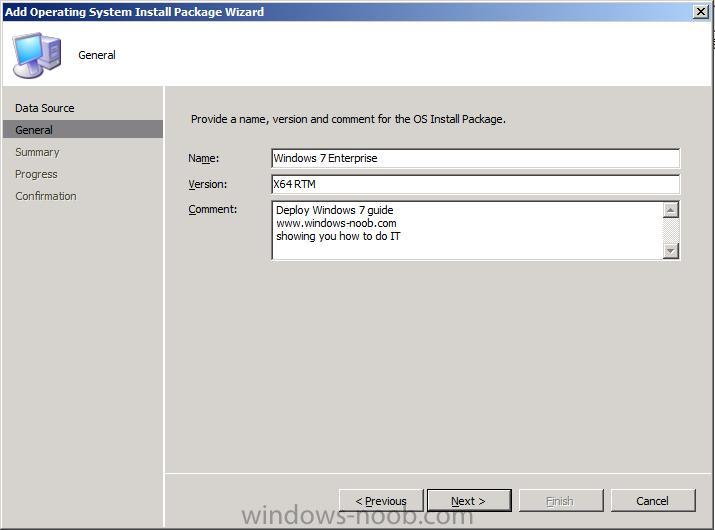
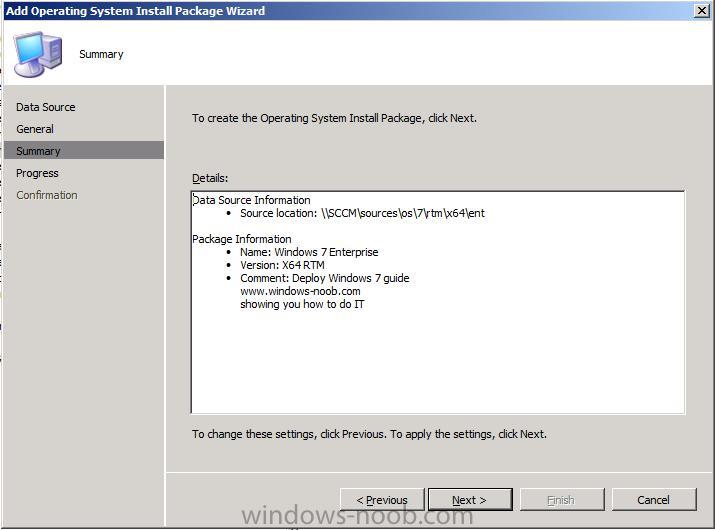
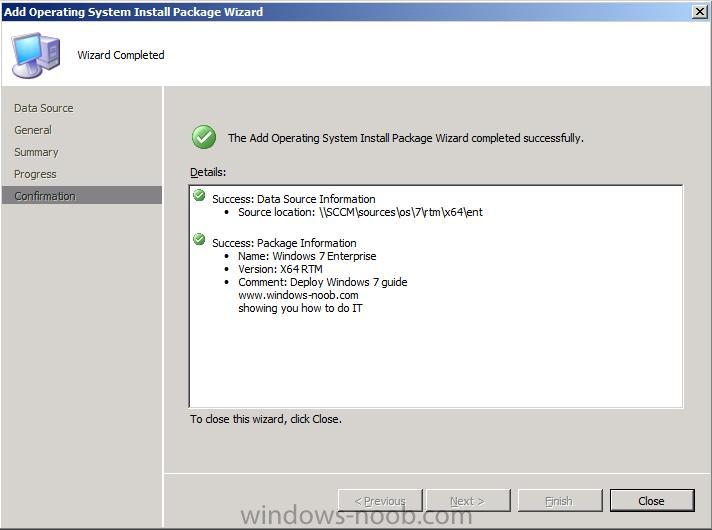
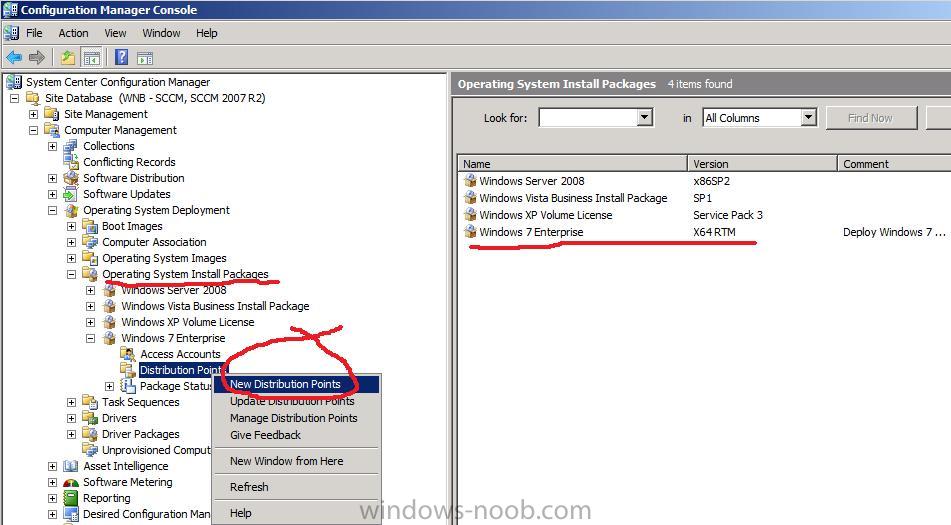
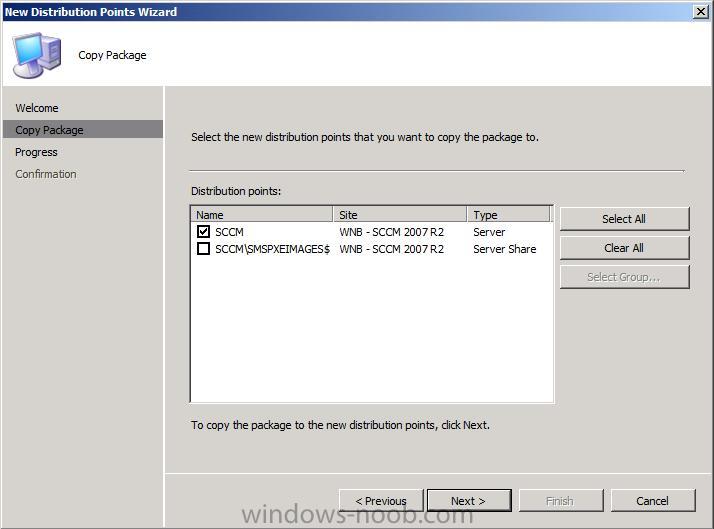
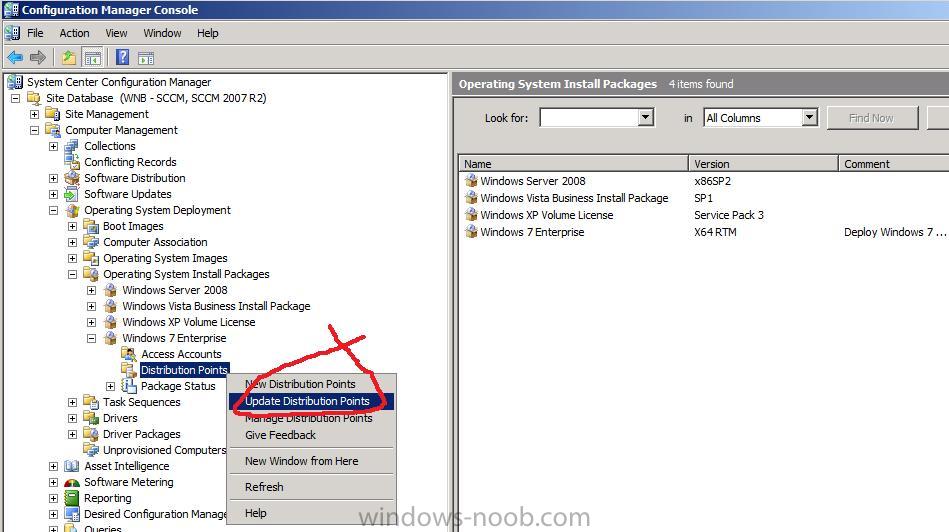
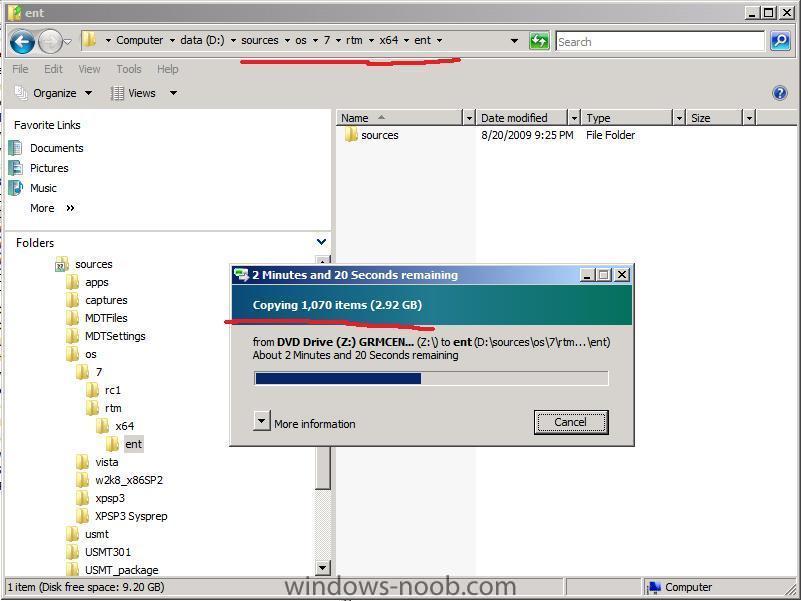
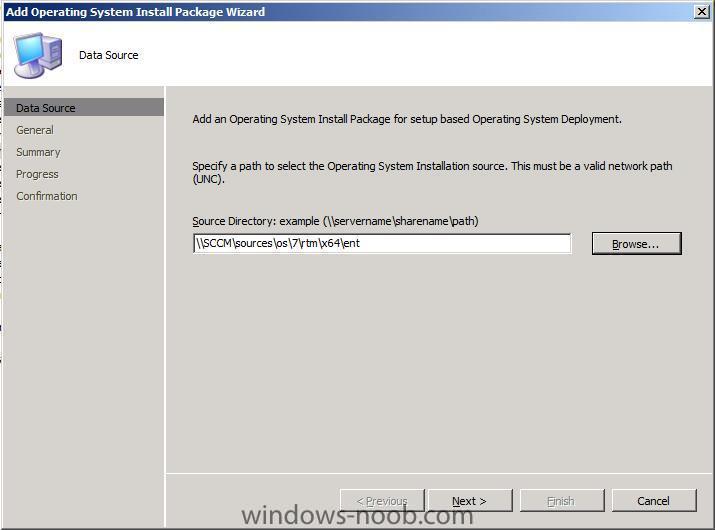
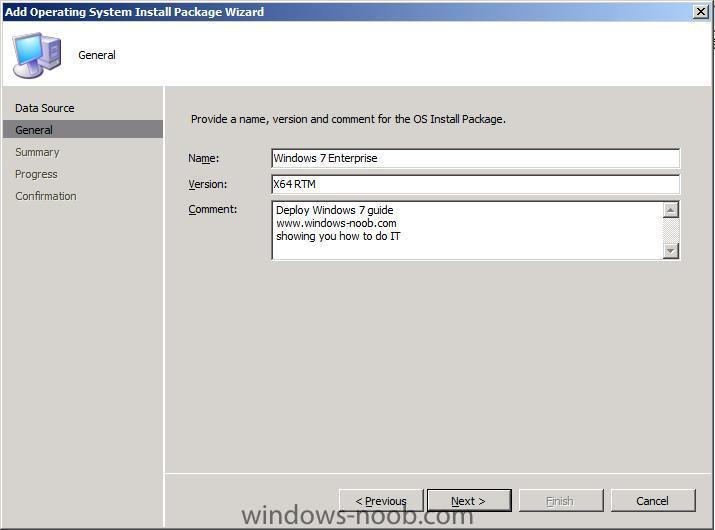
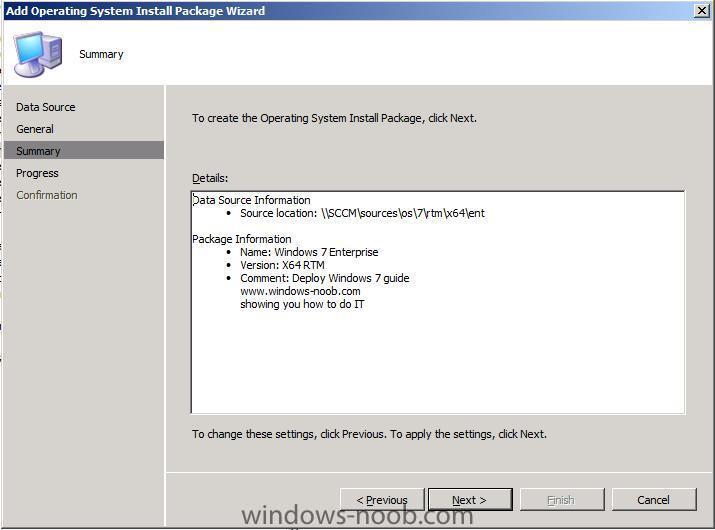
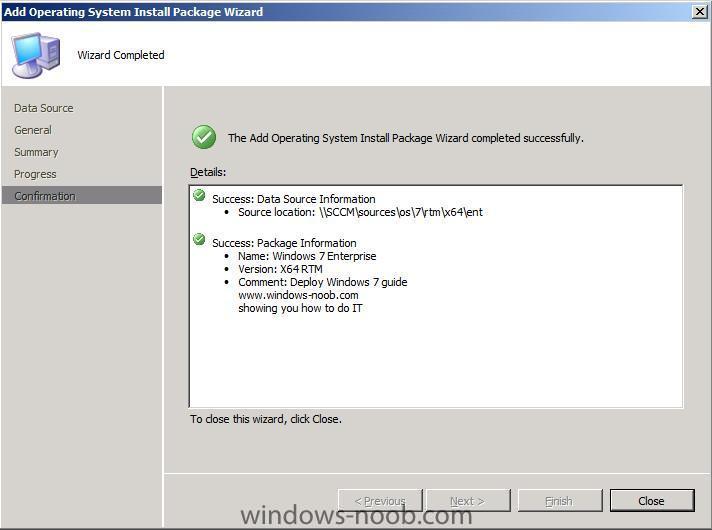
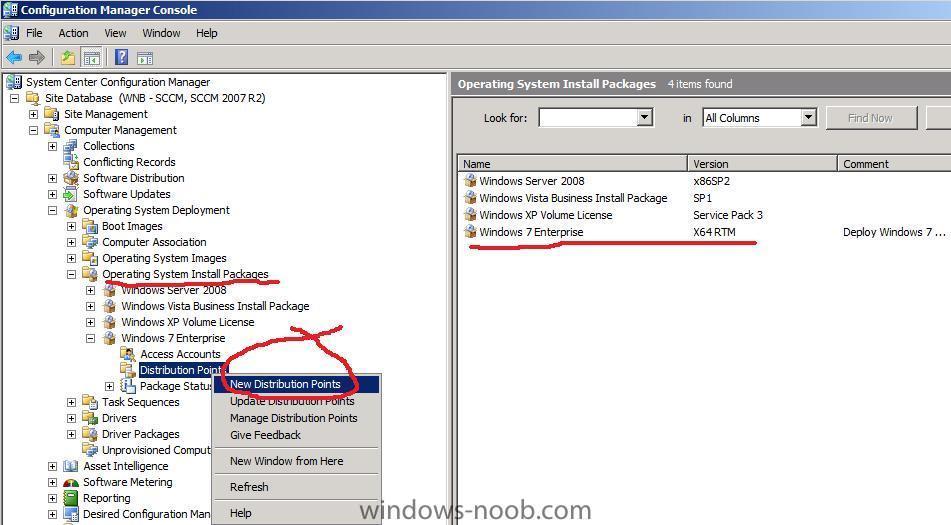
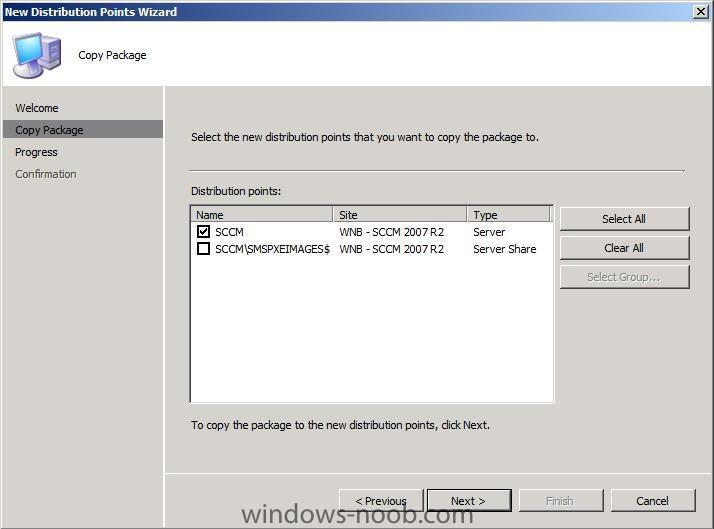
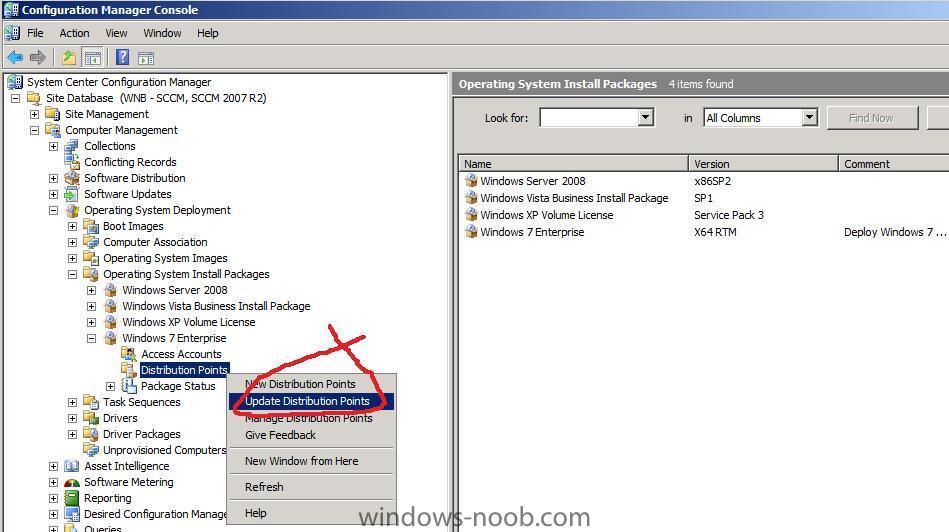
Please note that this guide is designed to get you Deploying Windows 7 with SCCM in a LAB Environment as quickly as possible. This guide is provided as is, if you find any errors please report them in the forums. In a production environment please consult Technet for best practise, see below links: Operating System Deployment: Operating System Deployment in Configuration Manager Overview of Operating System Deployment Configuration: System Center Configuration Manager 2007 Best Practices: Configuring Configuration Manager Sites for Best Performance Checklist for Security Best Practices Best Practices for Central and Primary Site Hardware and Software Configuration Best Practices for Operating System Deployment This guide assumes that you've installed and configured SCCM 2007 already and that you have set it up to deploy operating system's such as Windows Vista SP1. In addition you must have installed SP2 for ConfigMgr. It is available for download here. The most up to date version of this Guide will always be found in the Deploy 7 section of the windows-noob.com forums. For best practise information about deployments using SCCM you should always consult with Microsoft Technet. Step 1. get the ISO I chose the 64bit Enterprise version which was en_windows_7_enterprise_x64_dvd_x15-70749.iso. Now that you have the ISO, mount it or burn it to DVD and copy the contents of it (all files and folders) to a network share on your SCCM server. Step 2. Add Operating System Install Package In System Center Configuration Manager 2007 expand the Operating System Deployment node and right click on Operating System Install Packages, choose add operating system install package. When the Add Operating System Install Package wizard appears, point it to the path where the Windows 7 operating system files can be found eg: \\SCCM\sources\os\7\rtm\x64\ent\ fill in the name, version and a comment about the image review the summary and verify the confirmation Step 3. Create Distribution Point for the Image Now that we have added the operating system files to our available operating system install packages, we need to create a new distribution point for it so let's do that. Expand the newly added Windows 7 image you just added in Operating System Install Image Packages and right click on Distribution Points, select New Distribution Points. Click next on the Welcome screen. As this is not a boot image (it's an Entire Operating System), select only the first distribution point (do not select the PXE one) click next and close. Step 4. Update Distribution Point now that we have created a distribution point, let's update it, so right click on distribution points and choose update distribution points, answer yes when prompted.
-
you are welcome the data loss has inspired me to change my backup routine (automated), from now on I will backup the SQL databases daily. cheers anyweb
-
windows-noob.com was down for about 12 hours and lost data due to a FORCED hardware reboot (i didn't do it) the reason for the reboot was I submitted a support ticket to the host asking why i was getting network timeouts they rebooted my server without asking me, as a result, the database got corrupted and data was lost the reason i was getting network timeouts > http://noc.leaseweb.com/status.php?i=294 apologies, but I had to restore the site database from a backup i did on sunday so some days data lost. cheers anyweb
-
i know it sounds crazy but i heard it from a good source, try it and tell me does it help., if not we'll investigate more info >
-
Updates for Workstation with SCCM 2007 ?!?!?
anyweb replied to TronixS's question in Software Update Point
try http://technet.microsoft.com/en-us/library/bb632442.aspx -
Despite the success of the Windows 7 beta, which got leaked before it was officially released and had several deadline extensions, Microsoft isn't exactly sitting still. The beta build, with build number 7000, was built on December 12th, 2008, so that leaves enough room between then and now for several newer builds. One such build got leaked this weekend, and it contains some minor changes compared to the beta build. via osnews.com
-
try updating your hardware inventory client agent schedule time to every hour or so for a test. does it help ?