anyweb
-
Posts
9277 -
Joined
-
Last visited
-
Days Won
371
Everything posted by anyweb
-

Can I force clients to download via SMB (2012 w/ Nomad)
anyweb replied to willisj318's topic in Configuration Manager 2012
i've pinged 1E, they should reply soon -
using SCCM 2012 in a LAB - Part 2. Add SUP and WDS
anyweb replied to anyweb's topic in Configuration Manager 2012
where are you attempting thiat from and is your server really using that fqdn ? -
now that rings a bell, thanks for posting it.
-
When does a task sequence exit WinPE?
anyweb replied to clickmaster's topic in Configuration Manager 2012
during setup windows and configmgr Windows is laid down and after installing device drivers it boots into Windows... does that help ? nic drivers inserted into your boot wim are only for WinPE sections of the task sequence, for the rest of the task sequence use the apply driver package step where it injects drivers into Windows -
are you using the correct version of the client, ? which one did you use and what version of configuration manager are you running
-
can you show me a screenshot of that, does smsprov.log reveal anything further ? are you trying the import directly on the primary or on a remote console ?
-
After upgrading to SCCM 2012 R2, TS not installing software
anyweb replied to cathek88's topic in Configuration Manager 2012
ok what hardware are you testint this on ? looks like you have no network, probably due to lack of a network driver for the computer in question, if you press f8 and test that you can ping the fqdn of the mp during osd what happens have you added any network drivers to your boot image for this hardware ? -
have you checked the C:\MININT\SMSOSD\OSDLOGS\bdd.log yet ? it should contain lines explaining what is wrong have you verified that not only are you updating the MDT deploymemt share but that you are also updating the boot wim stored in WDS, as updating the deployment share does not do this for you and it'll use your old bootstrap.ini until you do open Windows Deployment Services, go to the Boot Images folder, right click and then Replace the current boot image with the one just rebuilt.
-
thank you ! it requires manual work, when i put together the new scripts i have to manually download the stuff and when i get to the download page after selecting one or more downloads and clicking next, i view the html source and pull the urls from there
-
what does your appenforce.log tell you ?
-
After upgrading to SCCM 2012 R2, TS not installing software
anyweb replied to cathek88's topic in Configuration Manager 2012
fix your multicast issues first as they appear first in the smsts.log, one or more of your packages is enabled for multicast, most likely it's the operating system wim image, did you check that ? -
newbie question about reference image
anyweb replied to nov1ce's topic in Configuration Manager 2012
I wouldn't be too concerned about capturing that driver, you can always uninstall it in the deploy image if you believe it's causing an issue, or use hyperv and not have this problem. -
well if it's a local user then why are you specificying a domain ? try inputting the server ip there instead
-
using SCCM 2012 RC in a LAB - Part 8. Deploying Windows 7 X64
anyweb replied to anyweb's topic in Configuration Manager 2012
yup but it's just to show you one way that you can set variables in your lab, you can set it on the collection the computer the task sequence itself and instead of hard coding it as I've done in that example you can try making it more dynamic for example: %somedomain%\%someuser% as I do in the CM12 UEFI BitLocker FrontEnd HTA -
newbie question about reference image
anyweb replied to nov1ce's topic in Configuration Manager 2012
if you use hyperv then no driver is required, it just works. -
newbie question about reference image
anyweb replied to nov1ce's topic in Configuration Manager 2012
the first thing you should do is create your reference image on virtual hardware, not on real machines, that way you keep the image driver agnostic and can save the snapshot to revert to the state it was prior, secondly, some would argue you should make your reference images in MDT 2013, that's up to you, there are advantages to that method but it does mean having two environments to keep in place, but back to your question, yes what you are seeing is normal, and no, i wouldnt recommend you 'reuse' the machine, infact i wouldn't recommend you build a reference image on real hardware at all, use hyperv (or another virtual software) to create virtual machines and customize your deploy task sequences with apply driver package steps to deploy to different hardware -
After upgrading to SCCM 2012 R2, TS not installing software
anyweb replied to cathek88's topic in Configuration Manager 2012
check the properties of your packages/wim image see if multicast is selected on the distribution settings tab ? -
have you reviewed this post yet ? http://www.windows-noob.com/forums/index.php?/topic/9357-how-can-you-manage-linux-based-clients-in-system-center-2012-r2-configuration-manager/
-
After upgrading to SCCM 2012 R2, TS not installing software
anyweb replied to cathek88's topic in Configuration Manager 2012
Multicast OpenSessionRequest failed (0x80004005) looks like multicast is setup on dp but it's failing, so can you explain who setup multicasting, and are you using it, or not ? -
if you add a run powershell script step after the Apply Operating System image step and before the Setup Windows and configmgr step that should work, have you tried that yet ?
-
MDT 2013/Windows 8.1 Offline Image/Joining Domain
anyweb replied to itsbaxagain's question in Microsoft Deployment Toolkit (MDT)
have you seen this ? http://myitforum.com/myitforumwp/2012/06/25/offline-domain-join-with-mdt/ -
do you have a valid ip address when it fails ?
-
using SCCM 2012 RC in a LAB - Part 8. Deploying Windows 7 X64
anyweb replied to anyweb's topic in Configuration Manager 2012
you shouldn't be capturing the image from a real computer but build (and then capture) it from a virtual computer instead, that way you keep it driver agnostic and 'clean' you can then deploy that clean image to any hardware you want using customized Apply Driver package steps which are set to install drivers for that model only, for example as I do here for the Surface Pro 3. -
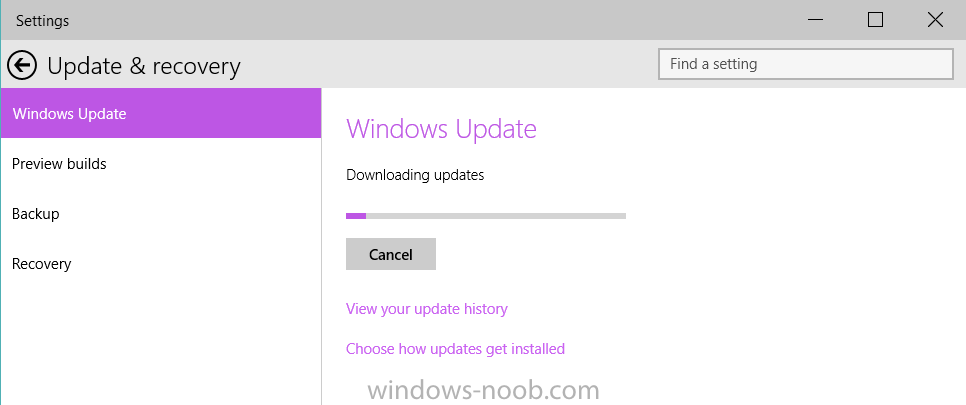
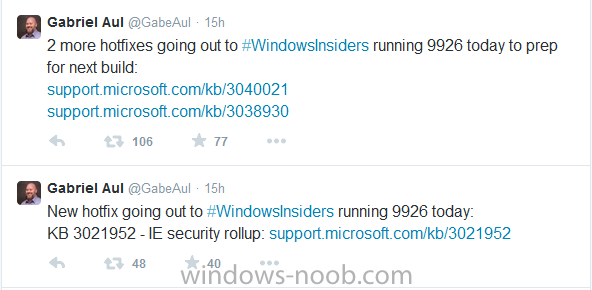
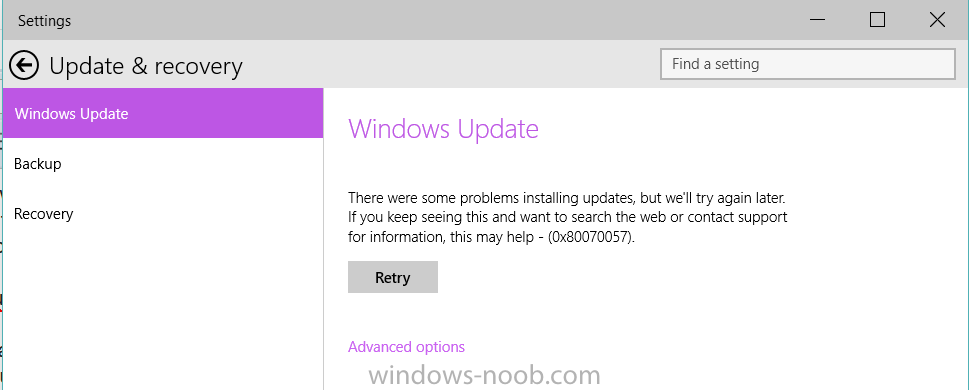
Those of you running Windows 10 build 9926 will be pleased to know that a new build is coming shortly and in preparation for that there are a few updates being made available to prepare your system for that new build. The updates were mentioned yesterday by Gabe Aul via Twitter so if you haven't done so already, check for Windows updates (search for windows update settings in the start menu) and apply these as soon as you can to prepare yourself for the coming new build, the three updates mentioned are listed below: http://support.microsoft.com/kb/3040021 http://support.microsoft.com/kb/3038930 http://support.microsoft.com/kb/3021952 if you get errors like this in Windows Update "There were some problems installing updates, but we'll try again later. If you keep seeing this and want to search the web or contact support for information, this may help - (0x80070057)." then set the following reg keys Windows Registry Editor Version 5.00 [HKEY_LOCAL_MACHINE\SOFTWARE\Microsoft\WindowsUpdate\UX] "IsConvergedUpdateStackEnabled"=dword:00000000 [HKEY_LOCAL_MACHINE\SOFTWARE\Microsoft\WindowsUpdate\UX\Settings] "UxOption"=dword:00000000 then close Windows Update Settings and try again, it should work as below.. cheers niall

-
Help! I think Azure smashed my Distribution Point
anyweb replied to P3nnyw1se's question in How do I ?
start with the basics, what does your smsts.log file tell you ? and has anyone changed any boundaries recently (or are they based on ad sites ?)